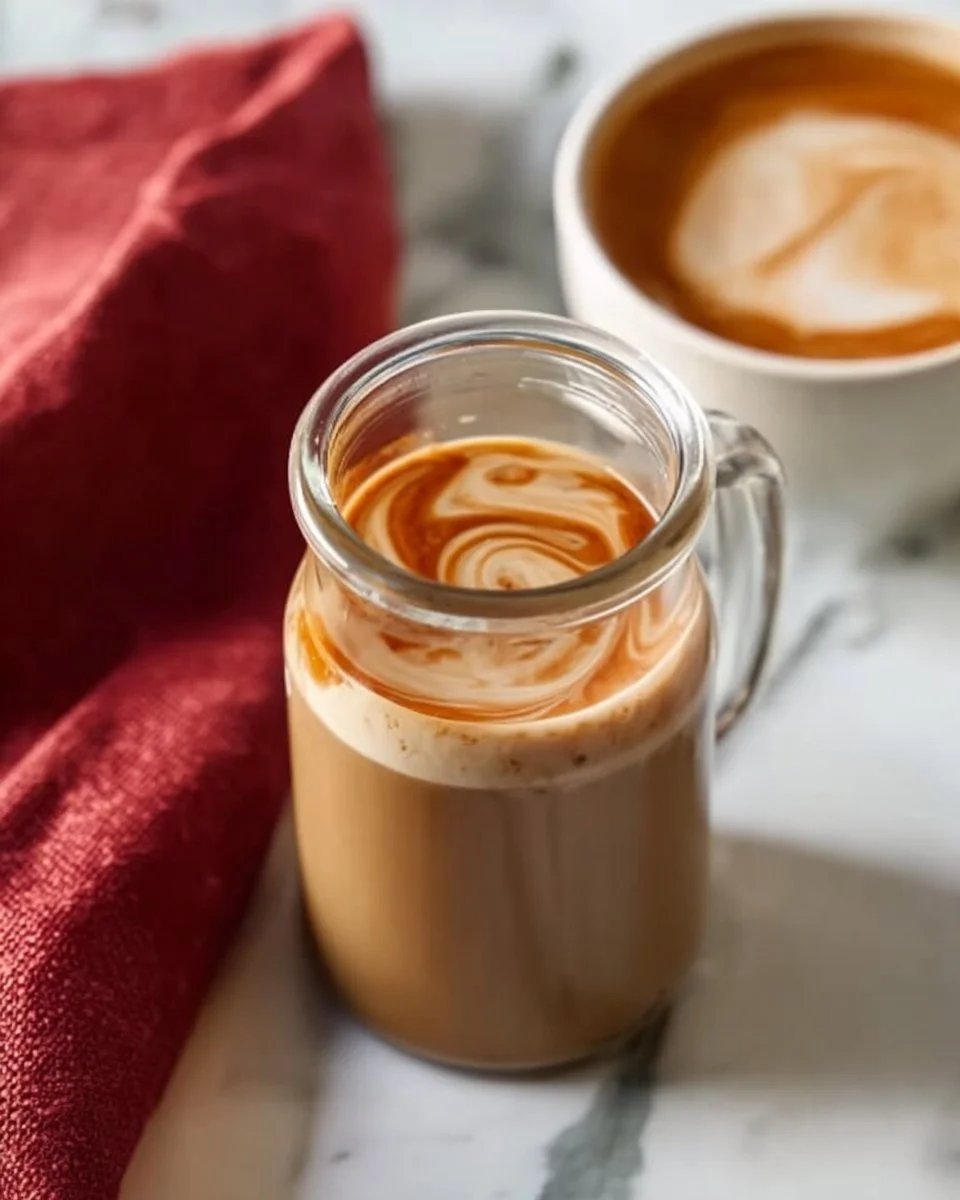
As the steam from my morning cup of coffee begins to rise, my senses dance with anticipation. I still remember the laughter and warmth of my grandmother’s kitchen, where she would always have a jar of creamy goodness stashed away. Homemade coffee creamer was her secret weapon to elevate even the most mundane mornings into moments of bliss. This magical potion adds a layer of richness, sweetness, and flavor that can transform any cup of Joe into a comforting hug.
But let me tell you, not all coffee creamers are created equal. The pre-packaged alternatives often come with artificial flavors and preservatives—ingredients that don’t hold a candle to the joy of creating your own at home. With just a few simple ingredients, you can whip up a creamer that’s not only delicious but also customizable to fit your taste buds. Plus, the comforting aroma wafting through your kitchen will transport you back to those cherished memories, allowing you to savor each sip as if you’re gathering around the family table once more.
In this blog post, I promise to take you on a journey through my cherished homemade coffee creamer recipe. You’ll learn how easy it is to create your own, and I’ll share tips that even Grandma would appreciate!
What Are Homemade Coffee Creamers?
Homemade coffee creamers have a rich and delightful history steeped in comfort food culture. Traditionally, coffee lovers relied on milk or cream to soften the acids in their brew, but as flavors and palates grew more adventurous, people began experimenting with different sweeteners, extracts, and spices. The result? A creamy concoction that can add whimsy and a personal touch to your daily sip.
When you make homemade coffee creamer, you’re treated to a luscious blend that can range from smooth and creamy to light and frothy, depending on your choices. Its delightful taste can include hints of vanilla, caramel, or seasonal spices like nutmeg and cinnamon. What makes them truly unique is that you can cater them to your specific cravings or even seasonal inspirations, making them ideal for cozy autumn mornings or warm summer afternoons.
Homemade coffee creamers are perfect for those chilly mornings, lazy weekends, or when you want to bring a slice of luxury into your life without breaking the bank. So whenever you’re craving something special in your cup, making your own coffee creamer offers both comfort and joy.
Why You’ll Love This Recipe
Quality Ingredients: The beauty of homemade coffee creamer lies in its customization. No fillers, no strange ingredients—just the pure essence of what you choose to add. Imagine sipping on a concoction made from real vanilla extract or local honey. Delicious, right?
Cost-Effective: Have you ever peered at the price tag on those fancy coffee creamers at the store? Yikes! With my recipe, you can create a batch for a fraction of the cost while controlling the sweetness and flavors. You’ll find it’s lighter on the pocket and heavier on flavor.
Endless Customization: Want to switch it up each season? You can! Add pumpkin spice in the fall or refreshing mint in the summer. You can even create a marzipan-inspired almond flavor for those cozy nights. The possibilities are truly endless!
Easy to Make: Many people think making your own coffee creamer is a complicated process, but I assure you it is as simple as 1-2-3! You’ll have this whipped up in no time—perfect for busy mornings.
Healthier Choice: By choosing your ingredients, you can opt for sweeteners that work for your dietary preferences. Want to ditch refined sugar? Try a sugar substitute or natural sweeteners like honey or agave syrup.
So, grab your mason jar, and let’s create something delicious together!
Ingredients
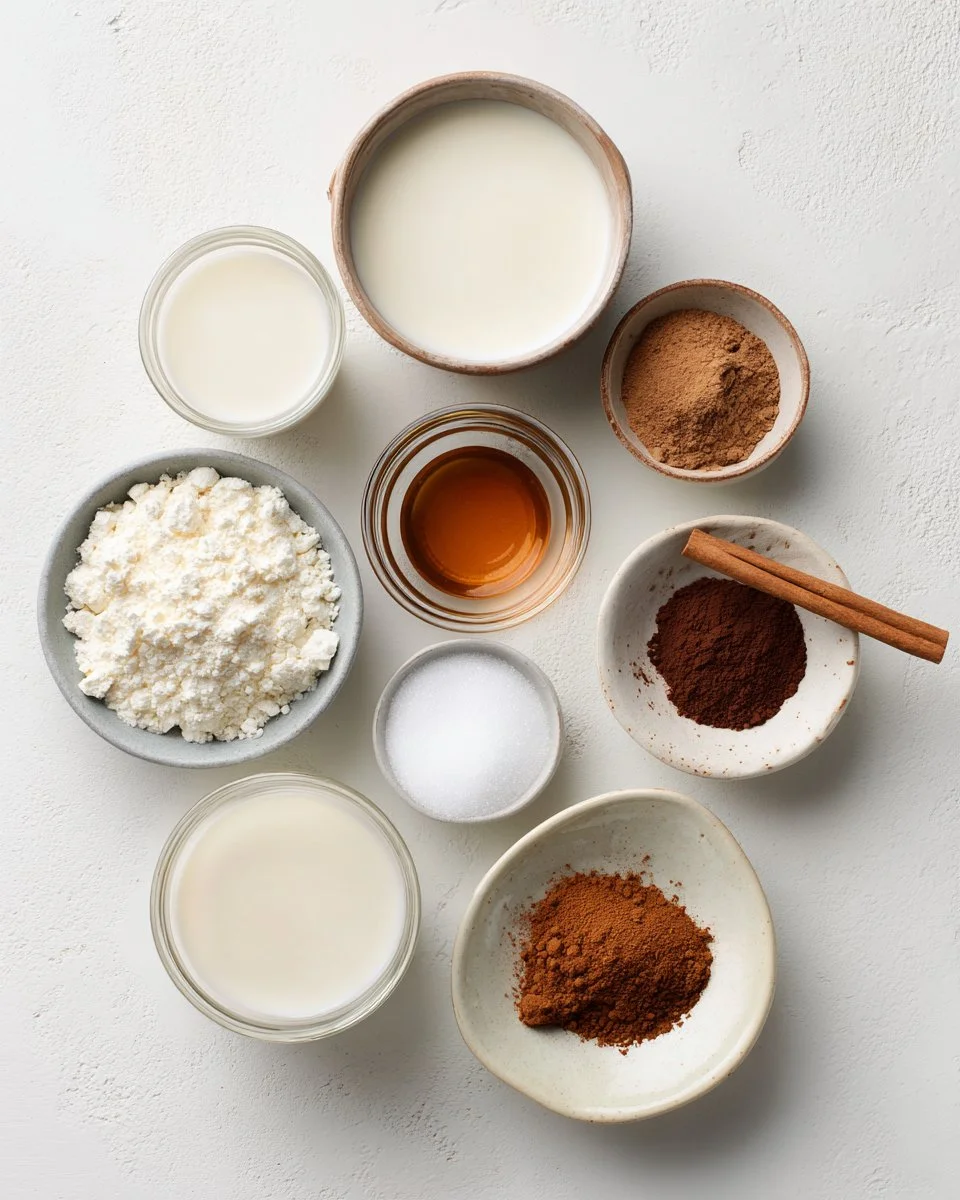
1 cup dairy (milk, cream, or non-dairy alternative): For a richer flavor, I recommend whole milk or heavy cream. If you’re looking for a lighter version, go for unsweetened almond or oat milk. Brands like Califia Farms and Oatly have great choices!
1/2 cup sweetener: Granulated sugar, honey, agave, or a sugar substitute like stevia work wonderfully. I love using organic cane sugar because it dissolves beautifully and adds depth, but pick what feels best for you.
1 tsp vanilla extract (optional): This is the magic touch! Using pure vanilla extract (like Nielsen-Massey) elevates your creamer significantly, but if you’re feeling adventurous, explore other flavor extracts too.
Flavorings (optional): The real fun begins here! Add in extras like:
- Cocoa powder (for chocolatey goodness)
- Pumpkin spice (come October, you’ll be thanking me!)
- Cinnamon (classic and cozy)
Prep Notes:
- Ensure your dairy or non-dairy base is at room temperature for easy mixing.
- For optimal flavor, use high-quality organic ingredients whenever possible.
Step-by-Step Instructions
Combine Dairy & Sweetener: In a jar or container, pour in your choice of dairy or non-dairy base along with the sweetener. I usually opt for a 1-cup measurement of milk. Give it a good stir or shake until the sweetener dissolves completely.
Add Flavor: Next, introduce the vanilla extract and any additional flavorings, like cocoa powder or pumpkin spice. This is where you can get inventive! I usually add about a tablespoon of cocoa powder for that chocolate kick.
Stir, Shake, and Blend: If using a blender, blend on medium speed for about 20 seconds until well combined. If using a jar, shake vigorously until you see a uniform mixture. Look for that smooth, consistent texture—this is crucial!
Storage Time: Store the creamer in the fridge for up to a week. I usually label my jars with the date because often, the jumble of containers can confuse me.
Serve & Enjoy: Before you pour it into your coffee, give it a shake to mix everything back together, as some separation may occur. Then, enjoy it in your morning brew!
Chef’s Tips:
- For a frothier texture, blend instead of shaking.
- Avoid letting the creamer sit too long; for the best flavor, use within a week.
- You can also use a milk frother for lighter versions, creating a barista-style experience at home.
Common Mistakes to Avoid:
- Not dissolving the sweetener completely can leave you with gritty coffee.
- Forgetting to shake before use can lead to an uneven flavor.
Expert Tips & Tricks
Storage Recommendations: Keep your homemade coffee creamer in an airtight container or mason jar in the fridge. This will keep it fresh for up to a week.
Make-Ahead Instructions: You can whip up larger batches and store them in smaller containers for effortless access throughout the week.
Troubleshooting: If your creamer is too thick, simply add more milk to thin it out. If it’s too sweet, balance it with a bit more cream or milk.
Flavor Pairings: Match your creamer flavors to seasonal beverages—you could even create a peppermint mocha flavor for the holidays!
Experiment: Don’t hesitate to try new flavor combinations. Lavender and honey make a delightful pairing, especially for those seeking a unique twist!
For the Coffee Enthusiast: If you pride yourself on being a coffee connoisseur, try infusing your coffee creamer with coffee beans either overnight or for a few days in the fridge for an ultra-rich flavor.
Serving Suggestions
Your homemade coffee creamer isn’t just a game-changer in your coffee; it also pairs beautifully with baked goods. Think of warm, fluffy pancakes or freshly baked muffins. For a presentation idea, you could set up a coffee bar with different flavors of homemade creamers and accompany it with donuts or croissants on special occasions like brunches or holidays.
Variations & Substitutions
Seasonal Joys:
- Fall: Add pumpkin puree and pumpkin spice to your cream base.
- Winter: Peppermint extract and crushed candy canes for a festive kick.
- Spring/Summer: Freshly grated lemon or orange zest for a citrus flavor!
Dietary Restrictions:
- Making it vegan? Use almond or coconut milk and agave syrup.
- If you’re sugar-conscious, substitute with erythritol or monk fruit sweetener.
The beauty of homemade coffee creamer is its versatility!
Nutrition & Storage Info
- Prep Time: 5 minutes
- Cook Time: 0 minutes
- Total Time: 5 minutes
- Yield: About 1.5 cups (approximately 8 servings)
- Estimated Calories per Serving: 50-100 calories, depending on the ingredients used.
- Storage Instructions: Keep in the fridge for up to one week. Avoid storing at room temperature.
FAQ SECTION
Can I use this creamer in recipes?
Absolutely! It can be great for baking or drizzling over desserts.What’s the best type of milk to use?
Whole milk gives a rich flavor, while almond or coconut milk offers lighter options.How can I make this sugar-free?
Use sugar substitutes like stevia or erythritol for a low-carb option.Will it separate in the fridge?
Yes, natural separation is normal. Just shake it before using.Can I freeze this creamer?
It’s best fresh, but you can freeze it in small portions if you must!What’s the best way to store it?
An airtight glass container in the fridge works best.How can I make it fancier?
Try infusing your cream with spices, herbs, or even orange zest!What if it’s too sweet?
Add more cream or milk until you balance out the sweetness.Can I use flavored syrups instead?
Sure! Just adjust the amount of sweetener accordingly.What’s the shelf life of homemade coffee creamer?
Use it within a week for optimal freshness.
Conclusion
Creating your own homemade coffee creamer isn’t just about the convenience; it’s about infusing your mornings with love, creativity, and joy. As you gather your ingredients, know that each sip can transport you to a delicious memory, all while allowing you to create new ones. So I encourage you to try this recipe, experiment with flavors, and make it your own.
I’d love to hear about your experience! Please share your feedback in the comments below. And if you’re hungry for more delightful recipes, check out my other posts on delicious breakfast options or sweet treats that bring your family together.
Fluffy Air Fryer Churro Bites Recipe
Happy brewing!