Growing up, every Easter Sunday was an occasion filled with laughter, colorful eggs, and—most importantly—my grandma’s legendary Easter Pavlova. Her airy meringue nests, topped with luscious whipped cream and a rainbow of fresh fruits, became the centerpiece of our holiday table. As a child, I never quite understood the delicate balance of flavors and textures at play, but I felt the joy and warmth that came with sharing that dessert among family. Every bite reminded me of love and togetherness, and even now, as an adult and passionate food blogger, Easter Pavlova still holds a special place in my heart (and taste buds!).
In this recipe, I’ll share my secrets for making the perfect Easter Pavlova that will have everyone at your table begging for seconds—dare I say, it’s even better than grandma’s! You’ll learn how to create an impressively crisp outer shell with a soft, marshmallow-like center, topped generously with whipped cream and seasonal fruits. So, roll up your sleeves, and let’s get baking—the magic of Easter Pavlova awaits!
What Are Easter Pavlova?
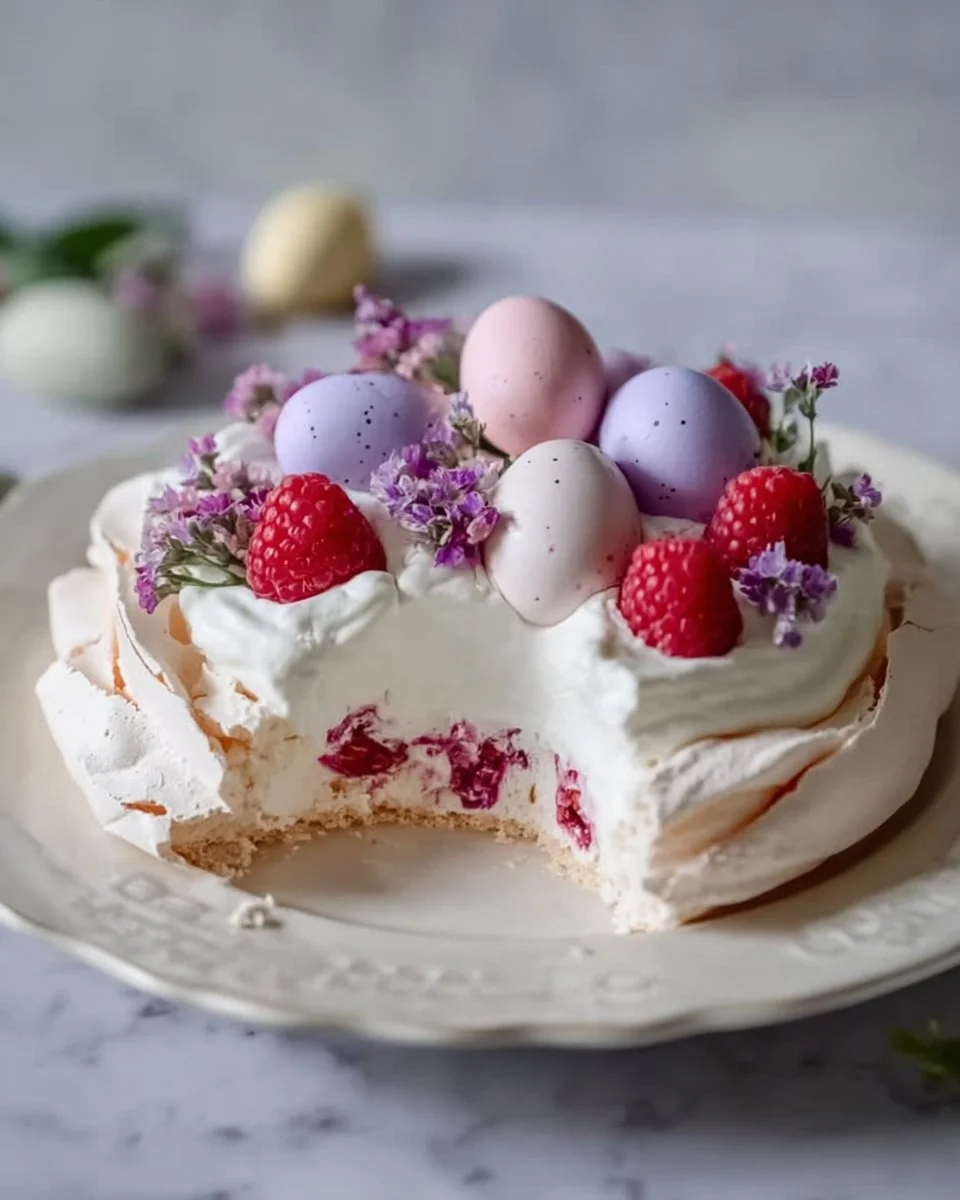
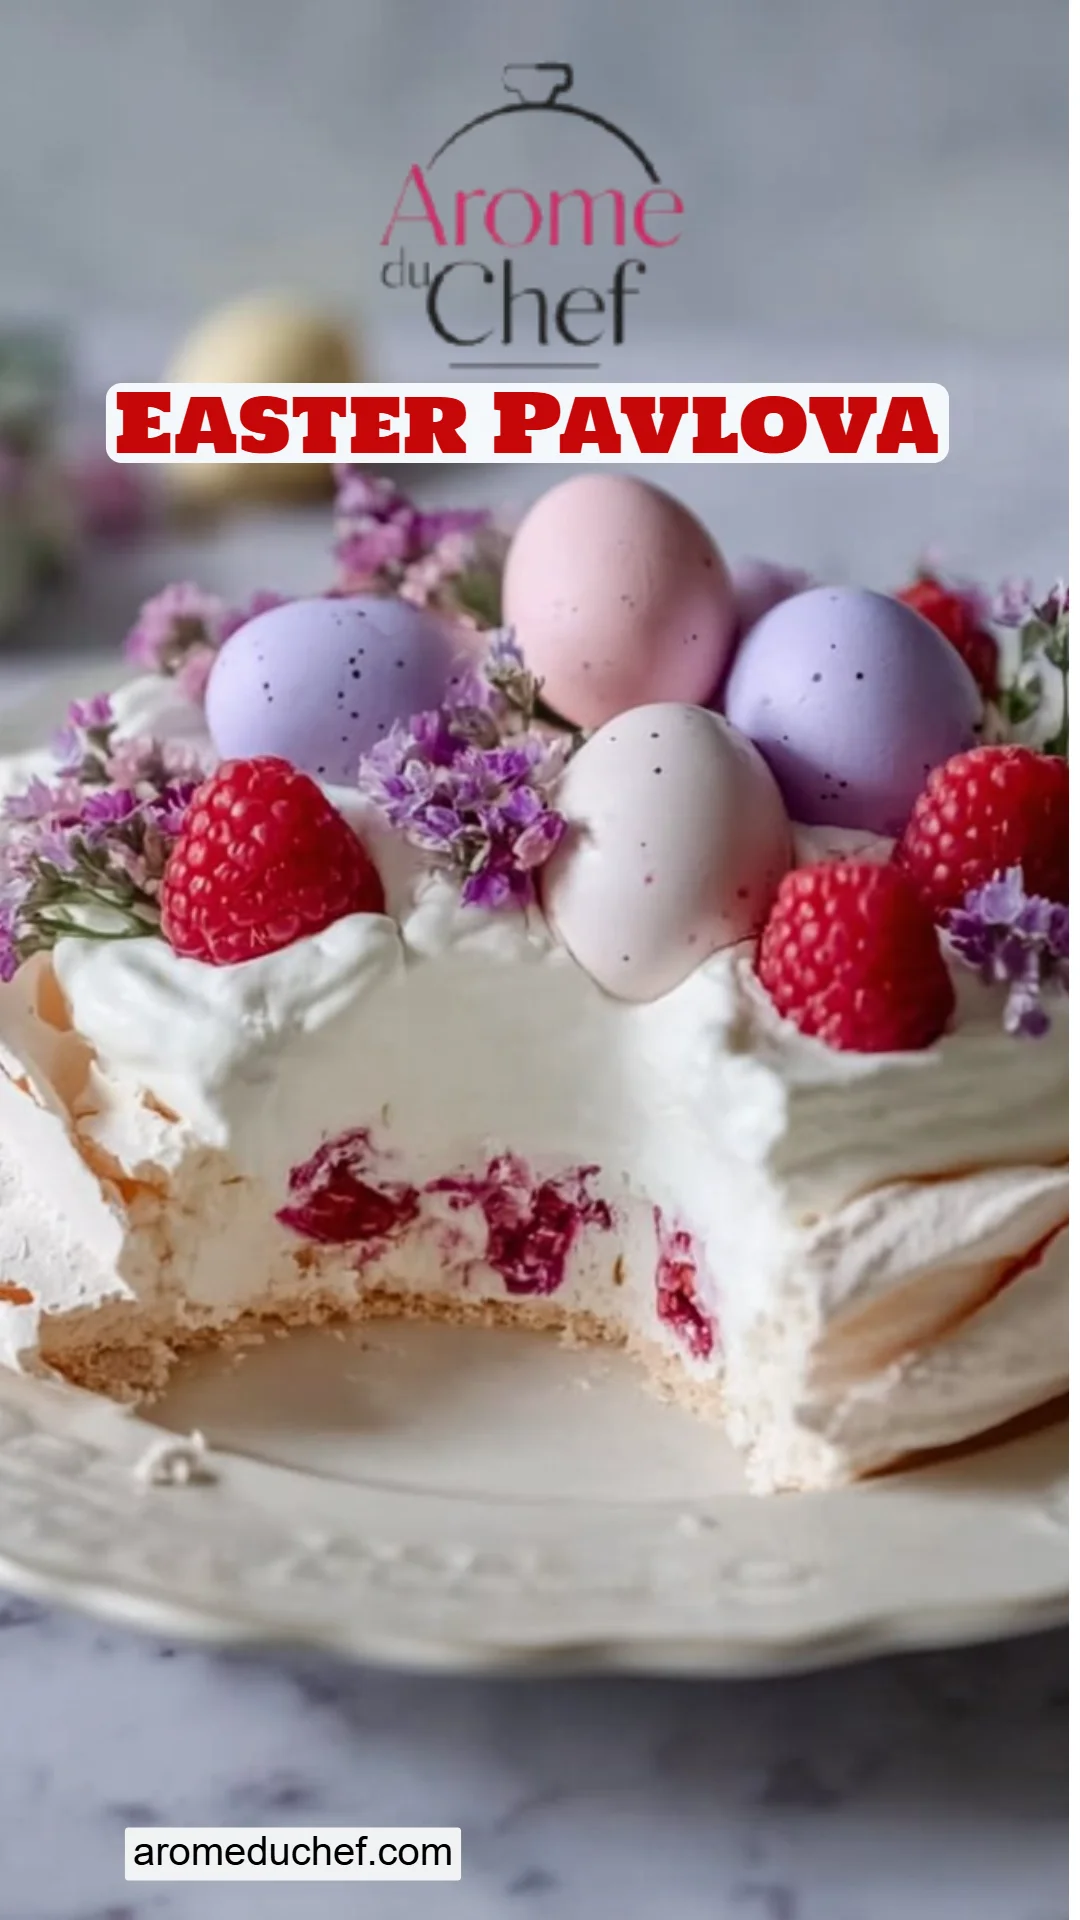
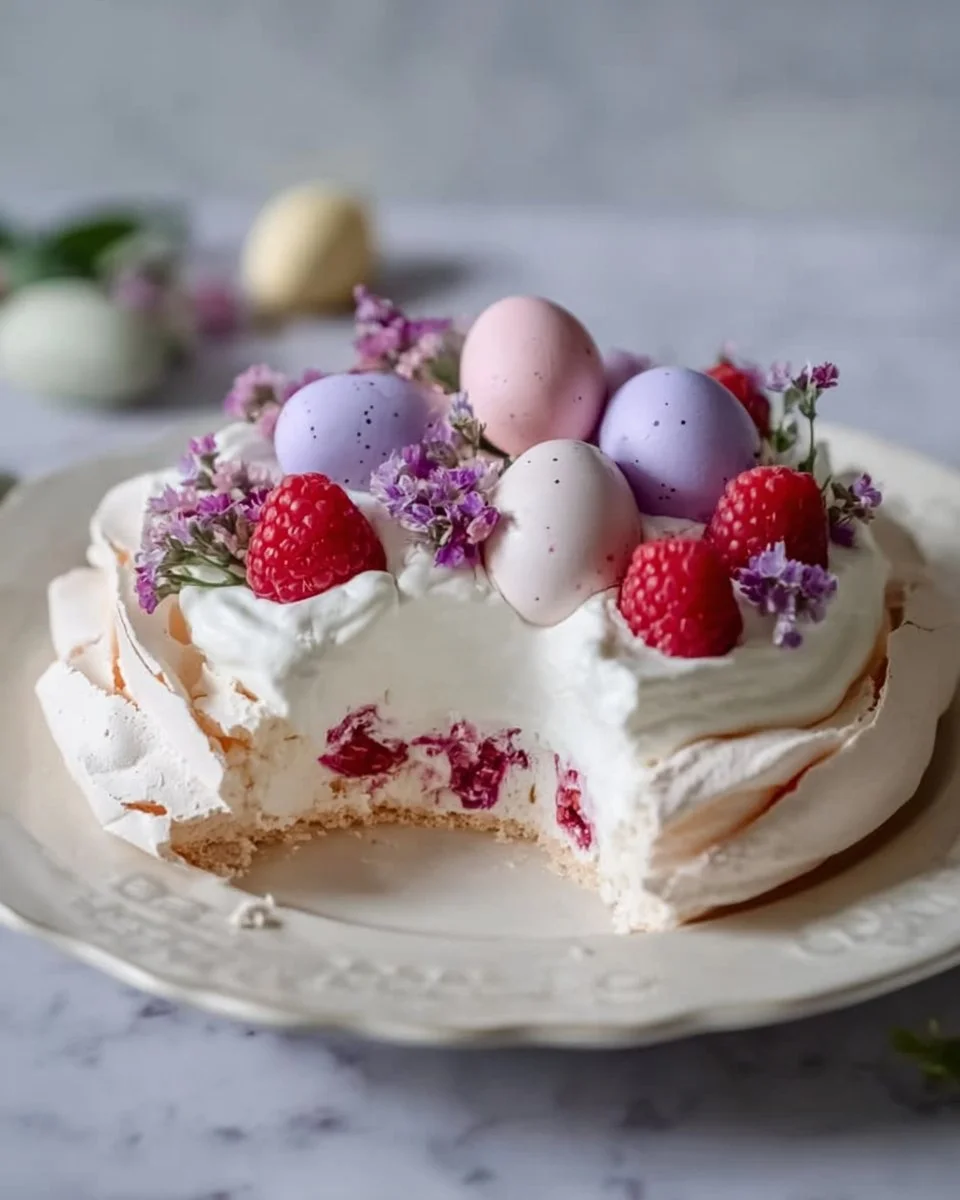
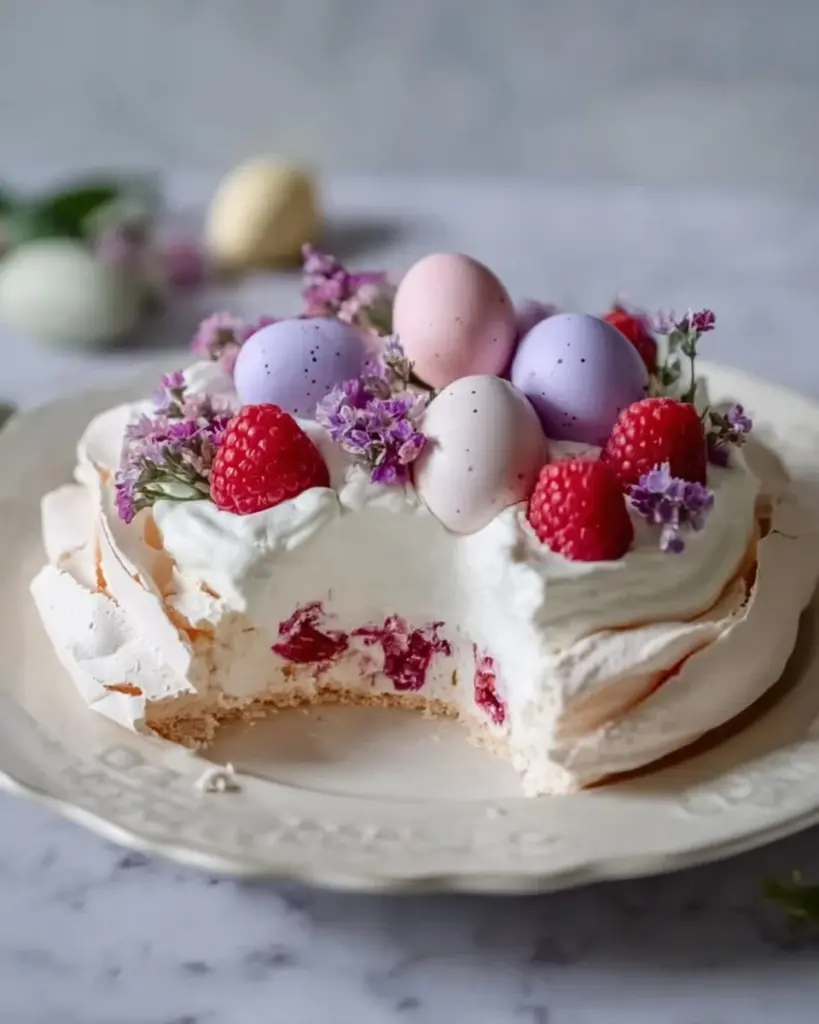
Easter Pavlova is a classic dessert that hails from the Southern Hemisphere, particularly Australia and New Zealand. Named after the famed Russian ballerina Anna Pavlova, this dessert celebrates lightness, much like a dancer on stage. Its base is made from whipped egg whites and sugar, creating a meringue that’s beautifully crisp on the outside and wonderfully soft on the inside. The result is a meringue nest that can hold the cream and fruits like a little edible bowl of happiness!
The taste is a lovely combination of sweetness from the meringue and richness from the cream, perfectly complemented by the tartness of fresh fruit. Whether it’s berries, kiwi, or the exotic passion fruit, Easter Pavlova is not only a feast for the eyes but also a delight for the palate. It’s the perfect dessert to serve during spring celebrations or special occasions when you want to impress your loved ones with something light yet indulgent.
Why You’ll Love This Recipe
Here are five compelling reasons to whip up this Easter Pavlova in your kitchen:
- Unmatched Freshness: Nothing compares to a homemade Pavlova! While store-bought versions can’t match the freshness, making your own means enjoying that divine crispiness and soft textures right out of the oven.
- Cost-Effective Indulgence: The ingredients are relatively inexpensive—four egg whites and some sugar go a long way! You can create something that looks and tastes gourmet without breaking the bank.
- Customizable Delight: Feel free to get creative with your toppings! Choosing your favorite seasonal fruits allows personal flair. You could even drizzle chocolate or sprinkle crushed nuts for extra crunch—your options are endless!
- Ideal for Spring Gatherings: Easter Pavlova shines at any spring gathering! Its colorful presentation brightens up any table and is sure to be a conversation starter (and a crowd-pleaser!).
- Easy to Make: Even if you’re a novice baker, this recipe is approachable. With just a bit of patience, you’ll master meringues and impress family and friends in no time!
Ingredients
Before we dive into the delightful process of crafting our Easter Pavlova, here’s a quick rundown of the ingredients you’ll need:
- Egg Whites (4): Fresh eggs are essential for achieving the best meringue. Make sure they are at room temperature for optimal whipping.
- Granulated Sugar (1 cup): Use fine granulated sugar to ensure a smooth meringue. If you can, opt for organic for a cleaner taste.
- Vanilla Extract (1 teaspoon): Pure vanilla extract enhances flavor; avoid imitation for a true taste boost.
- Vinegar (1 teaspoon): This helps stabilize the meringue; white vinegar or lemon juice works great!
- Heavy Cream (1 cup): Whipped heavy cream adds richness. Make sure it’s chilled for the best results!
- Assorted Seasonal Fruits: Think strawberries, blueberries, kiwi, or even tangy passion fruit to top your pavlova.
Prep Notes:
- Allow the egg whites and cream to be at room temperature—this will aid in volume and texture.
- For whipping cream, use a chilled bowl and beaters for the best volume.
Step-by-Step Instructions
- Preheat and Prep: Preheat your oven to 250°F (120°C) and line a baking sheet with parchment paper. This helps keep the meringue from sticking.
- Beat Those Whites: In a large mixing bowl, beat the egg whites using an electric mixer on medium speed until soft peaks form. This takes about 3-4 minutes.
- Add Sugar Gradually: Slowly add the sugar, one tablespoon at a time, continuing to beat on high speed until stiff peaks form and the mixture is glossy. This should take another 5-7 minutes. Chef’s Tip: Take time here; the sugar needs to fully dissolve for the perfect velvety meringue.
- Flavor It Up: Mix in the vanilla extract and vinegar with a gentle folding motion to avoid deflating your meringue.
- Shape Your Nests: Spoon the meringue onto the prepared baking sheet, shaping it into nests with a well in the center for holding cream. Aim for about 8 inches wide.
- Bake: Bake for about 1 hour, or until the meringues are dry and crisp to the touch. Visual Cue: It should lift cleanly off the parchment without sticking.
- Cool Down Time: Allow the meringues to cool completely in the oven with the door slightly ajar. This helps prevent cracking.
- Make Whipped Cream: In a separate bowl, whip the heavy cream on medium-high speed until soft peaks form. You can add a tablespoon of powdered sugar for a hint of sweetness if desired.
- Assemble Your Pavlova: Once the meringue nests are cool, gently fill them with whipped cream and top with an abundance of seasonal fruits.
- Serve and Enjoy: Serve immediately to enjoy the crisp meringue before it softens.
Expert Tips & Tricks
- Humidity Alert: High humidity doesn’t play nicely with meringues. Try to bake on a dry day for best results.
- Storage: Store leftover pavlova components separately in airtight containers. Keep the meringue at room temperature, and refrigerate the cream/fruit.
- Make-Ahead: The meringue can be baked a day in advance. Just store it in an airtight container.
- Common Problems: If your meringue weeps, it means the sugar didn’t dissolve fully, or humidity was too high—practice makes perfect!
- Classic Toppings: Don’t shy away from classic combinations! Passion fruit and berries are always a hit.
Serving Suggestions
Pair your beautiful Easter Pavlova with a refreshing herbal tea or a sparkling wine to elevate the experience. For a stunning presentation, serve on a large round platter with additional fresh fruits scattered around. It’s the perfect centerpiece for your Easter brunch or any festive spring celebration!
Variations & Substitutions
- Flavor Variants: Try adding a teaspoon of almond extract for a different flavor profile. Swap berries for tropical fruits like mango and pineapple during summer.
- Dietary Adaptations: For a dairy-free option, substitute whipped coconut cream for the regular heavy cream.
- Seasonal Fruits: Customize based on what fruits are available! Peaches and nectarines in summer or figs in autumn work wonderfully too.
Nutrition & Storage Info
- Prep Time: 20 minutes
- Cook Time: 1 hour
- Total Time: 1 hour 20 minutes
- Yield: Serves 6-8
- Estimated Calories: Approximately 220 calories per serving (without fruits).
- Storage: Meringue can be stored at room temperature for up to 3 days in an airtight container. Keep whipped cream in the fridge and use within 1-2 days. Assembled Pavlova is best enjoyed immediately!
FAQ Section
- What should I do if my meringue is too runny?
- Ensure your egg whites are free from any yolk, and keep whipping until stiff peaks form.
- Can I make Pavlova a day in advance?
- Absolutely! Just bake the meringues beforehand and assemble with cream and fruit right before serving.
- What fruits work best on a Pavlova?
- Seasonal fruits like strawberries, blueberries, kiwis, and kiwi are fabulous choices!
- How do I store leftover Pavlova?
- Store meringue in a cool, dry place and keep cream and fruits refrigerated separately.
- Can Pavlova be frozen?
- It’s best to freeze the meringue pre-baked. Once baked, it’s best served fresh as it may lose texture.
- Why did my meringue crack?
- Cracking is normal. To avoid, bake at a low temperature, and let cool gradually in the oven.
- Is Pavlova gluten-free?
- Yes, Pavlova is naturally gluten-free since it’s made with egg whites and sugar.
- How can I make this recipe more colorful?
- Add a mix of berries or dye your whipped cream with natural food colors for an Easter theme!
- What is the texture of a perfect Pavlova?
- When perfect, the exterior should be crisp, while the interior remains soft and marshmallow-like.
- What do I do if my whipped cream deflates?
- Ensure the bowl and beaters are cold before whipping, and don’t over-whip it—soft peaks work best!
Conclusion
This Easter Pavlova recipe is truly special—it’s a sweet, light, and impressive dessert that will make your spring celebrations unforgettable. The joy of creating this beautiful treat is matched only by the delight of sharing it with loved ones. I hope you give this recipe a try and perhaps even share your own family memories with it! I’d love to hear your thoughts or any tweaks you made in the comments below. And don’t forget to check out the other festive recipes on the blog—after all, inspiration is the sweetest ingredient!
Tasty Ground Turkey with Gochujang
Now, let’s get baking, and may every bite be filled with joy and laughter!
Easter Pavlova
Ingredients
Method
- Preheat the oven to 250°F (120°C) and line a baking sheet with parchment paper.
- In a large mixing bowl, beat the egg whites using an electric mixer on medium speed until soft peaks form, approximately 3-4 minutes.
- Gradually add the sugar one tablespoon at a time, beating on high speed until stiff peaks form and the mixture is glossy, about 5-7 minutes.
- Gently fold in the vanilla extract and vinegar to the egg white mixture.
- Spoon the meringue onto the prepared baking sheet, forming nests about 8 inches wide.
- Bake for about 1 hour until the meringues are dry and crisp to the touch.
- Let the meringues cool completely in the oven with the door slightly ajar.
- In a separate bowl, whip the heavy cream until soft peaks form.
- Once the meringue nests have cooled, gently fill them with whipped cream and top with a variety of seasonal fruits.
- Serve immediately to enjoy the crisp meringue texture.