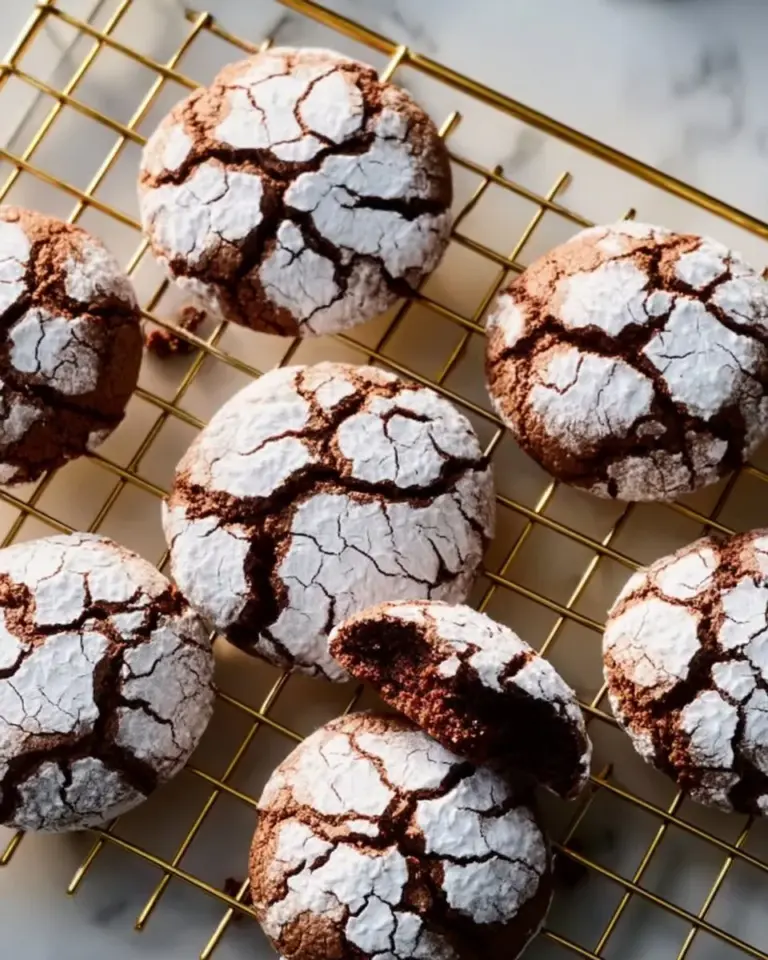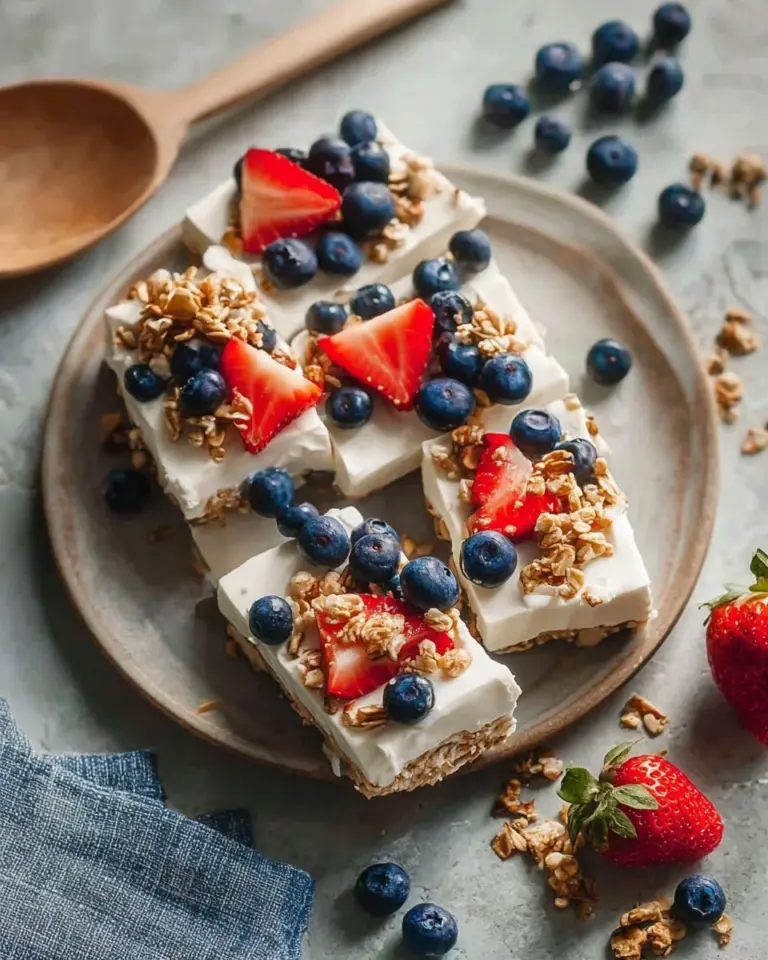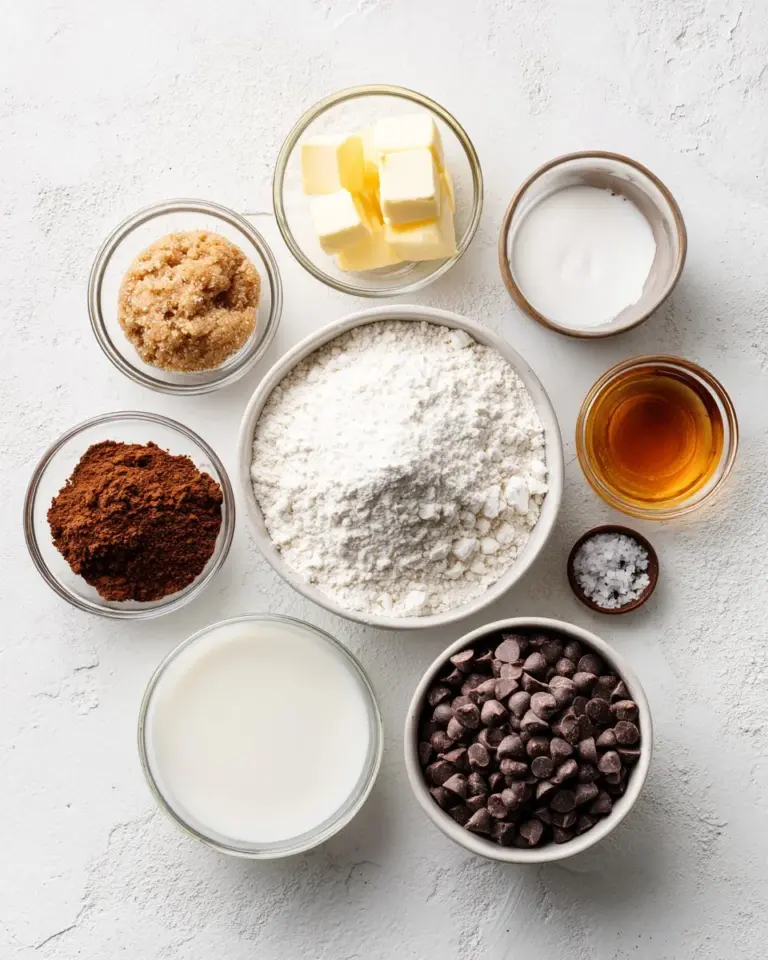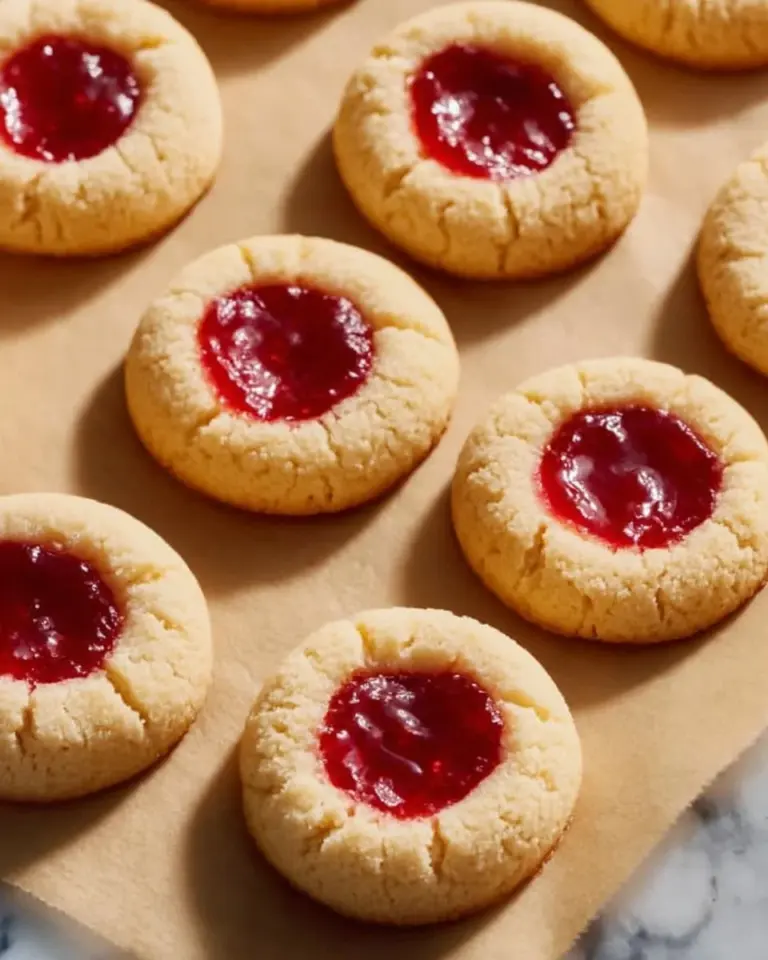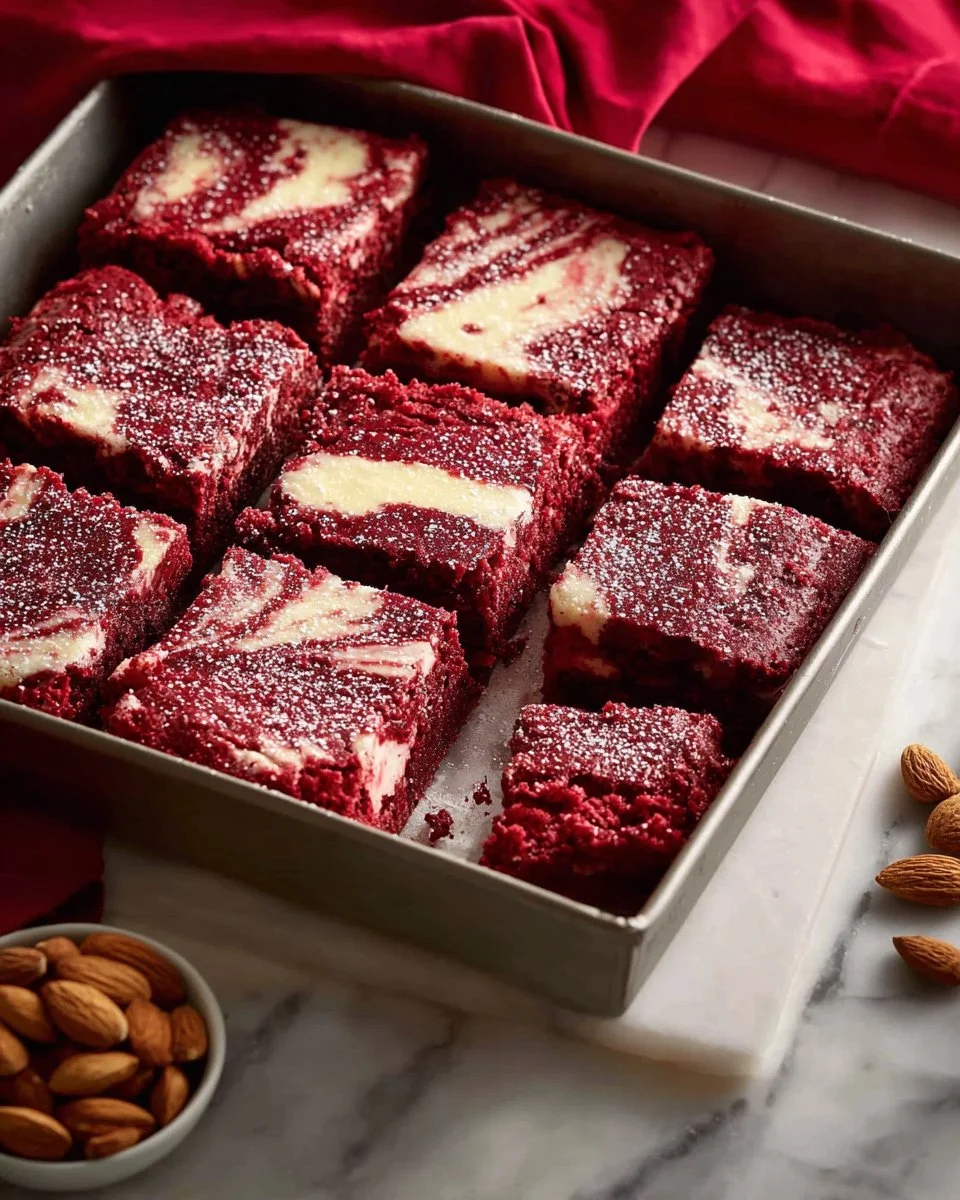
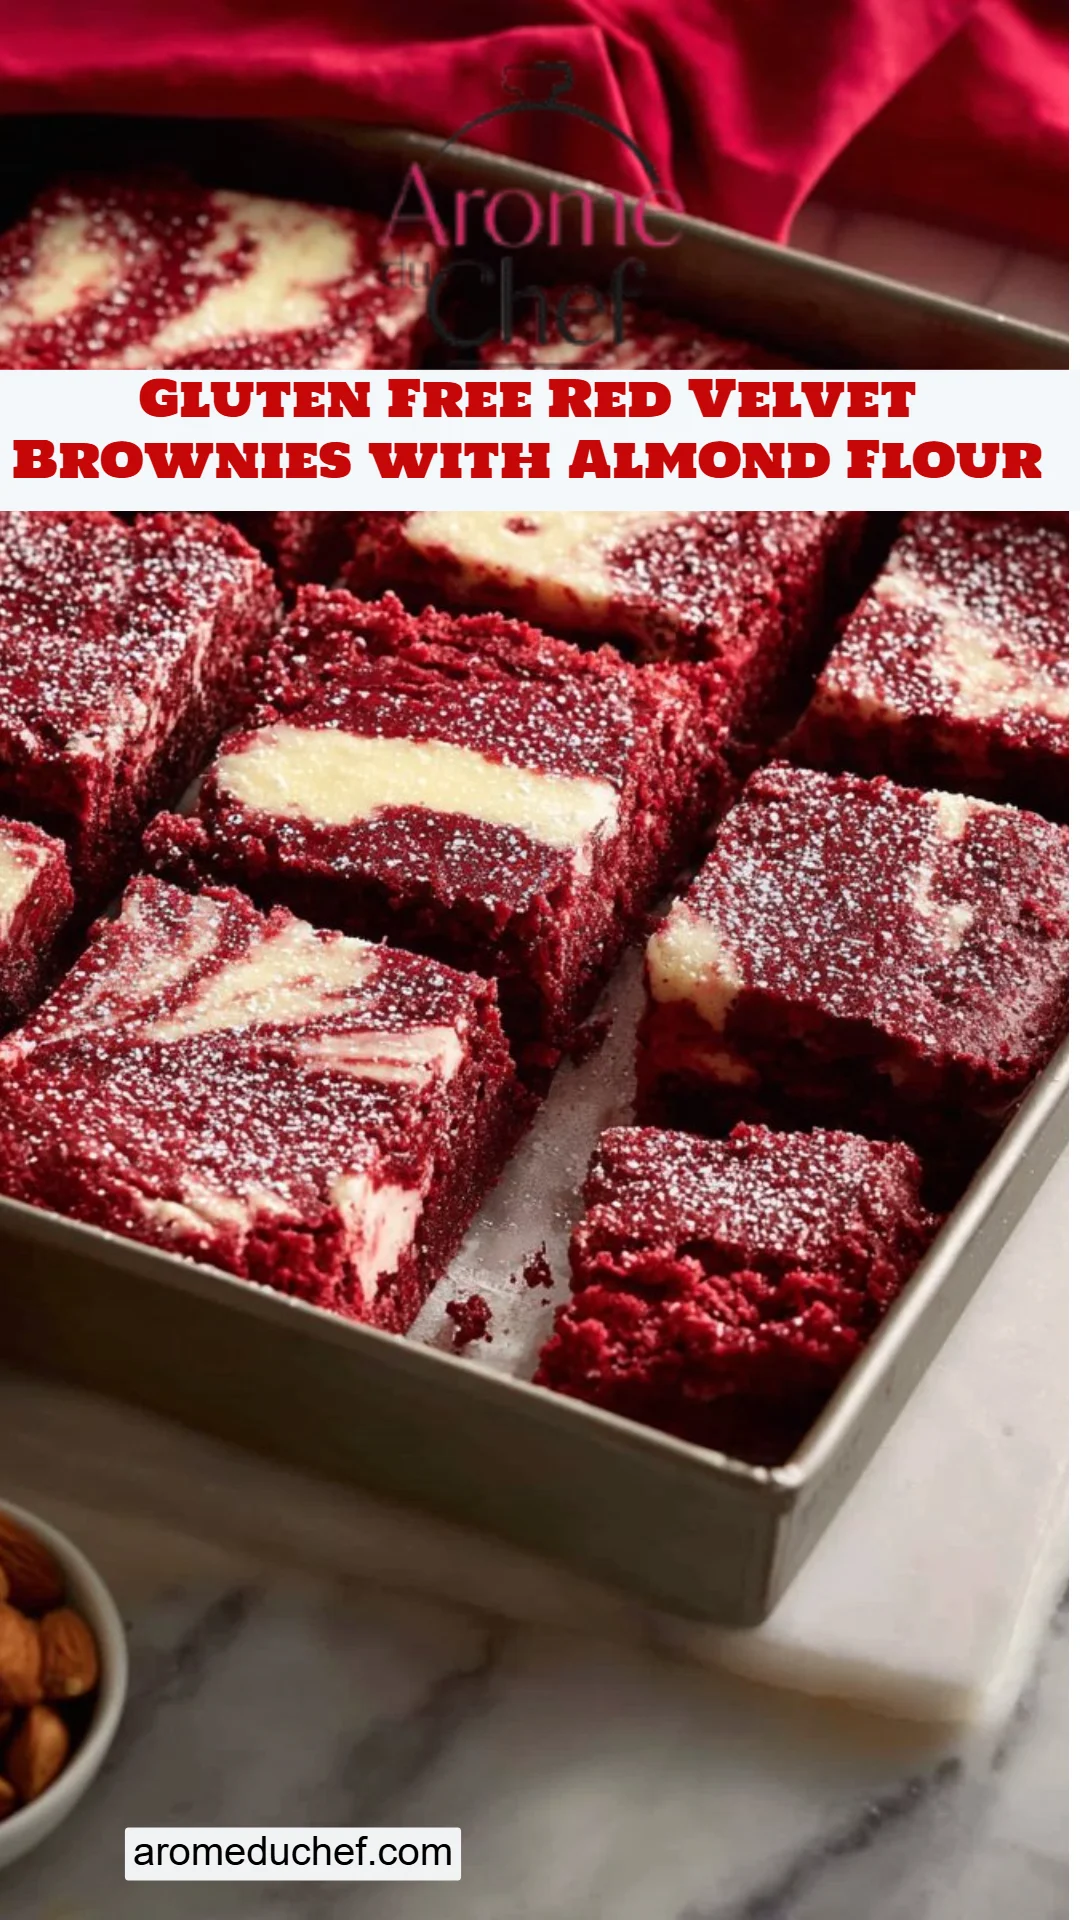
There’s something about baking that transports me back to my childhood kitchen, where the world went a little bit softer with every stir of the spoon and the scent of chocolate wafted through the air. I remember my grandma leaning over a mixing bowl, her flour-dusted hands working magic while we giggled in anticipation of the sweet rewards to come. One of our favorite treats was a rich, mouthwatering red velvet creation. Today, I’m excited to share my twist on that classic—Gluten Free Red Velvet Brownies with Almond Flour. These brownies are an indulgent blend of nostalgia and modern dietary needs, leading to a soft, fudgy texture that will make any dessert lover swoon.
What sets this recipe apart from others? Well, while traditional recipes sometimes lean on refined flour and loads of sugar, these brownies embrace wholesome almond flour and natural sweeteners, making them not only delightfully gluten-free but also a little bit healthier. Plus, with a luscious cream cheese swirl that holds a promise of cheesecake goodness, your taste buds are in for a treat!
Get ready to learn how to bake these brownies that elevate any get-together or quiet night in with a comforting touch of sweetness that’ll remind you of family gatherings and cozy evenings. Let’s get baking!
What are Gluten Free Red Velvet Brownies with Almond Flour?
The roots of red velvet desserts trace back to the early 19th century, but they gained prominence in the Southern U.S., where their distinctive red hue and velvety texture charmed many. These Gluten Free Red Velvet Brownies with Almond Flour offer a rich reinterpretation of the original cake, transforming it into a decadent brownie that’s perfect for sharing or keeping all to yourself.
With a subtle cocoa flavor combined with the sweet tang of cream cheese, each bite is soft, moist, and undeniably inviting. The smooth, red-tinted texture is appealing to both the eyes and the palate, making these brownies perfect for everything from birthday parties to cozy family dinners. Whether it’s a special occasion or just a casual Friday night, making these brownies will surely turn an ordinary day into something special.
Why You’ll Love This Recipe
- Easy to Make: Unlike some complex dessert recipes that require precise techniques, these brownies are simple enough for anyone—even baking beginners!
- Healthier Alternative: Switching out the traditional wheat flour for almond flour not only makes these brownies gluten-free but also adds a slightly nutty flavor and a boost of nutrients.
- Cost-Effective: You might be tempted to buy gluten-free treats from the store, but baking these brownies yourself is much more affordable and gives you complete control over the ingredients.
- Endless Customization: Want to add a touch of mint extract or some crushed nuts? Go for it! Feel free to sprinkle some chocolate chips on top before baking, or even swap out the cream cheese for your favorite frosting.
- Perfect for Meal Prep: These brownies not only stay fresh for up to a week but also freeze beautifully! You can whip up a batch anytime and enjoy them whenever the dessert cravings hit.
So, grab your apron, and let’s get to baking some delightful Gluten Free Red Velvet Brownies with Almond Flour that your friends and family will adore!
Ingredients
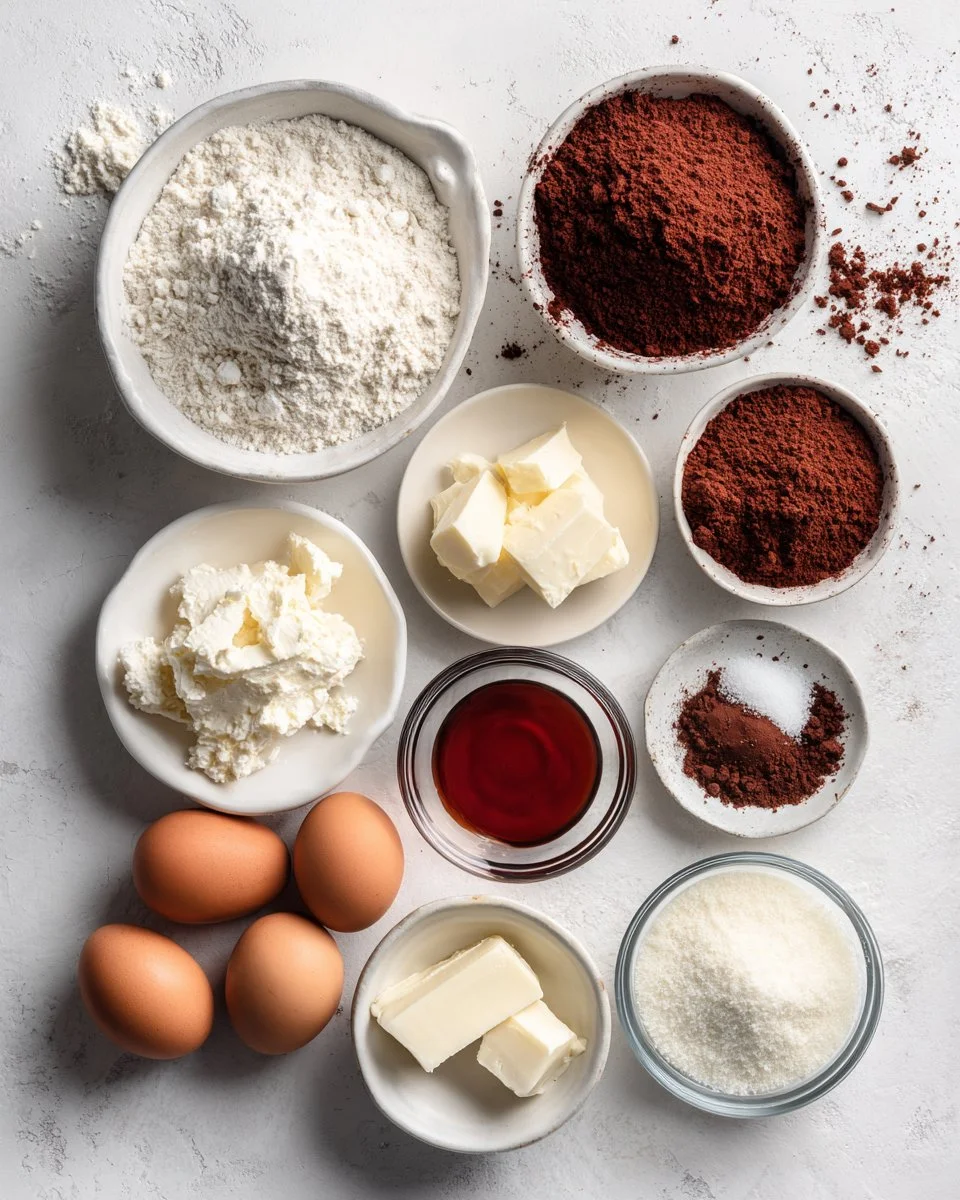
- 3/4 cup almond flour: Opt for finely ground almond flour for the best texture. Blanched almond flour provides a smoother finish, while other varieties may result in a coarser brownie.
- 3 large eggs: Using room temperature eggs helps emulsify the batter smoothly, leading to a richer, more decadent brownie.
- 10 tbsp butter: Unsalted butter is recommended for a balanced sweetness. Make sure to let it cool slightly after melting to prevent curdling the eggs.
- 1/3 cup cocoa powder: Use high-quality unsweetened cocoa powder for a rich chocolate flavor. Brands like Dutch-processed cocoa can add an exquisite depth.
- 3/4 cup sweetener: I use a blend of erythritol and stevia, but you can adjust according to your taste preferences. Maple sugar or coconut sugar is a delightful alternative, too!
- 1 tsp baking powder: This gives the brownies just enough lift to achieve that soft, cake-like texture without becoming too airy.
- 1 tsp vinegar: This helps activate the baking powder and enhances the red color of the brownies!
- 1 tbsp red food coloring: Use gel or natural food coloring for an intense hue that’s free from artificial additives.
- 1/4 tsp salt: Enhances the overall flavor, balancing the sweetness of the brownies.
- 6 oz cream cheese: Allow the cream cheese to come to room temperature for easy mixing; this will ensure a smooth cheesecake layer.
- 1/4 cup sweetener (for cheesecake layer): Adjust sweetness according to your preference, using the same variety as for the brownie base.
- 1 egg (for cheesecake layer): Again, using a room temperature egg will help blend the mixture to a creamy texture.
- 1 1/2 tsp vanilla extract: Always opt for pure vanilla extract for the best flavor!
Step-by-Step Instructions
- Preheat the oven: Start by heating your oven to 350 degrees Fahrenheit (175 degrees Celsius). Grease an 8×8-inch baking pan with butter or cooking spray, ensuring a non-stick surface for those delicious brownies.
- Prepare the cream cheese layer: In a small bowl, beat together the cream cheese, 1/4 cup sweetener, 1 egg, and vanilla extract until smooth and well combined. Set this luscious mixture aside while we prepare the brownie batter.
- Mix the wet ingredients: Melt the butter and let it cool slightly (about 5 minutes). In a mixing bowl, whisk together the melted butter and 3 eggs for about 1-2 minutes until frothy. Add in the vinegar and red food coloring. Stir until everything is beautifully combined.
- Combine dry ingredients: In a separate bowl, whisk together the almond flour, cocoa powder, 3/4 cup sweetener, baking powder, and salt until well mixed.
- Combine wet and dry ingredients: Gently fold the wet ingredients into the dry mixture, being careful not to overmix. You want to retain that rich and gooey texture.
- Create the brownie base: Pour the brownie batter into your greased baking pan, spreading it out evenly.
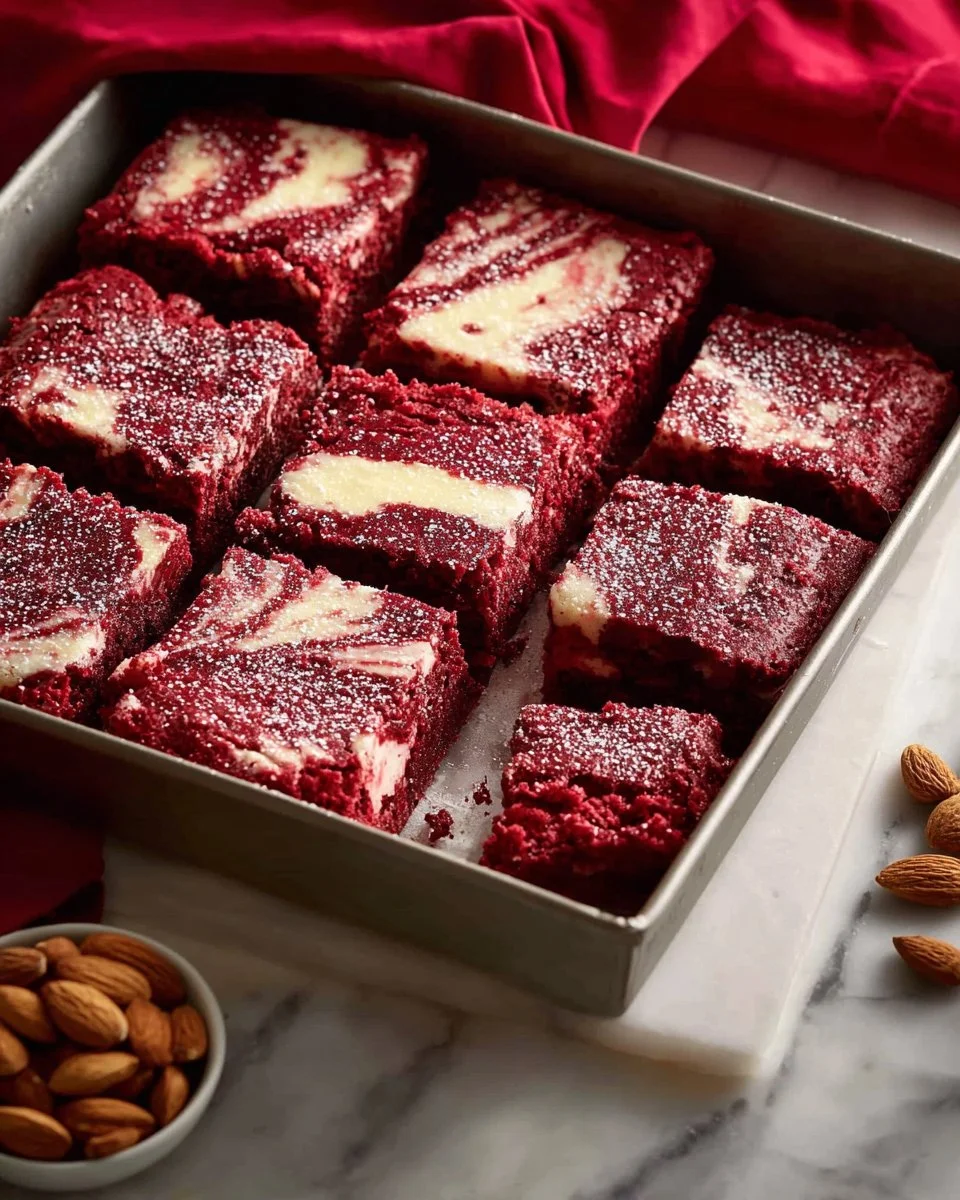
- Add the cream cheese mixture: Spoon the prepared cream cheese mixture over the brownie batter. Using a knife or a toothpick, gently swirl the cream cheese into the brownie layer to create a beautiful marbled effect.
- Bake to perfection: Place the pan in the preheated oven and bake for 25-30 minutes. The edges should be firm, while the center might jiggle slightly when you shake the pan. Turn off the oven and crack the door for a few minutes before removing them to cool.
- Cool and cut: Allow the brownies to cool completely in the pan before cutting them into squares. This will ensure clean edges and lovely layers!
Expert Tips & Tricks
- Storage Recommendations: Store leftovers in an airtight container at room temperature for up to 3 days or in the fridge for up to a week. To freeze, wrap squares individually before placing them in a freezer-safe bag, and they can last for up to 3 months!
- Make-Ahead Instructions: Prepare the brownie batter a day in advance and store it in the refrigerator. Just make sure to bring it back to room temperature before baking.
- Troubleshooting Tips: If the brownies come out too crumbly, make sure to check if they were overbaked or if there was not enough moisture added. On the flip side, if they are too gooey, increase the baking time by a few minutes until set.
- Common Mistakes: Be careful not to overmix the batter after folding in the dry ingredients; this is key to keeping your brownies fudgy!
- Flavor Variations: Feel free to add in chocolate chips, chopped nuts, or even a touch of peppermint extract for a seasonal twist.
Serving Suggestions
- Pair with a Drink: These rich brownies crave a glass of cold milk or a steaming cup of coffee—so good together!
- Presentation Ideas: Dust with powdered sugar, add a fresh raspberry garnish, or serve with a scoop of vanilla ice cream for a delicious contrast.
- Perfect for Occasions: Ideal for birthdays, picnics, or even as a romantic dessert after dinner.
Variations & Substitutions
- Flavor Combinations: Feel free to experiment with different extracts like almond or hazelnut for a unique twist! You could also mix in some peppermint for a festive flavor, especially around the holidays.
- Dietary Restrictions: If you’re looking to make these vegan, you could substitute eggs with flax eggs, and use dairy-free cream cheese.
- Seasonal Variations: In the fall, add a hint of pumpkin spice for a seasonal touch, or incorporate a touch of crushed peppermint candy during the winter months.
Nutrition & Storage Info
- Prep Time: 15 minutes
- Cook Time: 30 minutes
- Total Time: 45 minutes
- Yield: Approximately 16 brownies
- Estimated Calories: 140 calories per brownie
- Storage Instructions: Room temperature for 3 days, in the fridge for a week, or freeze for 3 months.
FAQ Section
- Can I use regular flour instead of almond flour?
- While almond flour provides the gluten-free benefit and a unique flavor, you can substitute regular flour—but the texture and taste will differ.
- What can I substitute for the sweetener?
- You can use any preferred sweetener, like honey, maple syrup, or coconut sugar. Just remember to adjust any liquid ingredients accordingly if using liquid sweeteners.
- How do I make this dairy-free?
- Swap butter for coconut oil and use plant-based cream cheese for the cheesecake layer.
- How do I know when the brownies are done?
- The edges should be set and firm when you jiggle the pan, while the center might still look a tad underbaked. They’ll firm up as they cool.
- Can I make this in advance?
- Absolutely! These brownies can be made a day in advance and stored in the fridge, which gives the flavors time to meld beautifully.
- What can I use instead of eggs?
- You can use flax eggs (1 tbsp of ground flaxseed mixed with 2.5 tbsp water for each egg) as a substitute.
- What’s the best way to cut brownies?
- For clean cuts, use a sharp knife and wipe it with a damp cloth between cuts.
- Can I double the recipe?
- Yes, doubling the recipe works perfectly! Just be sure to adjust baking time for larger quantities.
- Why do my brownies taste bitter?
- If using cocoa powder, ensure it’s high-quality. Bitterness can also come from an imbalance in sweeteners.
- Are these brownies suitable for freezing?
- Yes! The brownies freeze very well. Just wrap them individually and place them in a ziplock bag.
Conclusion
Baking is all about creating moments of joy, and that’s exactly what these Gluten Free Red Velvet Brownies with Almond Flour provide! With their rich flavors and luscious texture, they’re not just a dessert; they are a sweet reminder of the comfort of home and the happiness that comes from sharing with loved ones.
I encourage you, dear readers, to give this recipe a try and let me know how your baking adventure goes! I’d love to hear your thoughts and any variations you come up with. Be sure to check out more delicious recipes on the blog that celebrate the joys of baking!
Decadent Cottage Cheese Date Brownies
Happy baking!
Gluten Free Red Velvet Brownies with Almond Flour
Ingredients
Method
- Preheat your oven to 350°F (175°C) and grease an 8×8-inch baking pan.
- In a small bowl, beat together the cream cheese, 1/4 cup sweetener, 1 egg, and vanilla extract until smooth. Set aside.
- Melt the butter and allow it to cool for about 5 minutes.
- In a mixing bowl, whisk together the melted butter and 3 eggs until frothy. Add in vinegar and red food coloring.
- In a separate bowl, whisk together almond flour, cocoa powder, 3/4 cup sweetener, baking powder, and salt.
- Gently fold the wet ingredients into the dry mixture.
- Pour brownie batter into the greased baking pan and spread evenly.
- Spoon the cream cheese mixture over the brownie batter and swirl with a knife or toothpick.
- Bake for 25-30 minutes. The edges should be firm and the center slightly jiggly.
- Allow the brownies to cool completely in the pan before cutting them into squares.