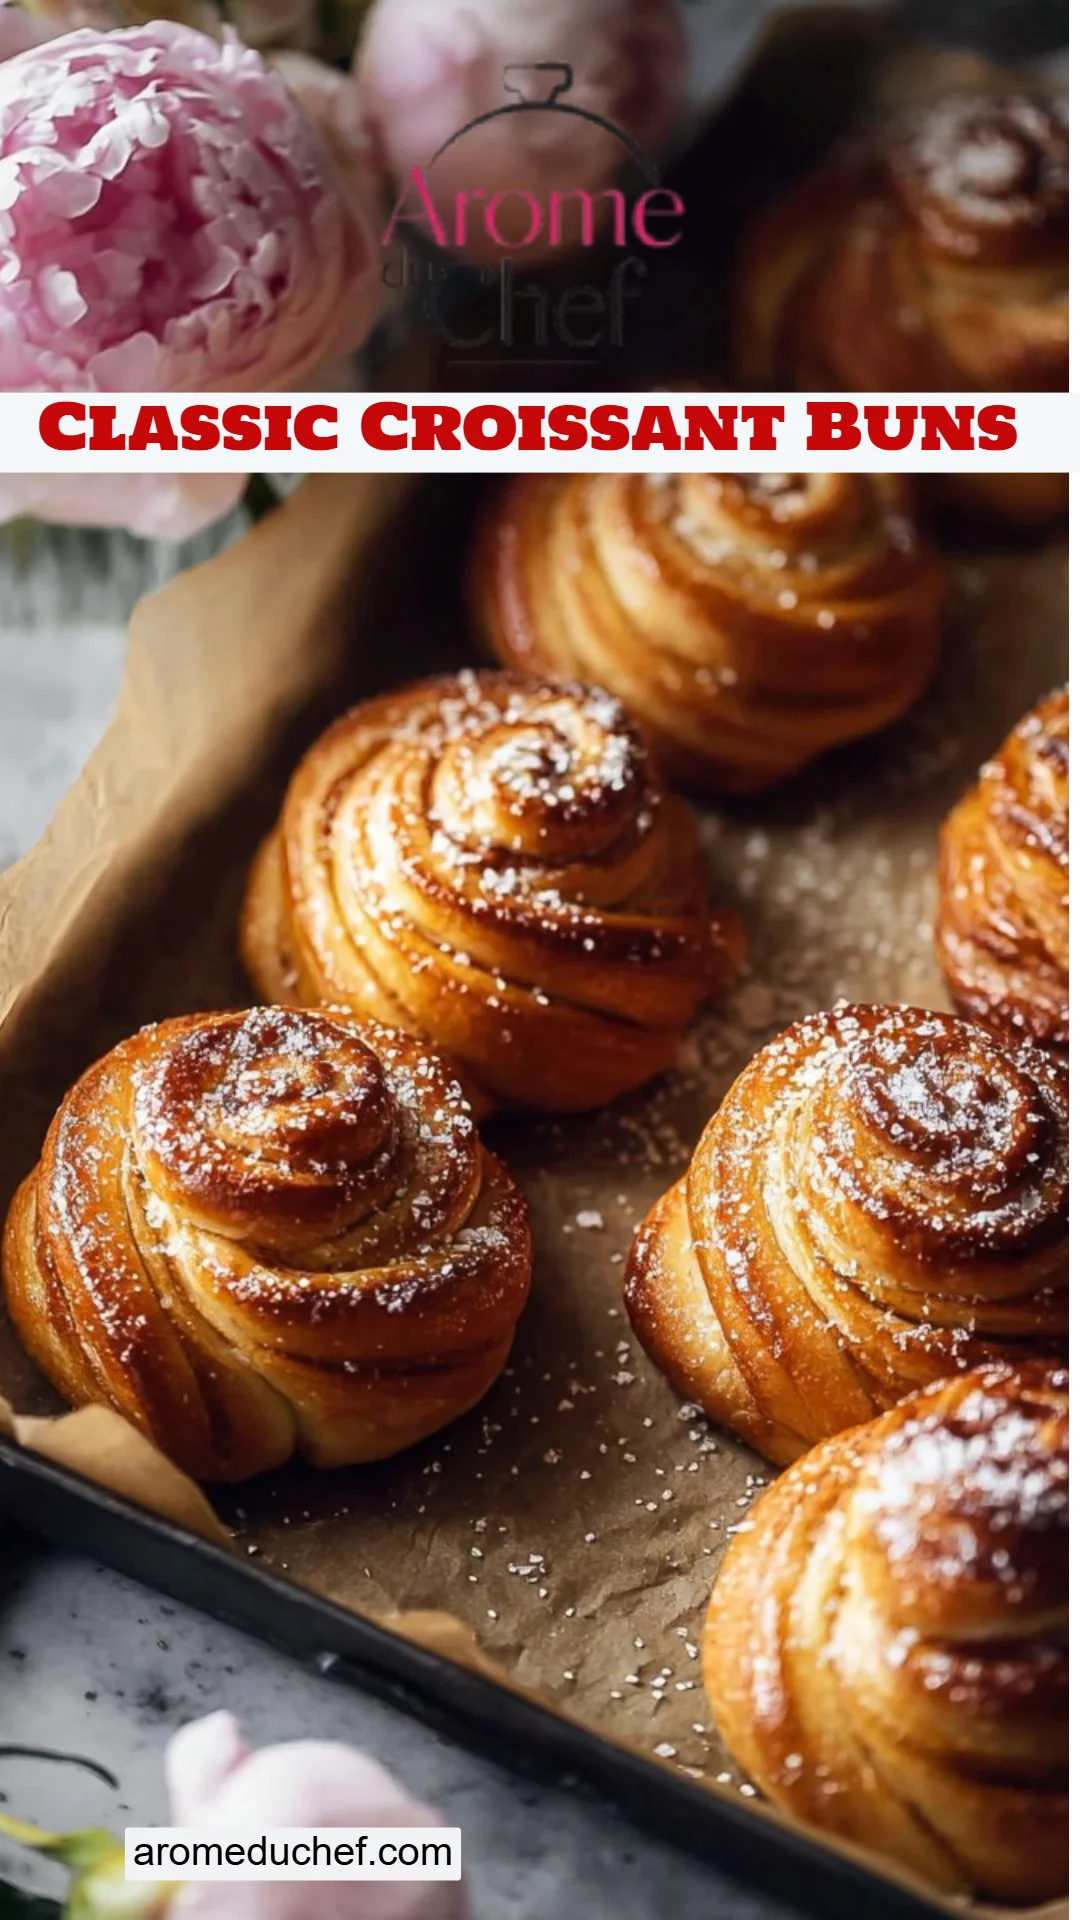
Picture this: it’s a crisp Sunday morning, the sun is just peeking through the curtains, and the rich aroma of freshly baked bread fills the air. I remember growing up, there was nothing quite like the joy of sharing fluffy croissant buns warm from the oven with my family. The buttery, flaky layers were always a hit, with smiles all around the breakfast table. These Classic Croissant Buns are not just your ordinary baked good; they evoke memories of cozy family gatherings and lazy mornings filled with laughter and love.
What sets this recipe apart is the luscious filling of sugar and spices that lends a delightful sweetness to each bite, alongside a texture that is both soft and flaky. Unlike store-bought versions that often leave you disappointed, these homemade croissant buns are crafted with love and patience, yielding a luxurious experience that you simply can’t find elsewhere. By the end of this post, I promise you’ll not only master the art of making Classic Croissant Buns, but you’ll also create delicious memories that’ll last a lifetime.
What Are Classic Croissant Buns?
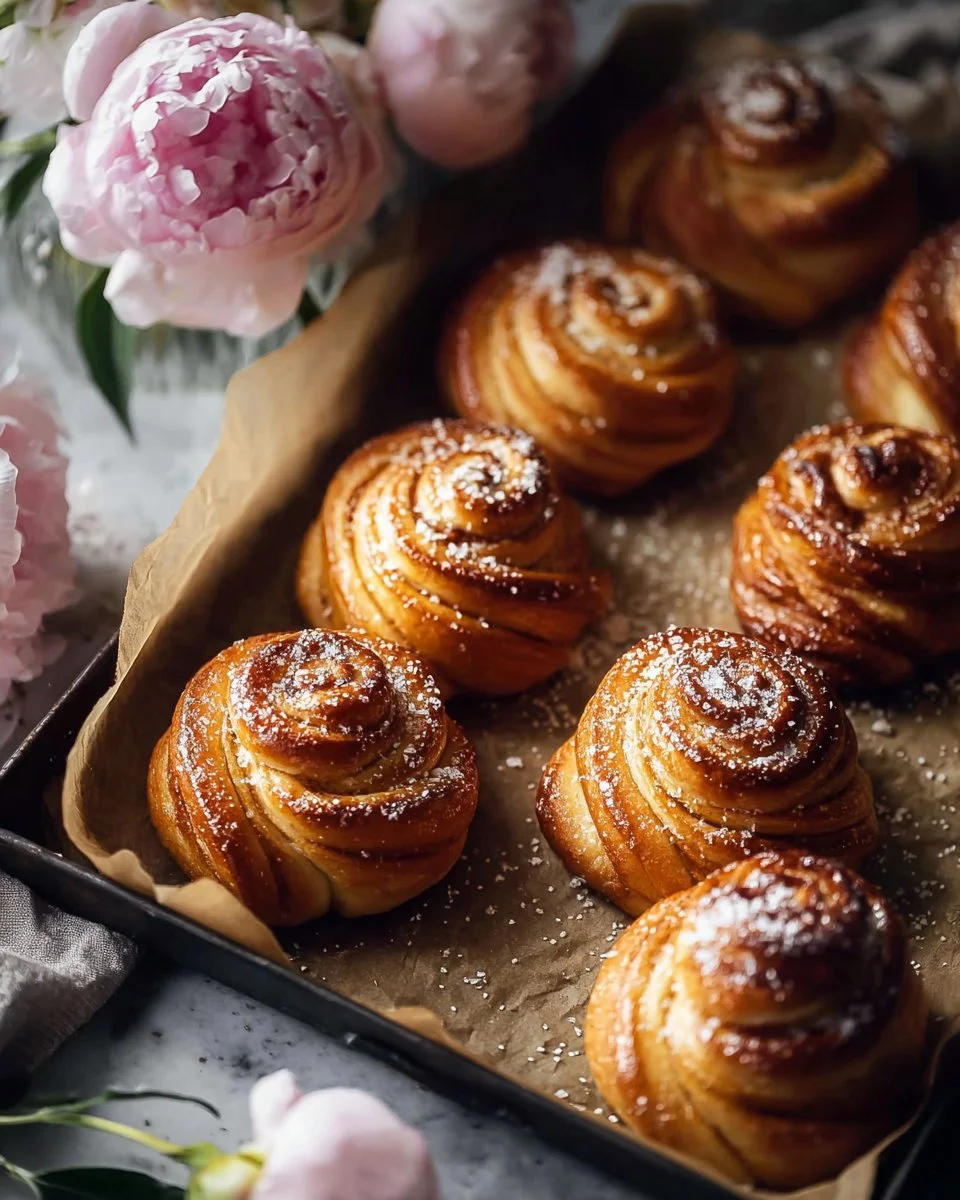
The Classic Croissant Bun traces its roots back to France, where the art of layering and folding dough combined with butter creates a flaky texture unlike any other. When you take a bite, you’ll experience a satisfying crunch on the outside followed by a soft, pillowy interior that melts in your mouth. These buns are typically made using a method called lamination, which involves folding butter into the dough to create those signature layers.
What makes them unique? It’s the combined artistry of French pastry making and the homey, comforting influence of sweet buns. The journey of making croissant buns can be as fulfilling as indulging in them, making them perfect for special occasions or an impressive weekend breakfast with loved ones.
Why You’ll Love This Recipe
- Homemade Goodness: There’s something extraordinary about enjoying a pastry you’ve made yourself. The satisfying crunch and buttery layers of these croissant buns far surpass store-bought options. Your family and friends won’t believe you made them at home!
- Customization Options: This recipe is incredibly flexible! Want to switch up the flavors? Try adding chocolate, dried fruit, or various spices. You can even adapt the filling to suit your personal preferences or dietary restrictions.
- Cost-Effective: Let’s be real: gourmet pastries can be pricey! By making these buns at home, you not only save money, but you also gain the knowledge of creating something truly special.
- Impressive Presentation: When served with a light dusting of powdered sugar or a glaze, these buns are a showstopper at any brunch. Friends and family will be wowed by both your baking skills and your delicious flavors!
- Gateway to Baking Mastery: If you’re looking to hone your baking skills, making croissant buns is a fantastic way to learn. With practice, you’ll gain confidence in pastry techniques that can extend to other recipes!
Ingredients Section
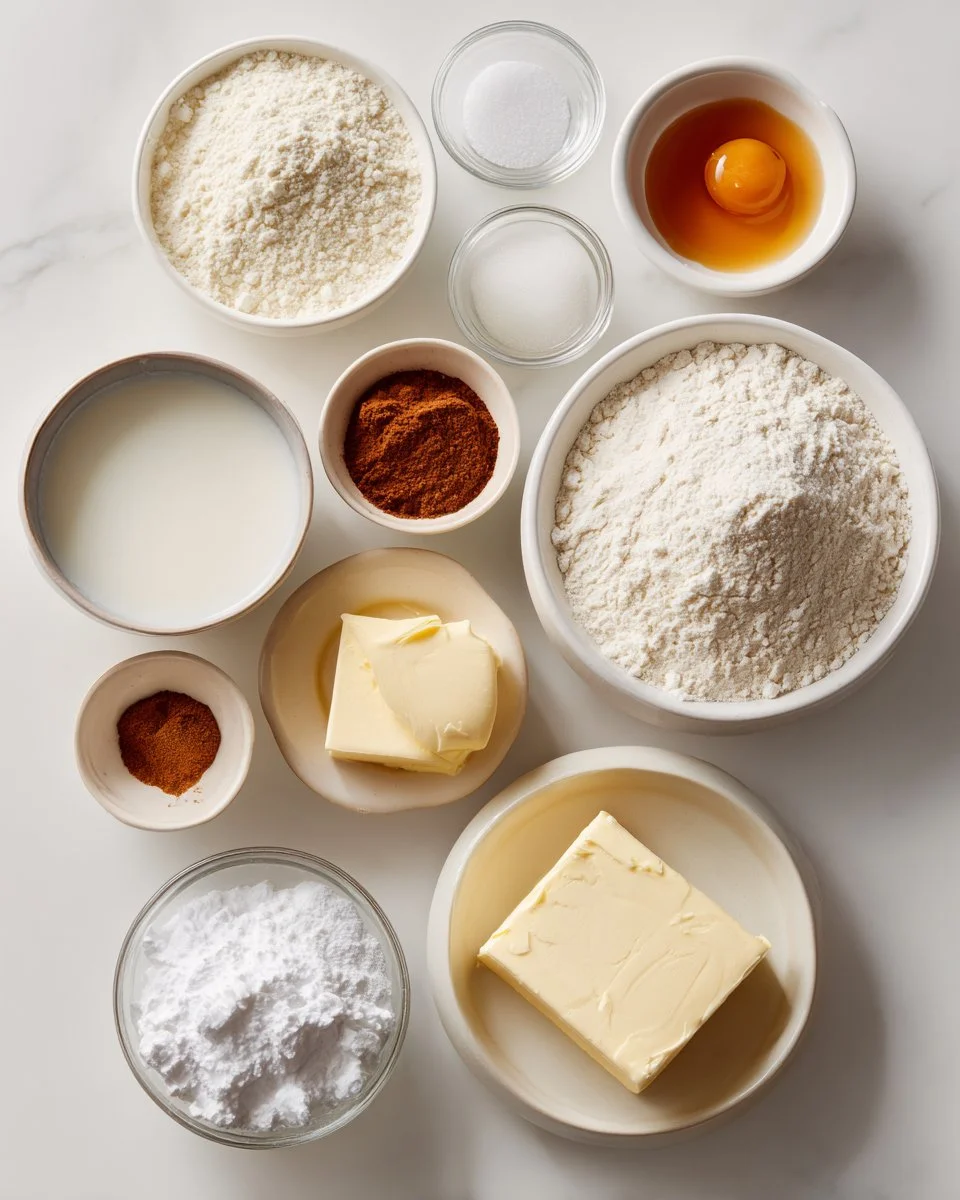
For the Dough:
- 6 tbsp milk (lukewarm, about 105-115°F)
- 2 tsp yeast (I recommend Saf-Instant Yeast for consistent results)
- 2/3 cup flour (for the preferment)
- 1 cup milk (for the dough)
- 3 cups flour (I love using King Arthur Bread Flour for its strength)
- 3.5 tbsp sugar
- 2.5 tsp salt
- 0.5 tbsp vanilla extract
- 0.5 tbsp butter (softened to room temperature)
For the Butter Block:
- 22 tbsp unsalted butter (cold, for the butter block)
For the Filling:
- 1/2 cup granulated sugar
- 1/4 cup brown sugar
- 1 tbsp orange zest (freshly grated for the best flavor)
- 1.5 tsp ground cinnamon
- 1/4 tsp salt
For Assembling:
- 3 tbsp butter (melted and cooled slightly)
Notes:
- Ensure your butter is cold for layering—it helps achieve those delightful flaky layers.
- Opt for high-quality flour for the best results; it makes a noticeable difference in texture.
- Let your ingredients sit at room temperature before using to enhance mixing and flavor development.
Step-by-Step Instructions
- Create the Poolish: In a bowl, combine 6 tbsp lukewarm milk, 2 tsp yeast, and 2/3 cup flour. Cover and let it rest for 2-3 hours or overnight. (This makes the dough more flavorful!)
- Mix Dough: To the poolish, add 1 cup milk, 3 cups flour, 3.5 tbsp sugar, 2.5 tsp salt, 0.5 tbsp vanilla extract, and 0.5 tbsp softened butter. Mix for 3 minutes, let rest for 20 minutes, then mix for another 3-4 minutes until smooth. Allow the dough to rise for 1-2 hours until it doubles in size.
- Prepare Butter Block: Flatten the dough slightly and refrigerate. In a separate bowl, beat 22 tbsp of butter until pliable. Shape it into a rectangle and chill it as well.
- Laminate Dough: Roll the chilled dough into a large rectangle (about twice the size of your butter block). Place the butter block in the center, fold the dough over, and roll it out again. Refrigerate for 30 minutes after each fold. (Make sure your dough and butter stay cold to prevent melting.)
- Prepare Filling: In a small bowl, mix 1/2 cup granulated sugar, 1/4 cup brown sugar, 1 tbsp fresh orange zest, 1.5 tsp ground cinnamon, and 1/4 tsp salt.
- Assemble Buns: Roll out your laminated dough one last time into a large rectangle. Brush it with 3 tbsp melted butter, sprinkle evenly with your filling mixture, then roll tightly into a log. Cut into 12 pieces and refrigerate for 30 minutes.
- Final Rise and Bake: Let your buns rise at room temperature for 1 hour. Preheat the oven to 375°F and bake for 45-60 minutes or until golden brown and fragrant. Cool briefly before enjoying!
Expert Tips & Tricks
- Quality Ingredients: Always go for the best flour and butter you can find; it’ll make a world of difference in flavor and texture.
- Dive into Making Dough Ahead of Time: You can make the dough a day in advance and let it rest in the fridge overnight. Just be sure to let it warm up a bit before stretching it out!
- Storage Recommendations: Keep any leftover buns at room temperature in an airtight container for up to 3 days or freeze them for a few months for a quick breakfast option.
- Troubleshooting: If your layers aren’t forming as expected, check your dough temperature; it should be cool but not cold. If the butter melts into the dough, re-chill for better results.
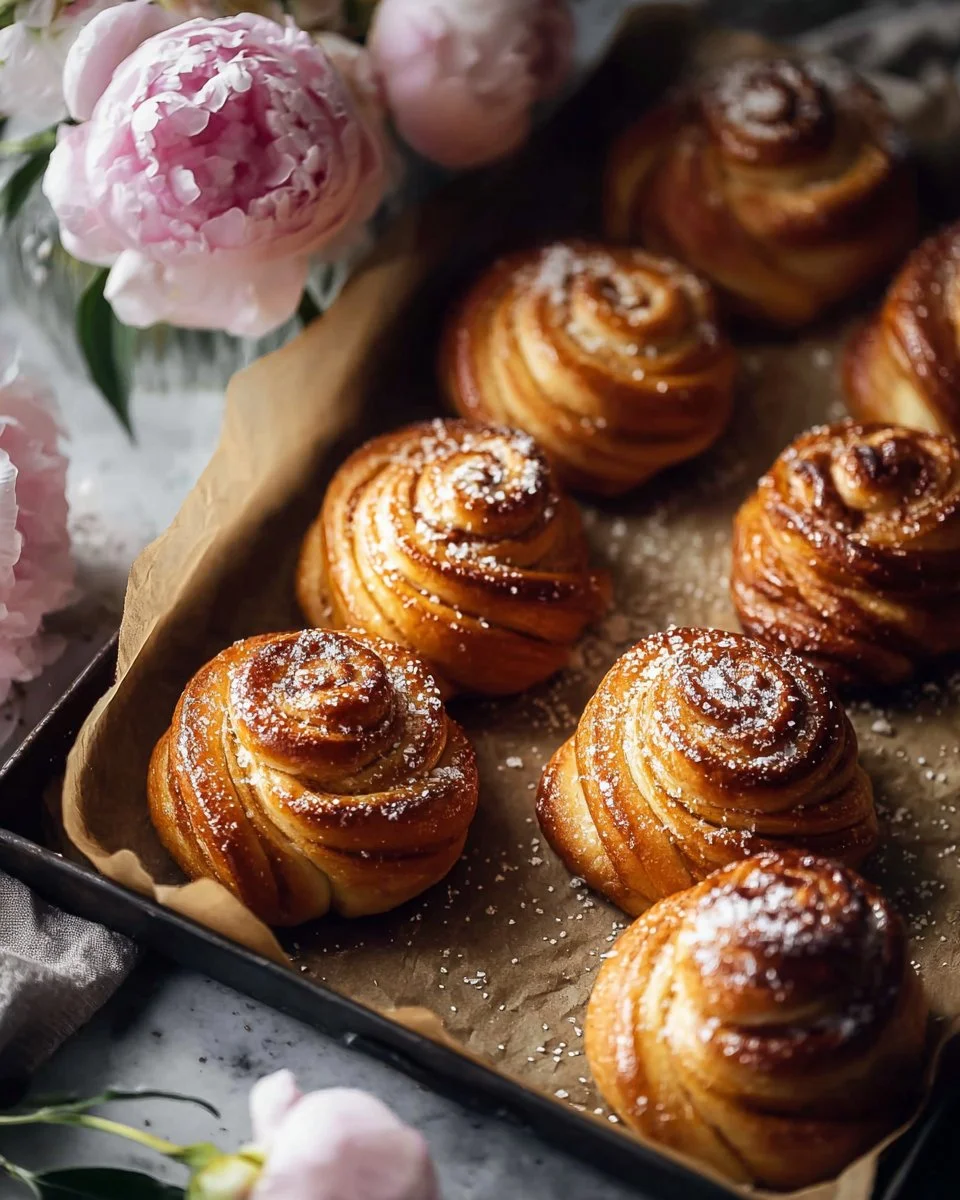
- Presentation: Serve these croissant buns with a light dusting of powdered sugar or a simple glaze made from powdered sugar and milk for an enchanting finish.
Serving Suggestions
These Classic Croissant Buns pair beautifully with fresh fruit, artisanal jams, or a dollop of whipped cream. For a cozy brunch, serve alongside freshly brewed coffee or a mimosa. For gatherings, a pretty platter filled with these delightful buns can truly elevate your hosting game!
Variations & Substitutions
- Flavored Options: Stuff with chocolate ganache or Nutella for an indulgent treat. Create a savory version by adding herbs and cheese.
- Dietary Adaptations: For a dairy-free version, substitute with plant-based milk and butter alternatives. Feel free to use gluten-free flour, though textures may vary.
- Seasonal Joy: In the fall, consider adding pumpkin spice to the filling or cranberries, while in the summer, fresh berries could lighten the flavors beautifully!
Nutrition & Storage Info
- Prep Time: 4 hours (includes rising times)
- Cook Time: 45-60 minutes
- Total Time: Approx. 5 hours
- Yield: 12 servings
- Estimated Calories: Approximately 300 calories per bun
- Storage Instructions: Store at room temperature in an airtight container for up to 3 days. Freeze for up to 3 months.
- Lasting Freshness: To maintain freshness, wrap each bun in plastic wrap before freezing.
FAQ Section
- Can I make these without a mixer? Yes, you can knead the dough by hand. Just remember that it may take a bit longer to reach the desired consistency!
- What do I do if my dough isn’t rising? Ensure your yeast is fresh and your kitchen is warm. If it’s cool, consider placing the dough in a slightly warm oven or near a warm spot in your home.
- Can I refrigerate the dough overnight? Absolutely! This will enhance the flavors and make the dough easier to handle.
- How do I know when they’re done baking? Look for a golden brown color and a slight crispness on the outside. They will also sound hollow when you tap the bottom.
- Can I freeze the unbaked buns? Yes! Assemble them, place them in the freezer on a baking sheet until solid, then transfer into an airtight container. Bake from frozen, adjusting the time accordingly.
- What is the best way to warm them up? Pop them in the oven at 350°F for about 10 minutes or until they feel warm and fresh.
- Why is the butter block important? The butter block creates the flakiness and layers essential to the classic croissant texture.
- Can I add fillings to the dough before rolling? Certainly! Just keep in mind that adding too much filling might prevent the layers from forming properly.
- Do I need to let the dough rise twice? Yes, the initial rise develops the flavor, while the second rise after shaping gives the buns their final shape and airy texture.
- What can I serve with these buns? Try pairing them with a simple vanilla yogurt or fresh fruit salad for a delightful contrast.
Conclusion
There’s a reason making Classic Croissant Buns feels like a celebration; the joy of creating something hearty and delicious is unmatched. Dive into this recipe, and create not just a dish, but cherished moments. I can’t wait to hear about your baking adventures in the comments! Don’t forget to check out my other related recipes on the blog for more delightful ideas.
Cookie Dough Bites (Quick + Easy Recipe!)
Happy baking!
Classic Croissant Buns
Ingredients
Method
- In a bowl, combine 6 tbsp lukewarm milk, 2 tsp yeast, and 2/3 cup flour. Cover and let it rest for 2-3 hours or overnight.
- To the poolish, add 1 cup milk, 3 cups flour, 3.5 tbsp sugar, 2.5 tsp salt, 0.5 tbsp vanilla extract, and 0.5 tbsp softened butter. Mix for 3 minutes, let rest for 20 minutes, then mix for another 3-4 minutes until smooth. Allow the dough to rise for 1-2 hours until it doubles in size.
- Flatten the dough slightly and refrigerate. In a separate bowl, beat 22 tbsp of butter until pliable. Shape it into a rectangle and chill it as well.
- Roll the chilled dough into a large rectangle (about twice the size of your butter block). Place the butter block in the center, fold the dough over, and roll it out again. Refrigerate for 30 minutes after each fold.
- In a small bowl, mix 1/2 cup granulated sugar, 1/4 cup brown sugar, 1 tbsp fresh orange zest, 1.5 tsp ground cinnamon, and 1/4 tsp salt.
- Roll out the laminated dough one last time into a large rectangle. Brush it with 3 tbsp melted butter, sprinkle evenly with your filling mixture, and roll tightly into a log. Cut into 12 pieces and refrigerate for 30 minutes.
- Let the buns rise at room temperature for 1 hour. Preheat the oven to 375°F and bake for 45-60 minutes or until golden brown and fragrant.