Picture this: it’s a lazy Sunday afternoon, and you’re rifling through your pantry, craving something sweet yet nourishing. That’s when I stumbled upon the idea of Peanut Butter Yogurt Cups—a delightful combination that hugs your heart and treats your tastebuds! When I first made these, I was transported back to my childhood, where every spoonful of peanut butter felt like a comforting hug from my mom. These creamy cups aren’t just a repeat of your usual dessert; they’re a memory waiting to be made in your kitchen.
What sets these Peanut Butter Yogurt Cups apart is their perfect balance of flavors and textures. The tangy yogurt beautifully contrasts with the rich nuttiness of peanut butter, and the chocolate on top? Pure bliss. I promise you, they’re worlds apart from store-bought options that can be overly sugary and artificial. Here, you’ll find a comforting infusion of childhood with a healthy twist, making them the perfect snacking solution for those busy weekday afternoons!
Ready to dive into this lovely recipe that will transform your snack game forever? Let’s get started!
What are Peanut Butter Yogurt Cups?
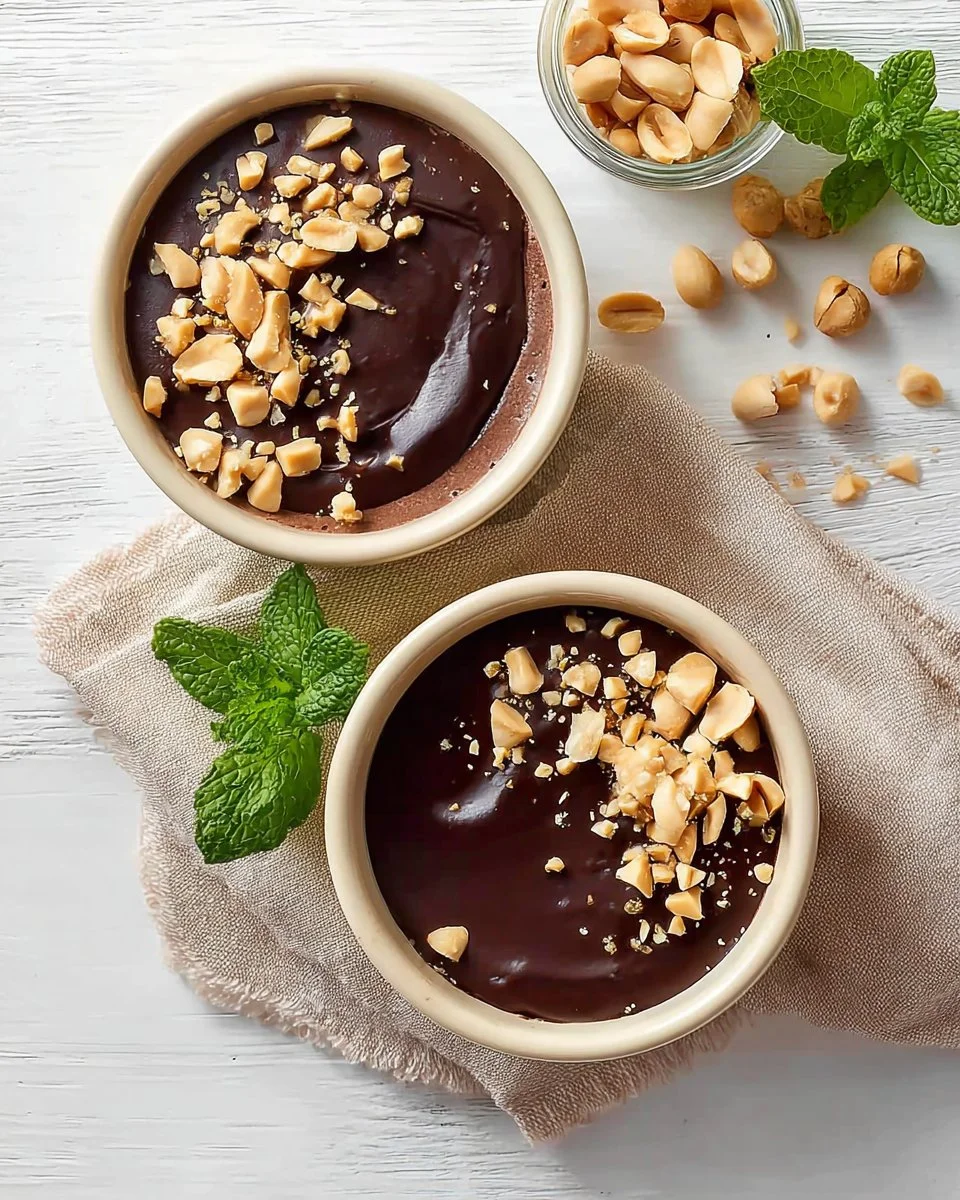
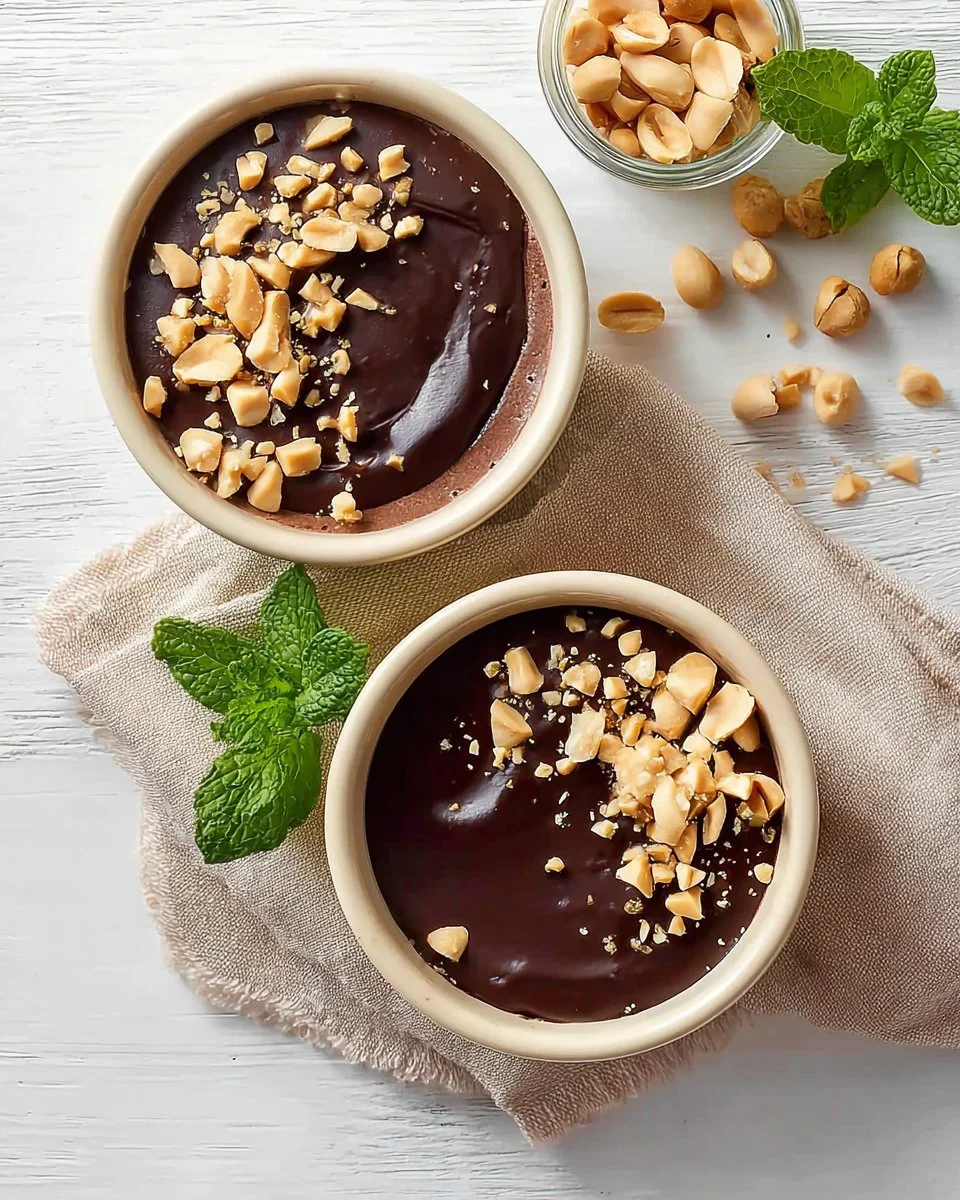
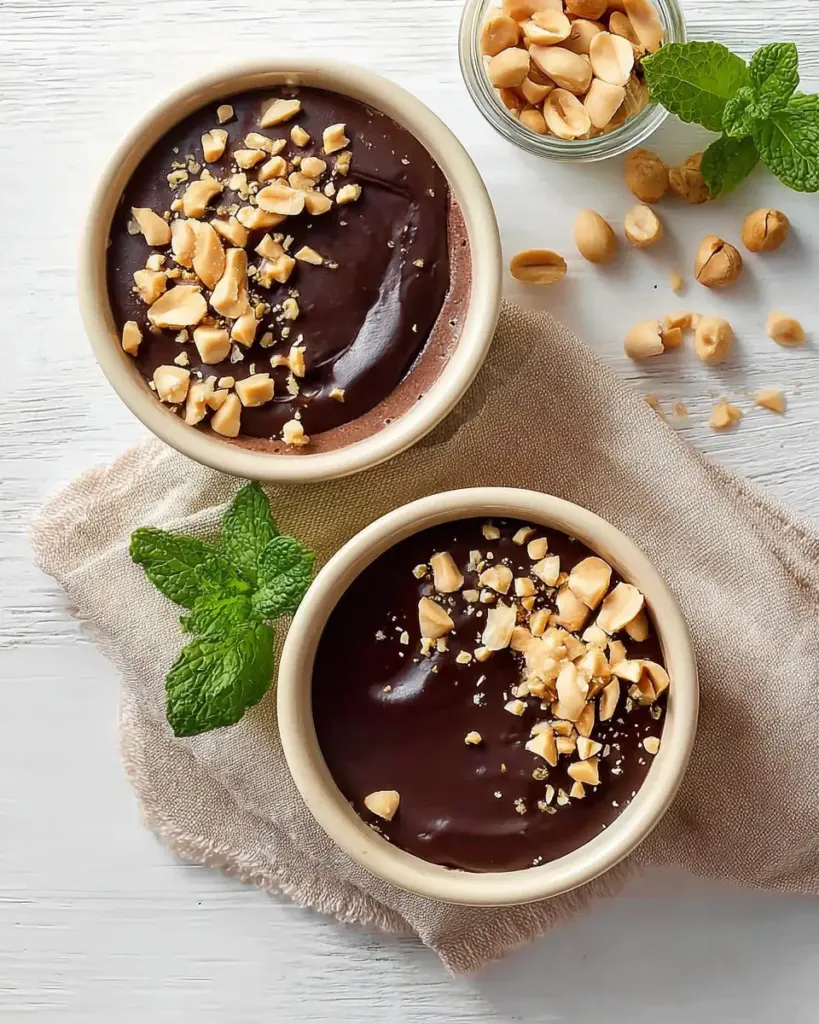
Peanut Butter Yogurt Cups are the delicious, decadent dessert you never knew you needed! These delightful cups are a fusion of creamy yogurt, luscious peanut butter, crunchy peanuts, and a rich chocolate layer that creates the ultimate treat for both kids and adults. Originating from the need for a quick, healthy snack, they’ve evolved into an irresistible dessert that can be enjoyed any day of the week.
Imagine scooping out a velvety layer of yogurt enriched with peanut butter; its smooth yet slightly crunchy texture envelops your spoon, and the experience is like indulging in a light mousse. The salty-sweet contrast makes each bite an adventure in flavor!
You can whip these up for a quick dessert to impress guests or as a sweet pick-me-up after a workout. Regardless of the occasion, these cups will surely steal the show!
Why You’ll Love This Recipe
- Easily Customizable: Whether you prefer almond butter, honey, or even swapping in some almond milk yogurt for a nut-free option, the possibilities are endless. You can truly make these Peanut Butter Yogurt Cups your own!
- Cost-Effective: Say goodbye to overpriced store-bought desserts! Making these cups at home not only saves you money but also gives you control over the ingredients that go inside.
- Minimal Effort, Maximum Reward: This recipe is incredibly straightforward. With just a few ingredients and about 30 minutes of your time, you’ll have a batch of delicious cups ready to serve!
- Healthier Than Most Desserts: Packed with protein and good fats, these cups provide a delightful way to satisfy your sweet tooth without the guilt. You can indulge without worrying about a sugar crash later.
- Quick to Prepare: You can whip these up in less than an hour! After a brief chilling period, they’re ready to enjoy, making them a perfect last-minute dessert!
Trust me—once you get a taste of these Peanut Butter Yogurt Cups, you won’t be able to stop at just one!
Ingredients
- 2.25 cups yogurt (Greek or regular, use unsweetened for healthier options like Fage or Oikos)
- 1/3 cup peanut butter (creamy or crunchy, I love using Jif for that nostalgic taste)
- 1 tablespoon maple syrup (or honey, to add a touch of natural sweetness)
- 1/2 cup peanuts, roughly chopped (think about using unsalted to control the salt levels!)
- 1 pinch sea salt (I recommend Maldon for a delicate crunch)
- 1/4 cup chocolate chips (dark or semi-sweet chocolate adds a lovely richness)
- 2.5 teaspoons coconut oil (for smooth melting; I trust Nutiva or Spectrum brand)
Prep Notes
- Ensure the peanut butter is at room temperature for easy mixing.
- Use high-quality chocolate for a more luxurious taste!
Step-by-Step Instructions
- Mix the Base: In a medium bowl, combine the yogurt, peanut butter, and maple syrup. Use a whisk to blend them thoroughly until there are no streaks of peanut butter remaining. Aim for a smooth, creamy mixture—it should look like a soft peanut butter mousse!
- Add the Crunch: Gently fold in the roughly chopped peanuts and sea salt, distributing them evenly throughout the mixture. You want those crunchy bits sprinkled through each cup.
- Divide Among Jars: Using a spatula or spoon, divide the yogurt mixture evenly among 4 containers or jars. Fill each about three-quarters full, leaving room for the chocolate topping. Don’t forget to pack the mixture down gently with the back of a spoon to create a compact, creamy base!
- Melt the Chocolate: In a small microwave-safe bowl, combine the chocolate chips and coconut oil. Microwave in 30-second intervals, stirring well after each, until the chocolate is completely melted and smooth. Use low heat to prevent burning.
- Top It Off: Carefully pour the melted chocolate evenly over the yogurt mixture in each container, letting it settle naturally into a smooth layer.
- Chill: Refrigerate the cups for 30 to 60 minutes until the chocolate layer is set and firm to the touch. When you open that fridge door and catch a glimpse, I guarantee you’re going to be excited!
Chef’s Tips:
- Consistent Mixing: Make sure the yogurt and peanut butter are well incorporated to avoid any clumpy bites.
- Watch the Chocolate Temperature: If the chocolate is too hot when you pour it over, it may melt the yogurt layer.
- Avoiding Cracks: For smoother-looking chocolate, allow it to cool slightly before pouring over the yogurt mixture.
Expert Tips & Tricks
- Storage Recommendations: These Peanut Butter Yogurt Cups can be stored in the refrigerator for about 4-5 days, making them perfect for meal prepping!
- Make-Ahead Instructions: You can make these cups up to three days in advance. Just prepare them, let them cool, cover them with lids, and they’ll be ready to grab when you need a snack!
- Troubleshooting: If your chocolate doesn’t melt smoothly, try adding a bit more coconut oil. This will help create that silky pour-over you want!
- Experiment with Yogurt: Try flavored yogurts like vanilla or berry for a fun twist!
- Portion Control: If you’re watching calories, you can divide the mixture into smaller jars, yielding more portions while retaining the rich taste.
Serving Suggestions
Serve these delightful Peanut Butter Yogurt Cups alongside some fresh fruit like sliced strawberries or bananas for a refreshing twist. For a little indulgence, pair them with a steaming cup of your favorite herbal tea or coffee. These cups are perfect for brunches, picnics, or simply as a mid-week treat while binge-watching your favorite shows—whatever the occasion, they’re sure to shine!
Variations & Substitutions
- Flavor Combinations: Try substituting the peanut butter with almond or cashew butter for a unique flavor profile.
- Dietary Restrictions: Swap in dairy-free yogurt and nut butter to make this recipe vegan-friendly or opt for sunflower seed butter to maintain nut-free status.
- Seasonal Flavors: For a fall twist, add cinnamon or pumpkin puree; in summer, blend in some fresh berries or mangoes for a bright, fruity dessert!
Nutrition & Storage Info
- Prep Time: 15 minutes
- Chill Time: 45 minutes
- Total Time: 1 hour
- Yield: 4 servings
- Estimated Calories: Approximately 290 calories per cup
- Storage Instructions: Keep in the fridge for up to 5 days.
FAQ Section
- Can I use yogurt alternatives? Absolutely! Feel free to substitute with dairy-free or plant-based yogurt.
- What types of peanut butter work best? Both creamy and crunchy are delicious, but avoid all-natural versions that are too runny.
- How can I make this recipe lower in sugar? Reduce or omit the maple syrup. The natural sweetness of the yogurt and peanut butter can often be enough.
- Can I freeze these cups? Yes! They freeze well, but let them thaw in the fridge before serving to maintain texture.
- How do I store leftovers? Keep them in airtight containers in the fridge. You can also use mason jars for a Pinterest-worthy presentation!
- Will the chocolate harden if I make them too far in advance? No worries; the chocolate will stay firm if stored properly in the refrigerator.
- Can I include other mix-ins? By all means! Consider tossing in crushed cookies, granola, or different nuts for variety.
- How do I get a smooth chocolate layer? Make sure to pour the chocolate at a slightly cooler temperature to avoid melting the yogurt layer.
- What if I don’t have peanut butter? Substitute with any nut or seed butter of your choice for a delectable alternative.
- Can I add protein powder? Yes! Just mix in a scoop with the yogurt and peanut butter for an extra protein boost.
Conclusion
Peanut Butter Yogurt Cup aren’t just a snack— they’re an experience filled with nostalgia, creativity, and the joy of shared moments. I encourage you to give this delightful recipe a try; it’s perfect for breakfast, dessert, or even an afternoon pick-me-up! I’d love to hear how you enjoy these cups; let me know in the comments! If you’re looking for more delightful recipes, be sure to check out my blog for other treats you can share with family and friends.
Chocolate 3 Ingredient Banana Brownies
Peanut Butter Yogurt Cups
Ingredients
Method
- In a medium bowl, combine the yogurt, peanut butter, and maple syrup. Use a whisk to blend them thoroughly until there are no streaks of peanut butter remaining.
- Gently fold in the roughly chopped peanuts and sea salt until evenly distributed.
- Using a spatula or spoon, divide the yogurt mixture evenly among 4 containers or jars, filling each about three-quarters full.
- In a small microwave-safe bowl, combine the chocolate chips and coconut oil. Microwave in 30-second intervals, stirring after each, until melted and smooth.
- Carefully pour the melted chocolate evenly over the yogurt mixture in each container.
- Refrigerate the cups for 30 to 60 minutes until the chocolate layer is set.