Irresistibly Sweet Easter Bunny Coconut Tails: A Festive Delight!
Introduction
Once upon a time during Easter, my children and I rolled up our sleeves to whip up a batch of adorable treats that would soon become a family favorite: Easter Bunny Coconut Tails. As the bright spring sun streamed through the kitchen window, laughter filled the air while we stirred, mixed, and shaped delightful coconut creations into fluffy bunny tails. Each bite held a special magic—sweet, creamy, and utterly indulgent.
What sets these treats apart from the rest is their delightful combination of flavors and textures. The chewy coconut pairs perfectly with the rich white chocolate coating, creating a heavenly bite. Plus, these Easter Bunny Coconut Tails are surprisingly easy to make, making them accessible for bakers of all skill levels, from novice to seasoned pro.
These delightful confections are not just a treat; they’re a nostalgic reminder of family togetherness during the holiday. The joy on my children’s faces as they placed edible eyes on their coconut creations was priceless. Through this recipe, I promise you’ll learn how to create your own enchanting Easter Bunny Coconut Tails that will not only impress your family and friends but will also create sweet memories that last a lifetime.
What Are Easter Bunny Coconut Tails?
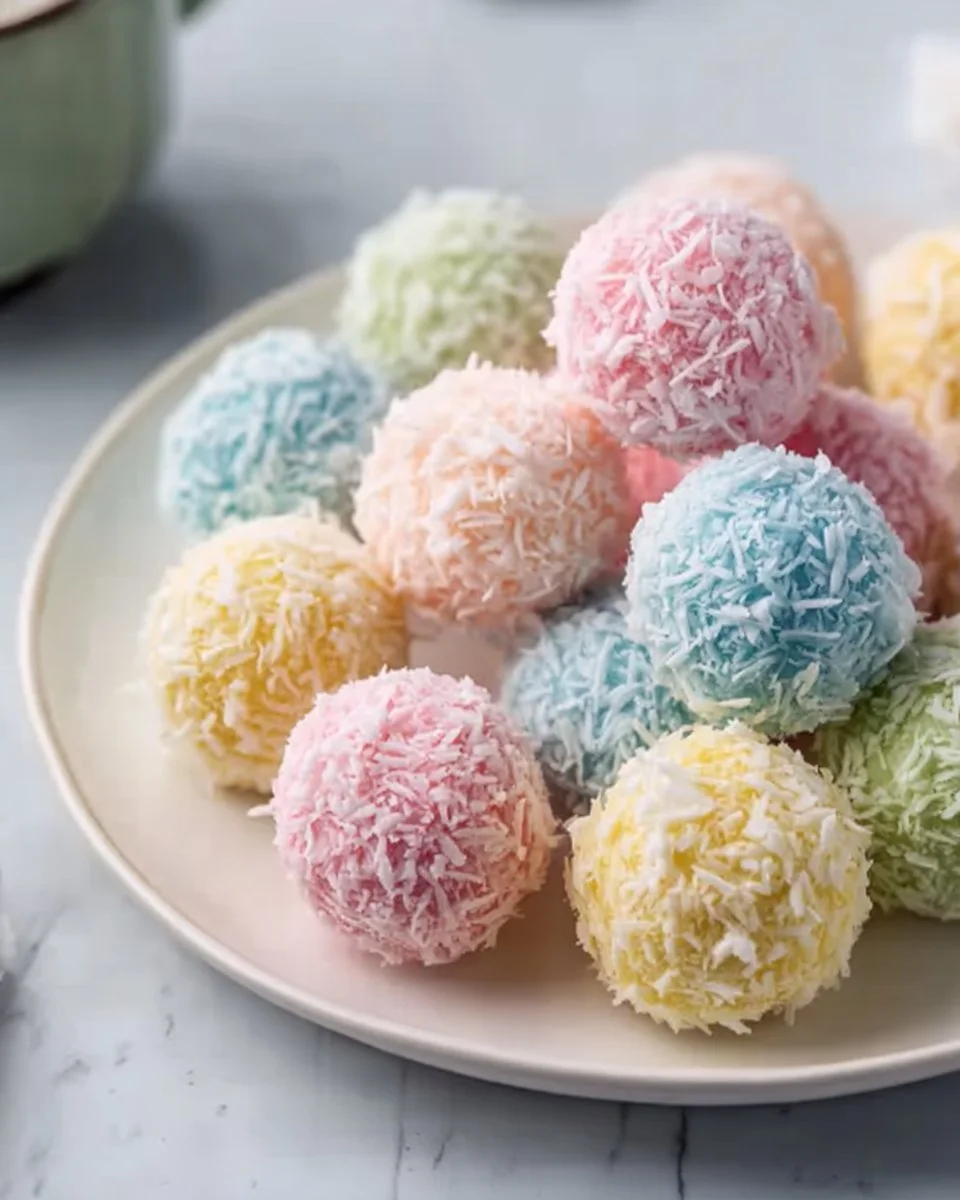
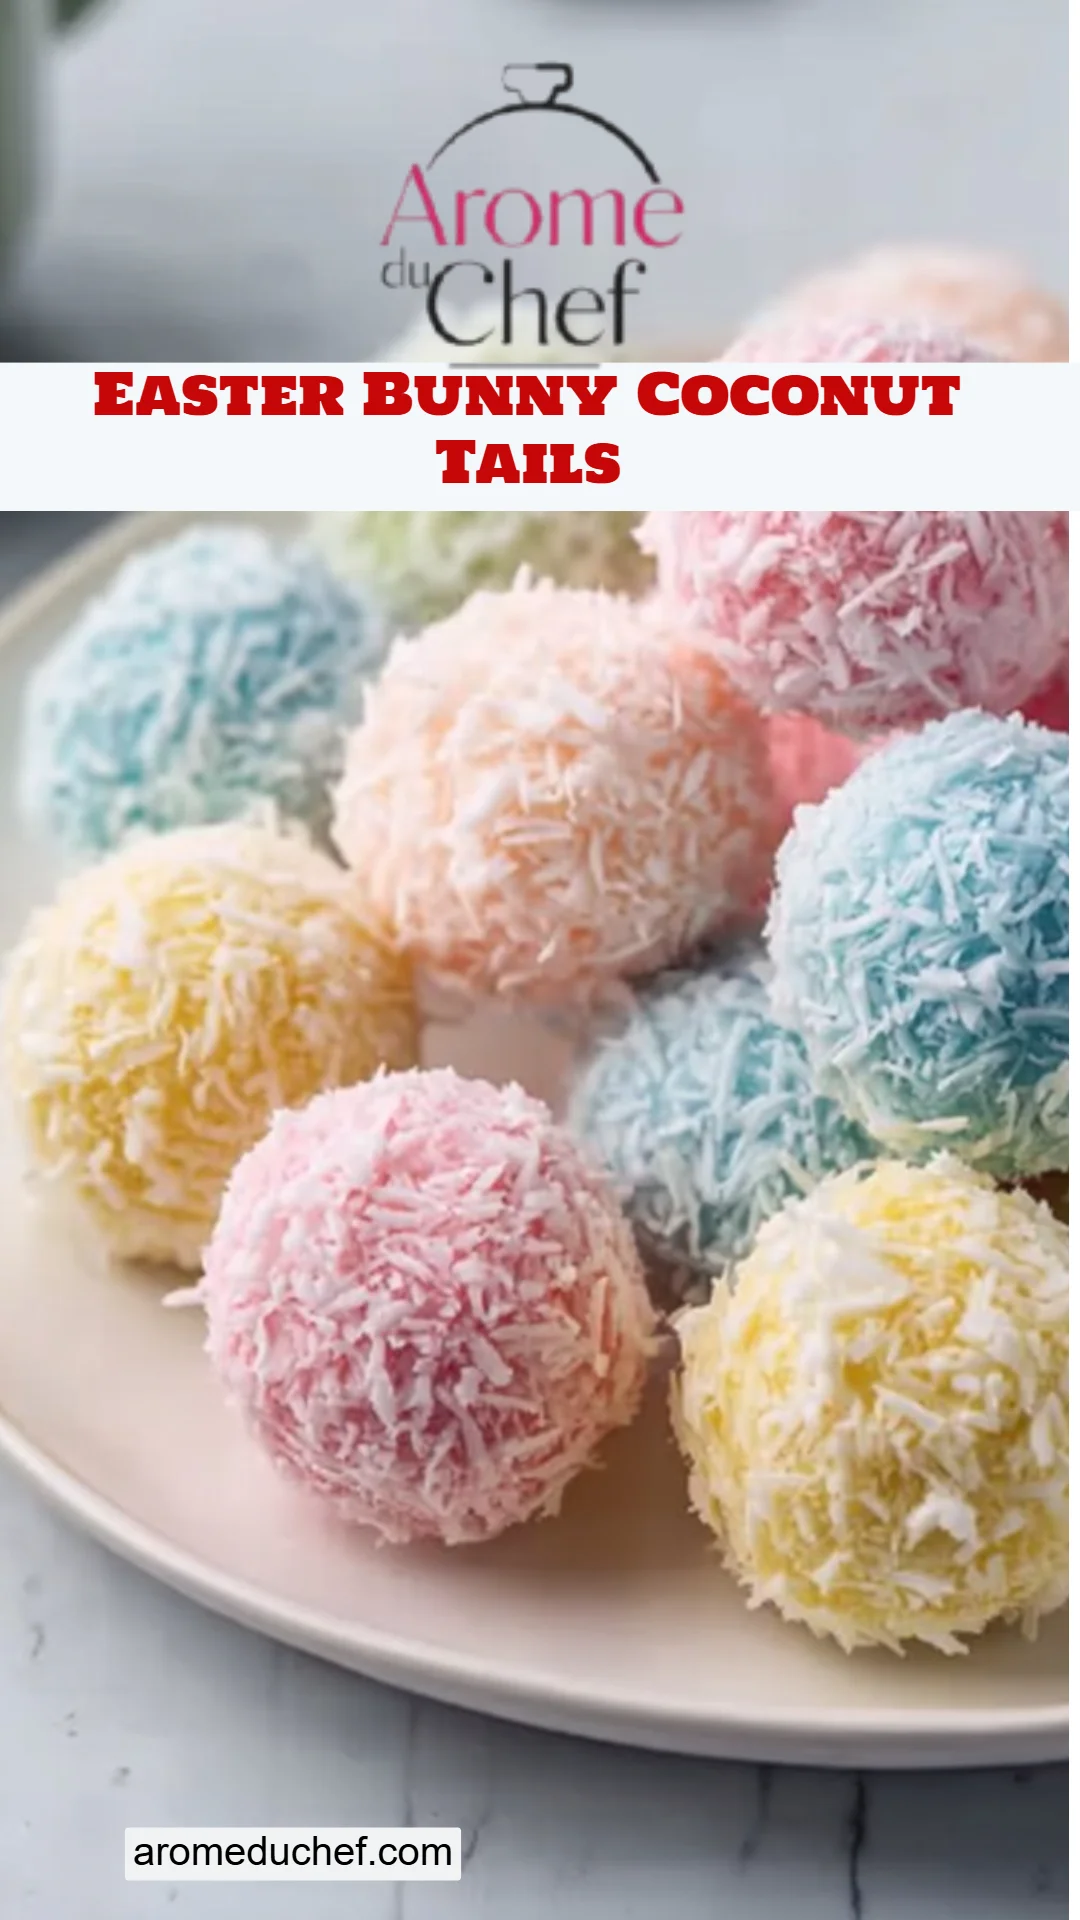
If you’ve never tried Easter Bunny Coconut Tails before, let me introduce you! These delightful little bites are made primarily from shredded coconut, sweetened condensed milk, and a splash of vanilla extract. Originating from celebrations across various cultures, these treats have taken on a whimsical twist during Easter, resembling fluffy bunny tails that are irresistibly cute and fun.
In terms of flavor, picture this: a sweet yet slightly tangy bite of coconut, enhanced by the luscious creaminess of white chocolate. The texture is equally as charming—soft and chewy on the inside with a smooth chocolate coating on the outside. They’re not only eye-catching but also light and delightful, making them a perfect treat for gatherings or Easter brunch.
Whether you’re celebrating with family or surprising friends, these adorable Easter Bunny Coconut Tails are just the thing to bring a smile to everyone’s face during the holiday!
Why You’ll Love This Recipe
- Easier Than You Think: Not a baking expert? No problem! This recipe is straightforward with simple steps, making it perfect for beginners. You don’t need fancy equipment—just a bowl and a baking sheet!
- Cost-Effective: Why spend money on store-bought sweets when you can create a batch of these delectable treats for a fraction of the cost? The ingredients are inexpensive, and you’ll end up with more than enough to share!
- Customization Galore: You can easily modify this recipe to add personal flair. Want a hint of chocolate? Add cocoa powder to the coconut mixture! Prefer a hint of almond? Use almond extract instead of vanilla.
- A Visual Treat: Your family and friends won’t only adore the taste but will also be dazzled by their presentation. The cute edible eyes and optional cocoa dusting make them perfect for Easter gatherings.
- Perfect for Any Occasion: While they shine as an Easter treat, these bunny tails can be made year-round for birthdays, spring picnics, or any festive occasion. They’re a hit with both kids and adults, guaranteed!
With such delicious and delightful reasons to make these Easter Bunny Coconut Tails, your bake day will turn into a joyous experience!
Ingredients
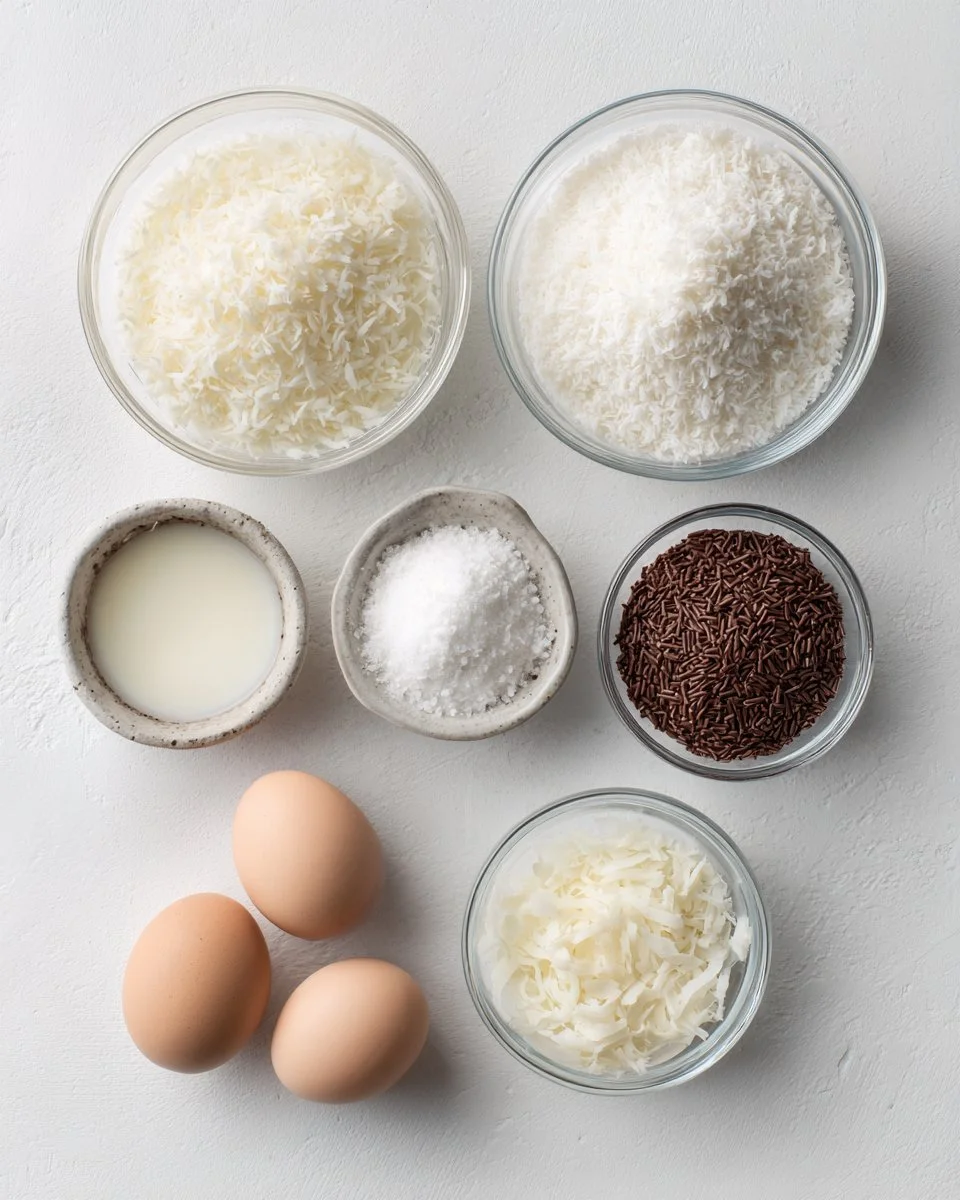
- 2 cups shredded coconut – Toasted coconut adds an extra depth of flavor. I personally love using organic coconut for purity.
- 1 cup sweetened condensed milk – The sweeter the better! You can also use low-fat condensed milk for a lighter option.
- 1 teaspoon vanilla extract – This adds a lovely aroma; I recommend using pure vanilla extract for the best flavor.
- 1/2 cup white chocolate (for coating) – Choose high-quality white chocolate for a smooth coating. Brands like Ghirardelli work wonderfully.
- Edible eyes (for decoration) – Fun and whimsical! Available at craft or baking stores.
- Cocoa powder or chocolate sprinkles (for dusting) – These are optional but add a cute finishing touch.
Prep Note: Make sure all the ingredients are at room temperature, especially the butter if you’re using it in any variations.
Step-by-Step Instructions
- Mix the Ingredients: In a large bowl, combine the shredded coconut, sweetened condensed milk, and vanilla extract. Stir until everything is thoroughly mixed. You should see clumps forming.
- Chef’s Tip: Use unsweetened coconut if you prefer less sweetness.
- Shape the Balls: Using your hands, take small portions of the mixture and roll them into balls about the size of a tablespoon. Place each ball on a baking sheet lined with parchment paper, allowing space between them.
- Timing: This should take about 10-15 minutes.
- Chill: Pop the baking sheet in the refrigerator for at least 30 minutes to firm up the coconut mixture.
- Melt the Chocolate: Using a microwave or double boiler, melt the white chocolate until smooth. If microwaving, do so in 30-second intervals to avoid burning the chocolate.
- Coat the Balls: Dip each chilled coconut ball into the melted white chocolate, allowing any excess to drip off. Place the coated balls back onto the parchment paper.
- Visual Cue: The chocolate should be shiny and coating fully.
- Add the Eyes: Before the chocolate sets, place edible eyes on each ball to create those adorable bunny tails.
- Dust (Optional): Lightly sprinkle cocoa powder or chocolate sprinkles over the balls for a fun finish.
- Let Set: Allow the chocolate to harden at room temperature or pop them back into the fridge for a few minutes.
- Serve & Enjoy: These Easter Bunny Coconut Tails are now ready to steal hearts!
- Chef’s Tip: Warm up the chocolate slightly if it starts to harden while you’re working.
Expert Tips & Tricks
- Storage: Store your Easter Bunny Coconut Tails in an airtight container at room temperature or in the fridge. They can last up to a week at room temperature and a couple of weeks in the fridge!
- Make-Ahead: You can prepare the coconut balls ahead of time and store them in the fridge. Coat them just before serving for the freshest taste.
- Troubleshooting: If your chocolate is clumping, it may have seized. Try adding a small dollop of coconut oil or melted butter to help smooth it out.
- Test for Firmness: Once refrigerated, the balls should feel firm to the touch. If they’re too soft, give them more chilling time before dipping.
- Personalize Your Bunny Tails: Add flavor extracts like almond, coconut, or even a drop of peppermint for a unique twist!
Serving Suggestions
Pair your Easter Bunny Coconut Tails with a cup of hot cocoa or fresh lemonade for a perfect springtime treat! For presentation, arrange them on a festive platter surrounded by pastel colored candies or edible flowers. These are perfect for Easter brunch, family gatherings, or kids’ parties, bringing a pop of delight wherever they go!
Variations & Substitutions
- Flavor Combinations: Try adding crushed nuts for a slightly nutty flavor or using dark or milk chocolate for coating instead of white.
- Dietary Adjustments: For a dairy-free option, substitute sweetened condensed milk with coconut cream and use dairy-free chocolate for coating.
- Seasonal Themes: In addition to Easter, consider making these bunny tails for Halloween by adding orange and black sprinkles or Christmas by incorporating holiday-themed sprinkles.
Nutrition & Storage Info
- Prep Time: 15 minutes
- Chill Time: 30 minutes
- Total Time: 45 minutes
- Yield: Approximately 18-24 coconut tails
- Calories: Estimated at 90 calories per serving (1 bunny tail)
- Storage Instructions: Store in an airtight container at room temperature for up to a week, or refrigerate for up to two weeks.
FAQ Section
- Can I make these ahead of time? Yes, you can prepare the coconut balls and store them before coating. Coat them just before serving for the best taste!
- What can I use instead of white chocolate? You can use dark or milk chocolate as an alternative, though the flavor profile will change slightly.
- Can I use unsweetened coconut? Absolutely! Unsweetened coconut will allow you to control the sweetness.
- How can I make these gluten-free? This recipe is naturally gluten-free since it contains no flour, just shredded coconut and other ingredients. Always check labels for packaged goods.
- What do I do if my chocolate seizes when melting? If your chocolate seizes, add a tiny amount of coconut oil or butter to smooth it out.
- How can I prevent the coconut mixture from falling apart? Be sure to mix the sweetened condensed milk thoroughly with coconut, and make sure to chill them long enough to help them firm up.
- Can I freeze the coconut tails? Yes, you can freeze them. Just ensure they’re wrapped well or in an airtight container. Thaw in the fridge before serving.
- How do I make them more flavorful? Consider adding extracts (like almond or coconut) or spices (like cinnamon) to the coconut mixture to enhance flavor.
- How long do these last? They can last up to a week at room temperature, or about two weeks in the fridge.
- What’s a good way to present these? Arrange them on a decorative plate or cake stand, surrounded by colorful candies, or place them in decorative treat bags for a fun party favor!
Conclusion
Easter Bunny Coconut Tails are not just sweets; they’re a delightful way to celebrate spring, family, and friendship. With that perfect blend of coconut, chocolate, and creativity, these little treats will surely provide smiles around your table. I encourage you to give this recipe a try—it’s a journey filled with joy and laughter. Share your experiences and let me know how they turned out in the comments! For more fun and festive recipes, check out my blog for similar delightful ideas!
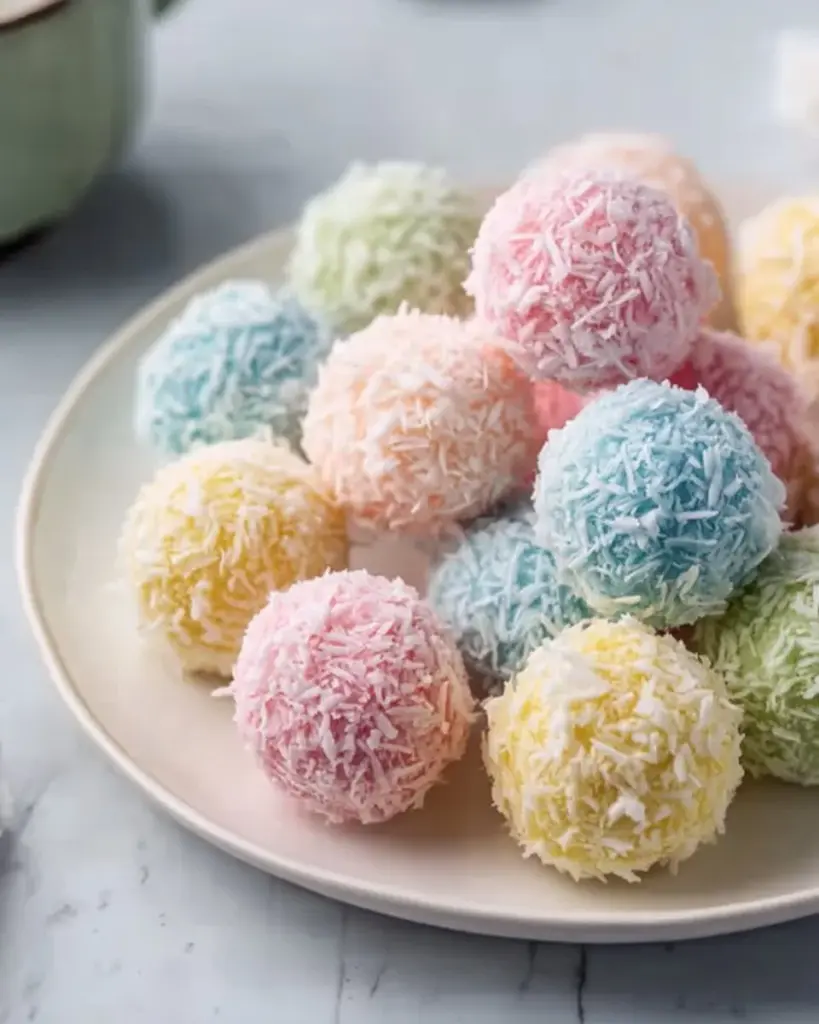
Easter Bunny Coconut Tails
Ingredients
Method
- In a large bowl, combine the shredded coconut, sweetened condensed milk, and vanilla extract. Stir until everything is thoroughly mixed.
- Using your hands, take small portions of the mixture and roll them into balls about the size of a tablespoon. Place each ball on a baking sheet lined with parchment paper, allowing space between them.
- Refrigerate the baking sheet for at least 30 minutes to firm up the coconut mixture.
- Using a microwave or double boiler, melt the white chocolate until smooth.
- Dip each chilled coconut ball into the melted white chocolate, allowing any excess to drip off. Place the coated balls back onto the parchment paper.
- Before the chocolate sets, place edible eyes on each ball to create bunny tails.
- Dust lightly with cocoa powder or chocolate sprinkles if desired.
- Allow the chocolate to harden at room temperature or refrigerate for a few minutes.
- Serve the Easter Bunny Coconut Tails as a delightful treat at gatherings, with hot cocoa or fresh lemonade.