Colorful Easter Funfetti Cookies: A Delightful Twist to Your Holiday Baking
As the Easter season approaches, memories of my childhood flood my mind—warm sunshine streaming in through open windows, the scent of freshly baked cookies wafting through the house, and, of course, the vibrant explosion of colors in our kitchen as we whipped up festive Easter Funfetti Cookies. There’s something truly magical about these cookies. Not only are they a feast for the eyes with their pastel sprinkles, but they also capture the spirit of celebration and family during this special time of year.
What I love about this recipe is that it stands apart from other versions you might come across. Each bite of these cookies is a delightful combination of softness and crispiness, thanks to the high-quality ingredients I use, resulting in a bakery-like experience right at home. It’s comfort food in its most colorful form, and it instantly brings back those cherished family memories made around the kitchen table, sharing laughs and homemade treats.
In this post, I promise you’ll learn how to create these scrumptious Easter Funfetti Cookies that will not only brighten up your dessert table but will also become a new family tradition, just like they did for mine. So, grab your aprons and let’s make some magical cookies together!
What Are Easter Funfetti Cookies?
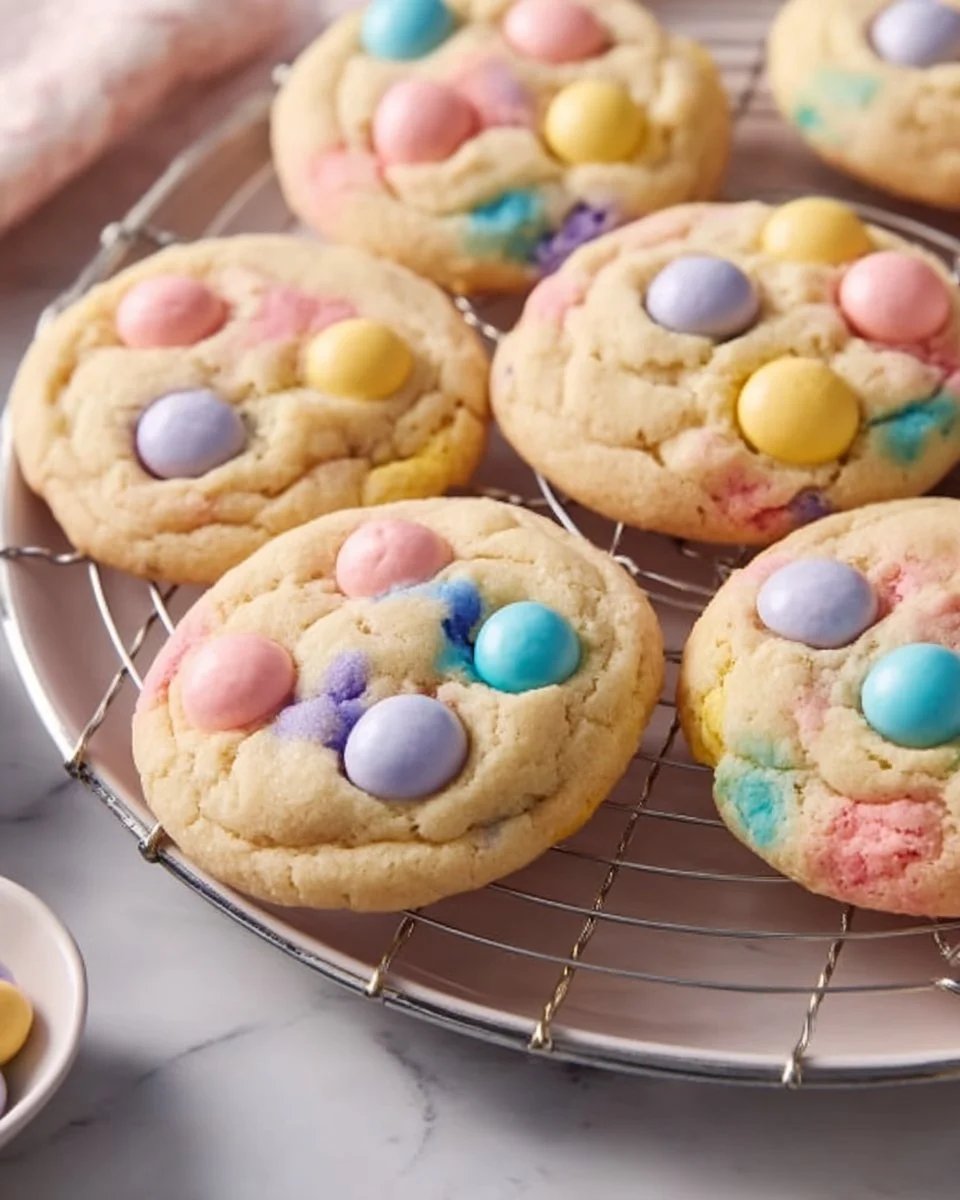
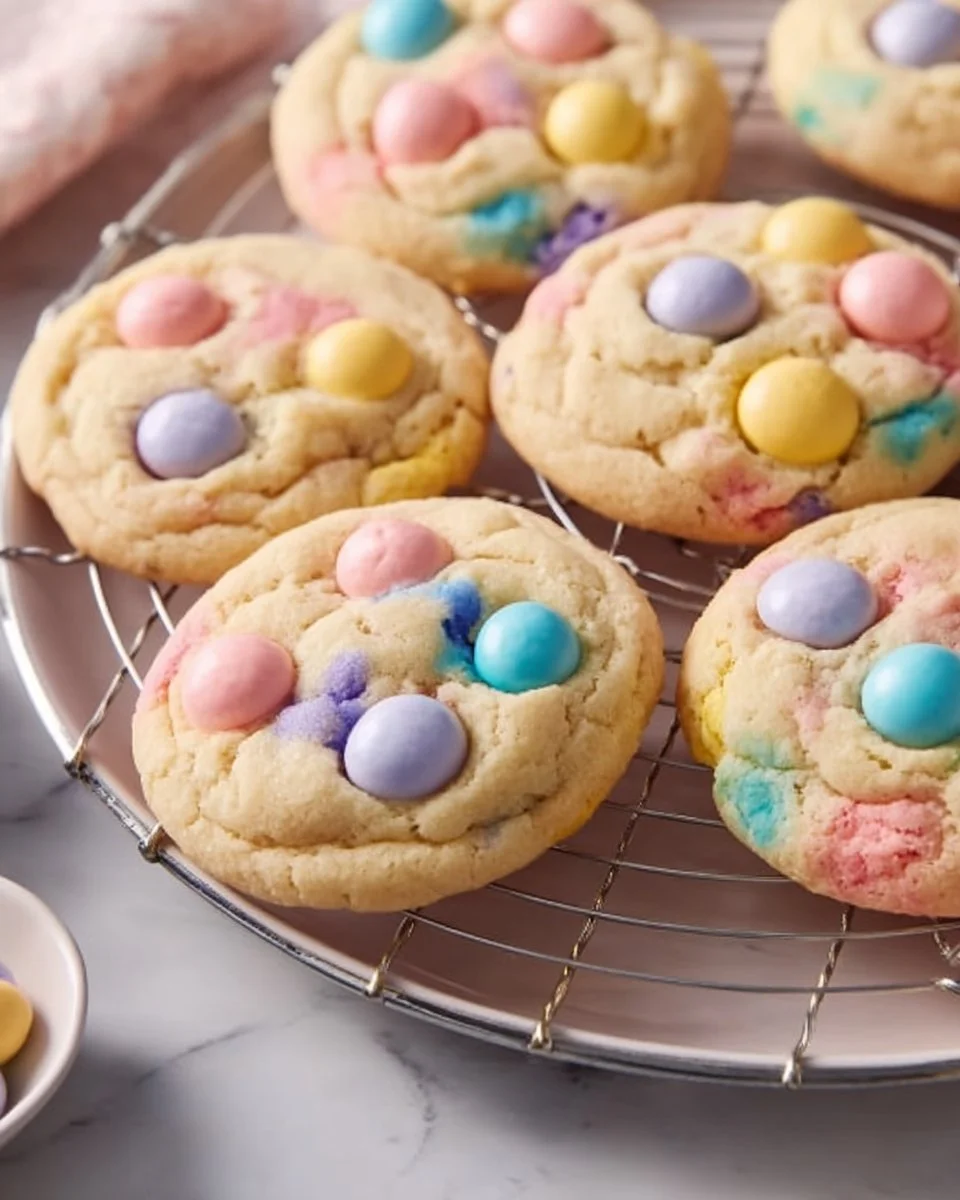
Easter Funfetti Cookies are a delightful creation that originated as a festive twist on classic sugar cookies. With their bright, pastel sprinkles, these cookies embody the essence of spring and the joy of Easter celebrations. They’re soft on the inside with a slightly crispy exterior, offering a delightful texture that appeals to all ages.
What makes these cookies special is not just the colorful sprinkles that dance throughout the dough, but also the nostalgic feeling they evoke. They are perfect for family gatherings, egg hunts, or just a cozy day at home. These Easter Funfetti Cookies are a cheerful treat that injects happiness into any occasion!
With their whimsical appearance and delicious taste, there’s no better way to celebrate this joyful holiday than by indulging in these treats. Trust me: once you try making these cookies, you’ll be inspired to whip them up year after year, creating new lovely memories along the way.
Why You’ll Love This Recipe
- Unbeatable Freshness: There’s nothing quite like the taste of homemade cookies! Unlike store-bought versions, these Easter Funfetti Cookies are made to order, guaranteeing freshness and flavor that you just can’t achieve with pre-packaged options.
- Cost-Effective: With just a few simple ingredients, you can create a delightful batch of cookies without breaking the bank. For a fraction of the cost of bakery cookies, you’re treating your family to something special.
- Super Customizable: This recipe serves as a blank canvas! Want to switch up the flavor? Try adding almond extract instead of vanilla. Feel like mixing it up with some chocolate chips? Go for it! You can tweak this recipe to fit your family’s taste.
- Easy Peasy: This recipe is beginner-friendly. Whether you’re a seasoned baker or a novice, you’ll find that these cookies come together easily, requiring minimal effort for maximum flavor.
- Perfect for Any Occasion: While they are fantastic for Easter, these cookies can brighten up any celebration, from birthdays to family reunions.
By whipping up these Easter Funfetti Cookies, you’re not just making a dessert; you’re spreading joy, memories, and delicious flavors that will resonate long after the last crumb has been enjoyed.

Ingredients
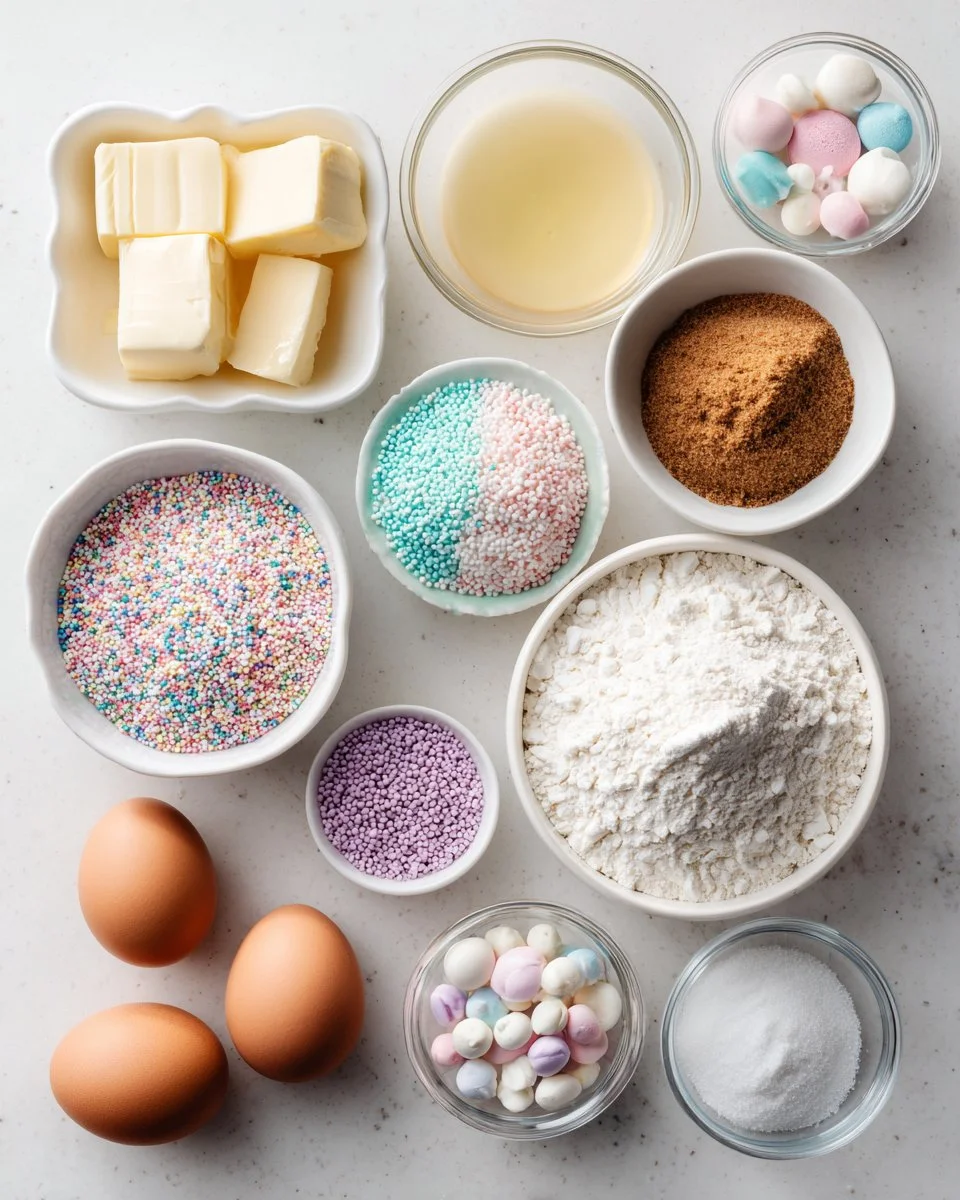
To create your irresistible Easter Funfetti Cookies, you’ll need the following ingredients:
- 1 cup unsalted butter, softened (Choose high-quality butter for the best flavor)
- 1 cup granulated sugar
- 1 cup brown sugar, packed (This adds moisture and a lovely caramel flavor)
- 2 large eggs (Make sure they are at room temperature for smoother mixing)
- 1 teaspoon vanilla extract (Real vanilla makes a huge difference—opt for pure instead of imitation)
- 3 cups all-purpose flour (For the best texture, use a spoon-and-level method to avoid overpacking)
- 1 teaspoon baking soda
- 1/2 teaspoon salt (Kosher salt works best)
- 1 cup pastel sprinkles (Use high-quality sprinkles to keep the colors vibrant)
Prep notes: Have your ingredients at room temperature before starting, especially the butter and eggs, for the best texture.
For brand recommendations: I often reach for Kerrygold for butter, Domino for sugar, and McCormick for vanilla extract. They’ll elevate your cookies beautifully!
Step-by-Step Instructions
Now that you have your ingredients ready, let’s bring those Easter Funfetti Cookies to life!
- Preheat your oven to 350°F (175°C). This ensures the cookies bake evenly.
- In a large bowl, cream together the softened butter, granulated sugar, and brown sugar until light and fluffy. This should take about 2-3 minutes. (Tip: Don’t rush this step for maximum fluffiness!)
- Beat in the eggs one at a time, mixing well after each addition, then stir in the vanilla.
- In a separate bowl, whisk together the flour, baking soda, and salt. Gradually blend the dry ingredients into the wet mixture, starting with a little and mixing well before adding more.
- Fold in the pastel sprinkles gently so they don’t break too much and lose their color.
- Using a cookie scoop or tablespoon, drop tablespoon-sized portions of dough onto a baking sheet lined with parchment paper. Space them about 2 inches apart.
- Bake in the preheated oven for 10-12 minutes or until the edges are lightly golden. (Visual cue: the centers may look slightly underbaked, and that’s okay!)
- Allow to cool on the baking sheet for a few minutes before transferring them to wire racks to cool completely.
Chef’s Tip: If you want your cookies to be even softer, underbake them just slightly—this way, they’ll finish cooking as they cool.
Expert Tips & Tricks
- Storage Recommendations: Store your cookies in an airtight container at room temperature for up to 5 days to keep them fresh. For longer storage, keep them in the fridge for up to a week.
- Make-Ahead Instructions: You can prepare the dough in advance and store it in the fridge for up to 3 days or freeze it for up to 3 months. Just let it sit at room temperature before baking.
- Troubleshooting Common Problems: If your cookies are spreading too much, your butter may have been too soft. Next time, consider chilling the dough for at least 30 minutes before baking.
- Creating Evenly Sized Cookies: Use a cookie scoop for uniform cookies that bake evenly. This also helps with portion control!
- Flavor Variations: Experiment with extracts—almond for a different aromatic experience or lemon zest for a citrusy twist!
- Trial & Error: Don’t hesitate to make adjustments based on your oven’s temperament. Every oven is different, so you might need to tweak the baking time slightly.
Serving Suggestions
These colorful Easter Funfetti Cookies are perfect to serve alongside a tall glass of milk or a warm cup of tea. For a festive touch, display them on a colorful platter adorned with seasonal decorations like small flowers or Easter-themed decor.
These cookies also make a fantastic addition to an Easter egg hunt or spring picnic. Not only will your guests appreciate the sweet treat, but the cheerful colors will enhance any gathering’s festive spirit!
Variations & Substitutions
- Flavor Combinations: Want to play with flavors? Add some lemon zest for a bright twist or substitute half of the all-purpose flour with almond flour for a nutty flavor.
- Dietary Restriction Adaptations: For a gluten-free variation, use a 1:1 gluten-free flour blend. Similarly, swap butter for coconut oil or vegan butter for a dairy-free option.
- Seasonal Variations: Use seasonal sprinkles to brighten up your cookies for other holidays, like red, white, and blue sprinkles for Fourth of July or orange and black for Halloween.
Nutrition & Storage Info
- Prep Time: 15 minutes
- Cook Time: 10-12 minutes
- Total Time: 30 minutes
- Yield: About 24 cookies
- Estimated Calories: 150 calories per cookie
- Storage Instructions: Room temperature in an airtight container for up to 5 days, in the fridge for 1 week, or freeze for up to 3 months.
FAQ SECTION
- Can I make the dough ahead of time?
- Yes, you can prepare the dough in advance and refrigerate it for up to 3 days or freeze it for up to 3 months.
- Can I use different types of sprinkles?
- Absolutely! Feel free to play around with different colors and types of sprinkles. Just ensure they are festive and fun!
- What can I do if my cookies turn out too flat?
- This could be due to overly soft butter or not enough flour. Next time, make sure your butter is softened, not melted, and try chilling the dough for 30 minutes before baking.
- How do I prevent cookies from sticking to the baking sheet?
- Always use parchment paper or a silicone baking mat to prevent sticking.
- Can I substitute coconut oil for butter?
- Yes, you can replace butter with an equal amount of solid coconut oil for a dairy-free option.
- Why are my cookies spreading too much?
- If your cookies are spreading too much, the butter may be too soft. Chill the dough before baking to help control spread.
- How can I add flavor to my cookies?
- Adding extracts like almond, coconut, or even a hint of citrus zest can enhance the flavor profile of your cookies.
- Should I store the cookies in the fridge?
- Storing cookies in an airtight container at room temperature is best. If you prefer, they can be refrigerated, but allow them to come to room temperature before serving.
- Can I freeze the cookies?
- Yes! Once cooled, freeze them in a single layer, then transfer to a freezer bag. They can last up to 3 months.
- What occasions are these cookies suitable for?
- These festive cookies are perfect for any celebration, including Easter, birthdays, baby showers, and family gatherings!
Conclusion
In crafting these Easter Funfetti Cookies, you’re not only creating a delicious treat, but you’re also fostering memories and joy that last well beyond dessert time. So, gather your loved ones, roll up your sleeves, and dive into this colorful baking project.
I hope you’ll try this recipe and share your experience in the comments! I would love to hear how your cookies turned out and how your family enjoyed them. For more delightful recipes, be sure to check out my blog for other holiday treats that are bound to bring you warmth and sweetness.
Happy baking, and may your Easter be filled with fun, laughter, and lots of cookies!
Easter Funfetti Cookies
Ingredients
Method
- Preheat your oven to 350°F (175°C).
- In a large bowl, cream together the softened butter, granulated sugar, and brown sugar until light and fluffy, about 2-3 minutes.
- Beat in the eggs one at a time, mixing well after each addition, then stir in the vanilla.
- In a separate bowl, whisk together the flour, baking soda, and salt. Gradually blend the dry ingredients into the wet mixture.
- Fold in the pastel sprinkles gently so they don’t break too much and lose their color.
- Using a cookie scoop or tablespoon, drop tablespoon-sized portions of dough onto a baking sheet lined with parchment paper, spacing them about 2 inches apart.
- Bake in the preheated oven for 10-12 minutes or until the edges are lightly golden.
- Allow to cool on the baking sheet for a few minutes before transferring them to wire racks to cool completely.