Fluffy Japanese Cheesecake: The Lightest Taste of Home
Have you ever taken a bite of something so light and airy that it felt like a cloud enveloping your senses? That’s precisely how I felt the first time I tasted Japanese Cheesecake at a local café during a trip to Tokyo. I remember savoring that delectable forkful, instantly transported back to my childhood kitchen, where my grandmother would bake fluffy cakes that melted in my mouth. The memories associated with those family gatherings made every slice comforting and nostalgic.
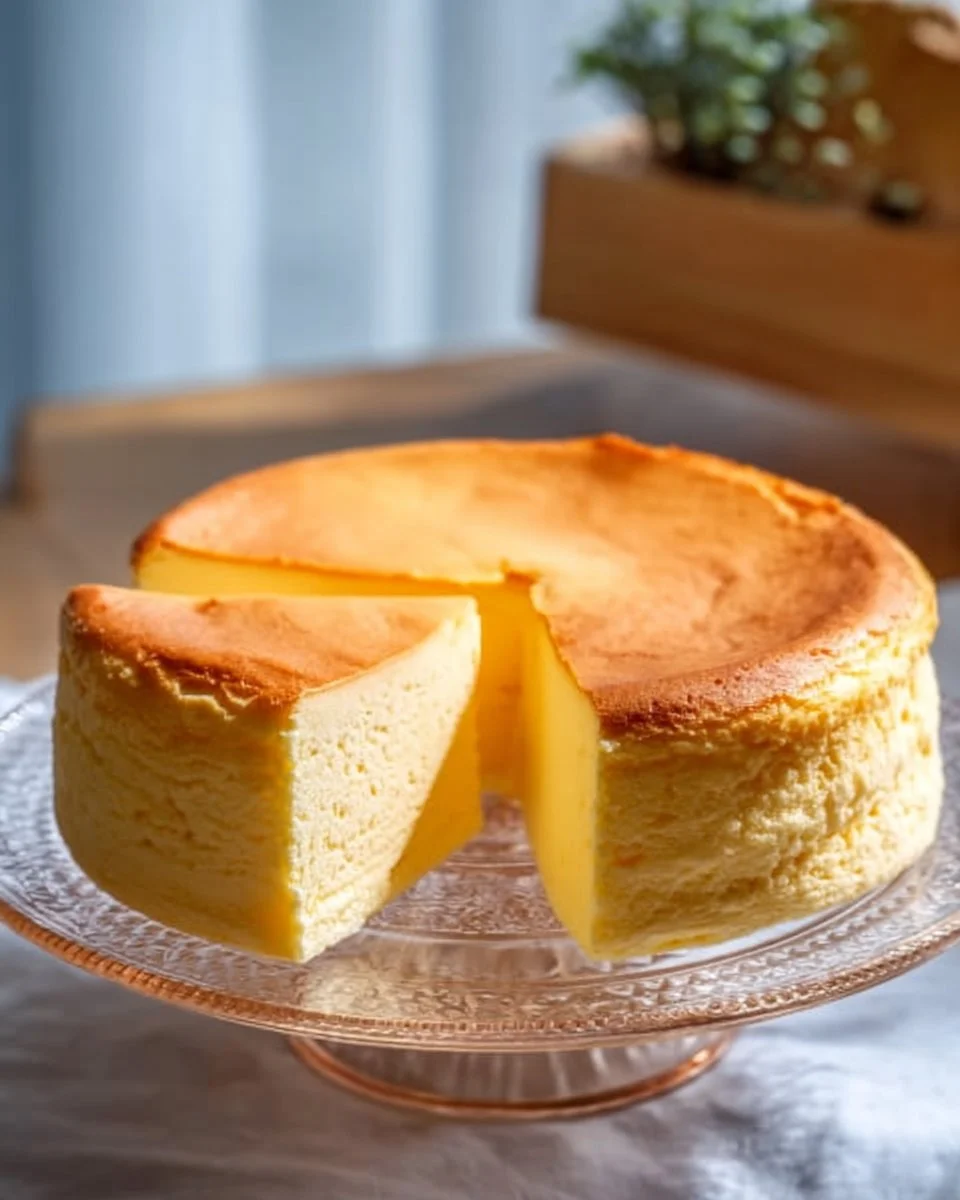
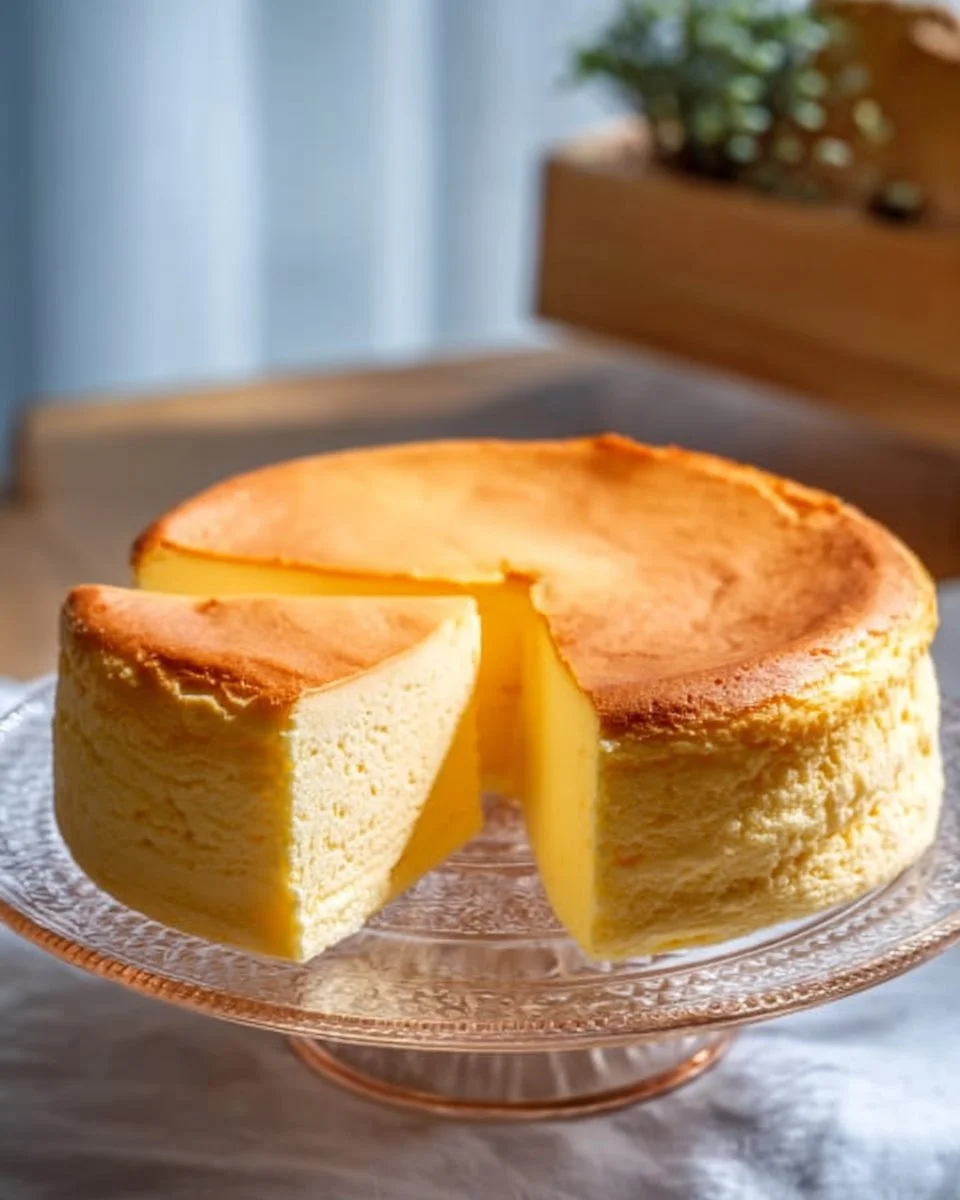
Japanese Cheesecake is not your typical heavy dessert; it combines the creamy richness of cream cheese with the pillowy softness of a soufflé. What sets my recipe apart from the countless others is the careful balance of technique and texture. I’ve found the perfect ratio of airy egg whites to rich cream cheese, ensuring that this cheesecake doesn’t just look gorgeous but tastes divine too. It’s not just a cake; it’s a slice of happiness that can brighten up any gathering, evoke cherished memories, or simply add joy to an ordinary day.
In this post, I’ll share not only the treasured recipe but also helpful tips and insights I’ve gathered over the years. Get ready to impress your family and friends with a showstopper dessert that brings comfort and joy with every bite!
What Are Japanese Cheesecakes?
Originating in Japan, Japanese Cheesecake is a delightful hybrid between a classic cheesecake and a soufflé, known for its unique lightness and airy texture. The first known Japanese Cheesecake appeared in a bakery in Osaka during the 20th century, and since then, it has won hearts worldwide, becoming a modern staple.
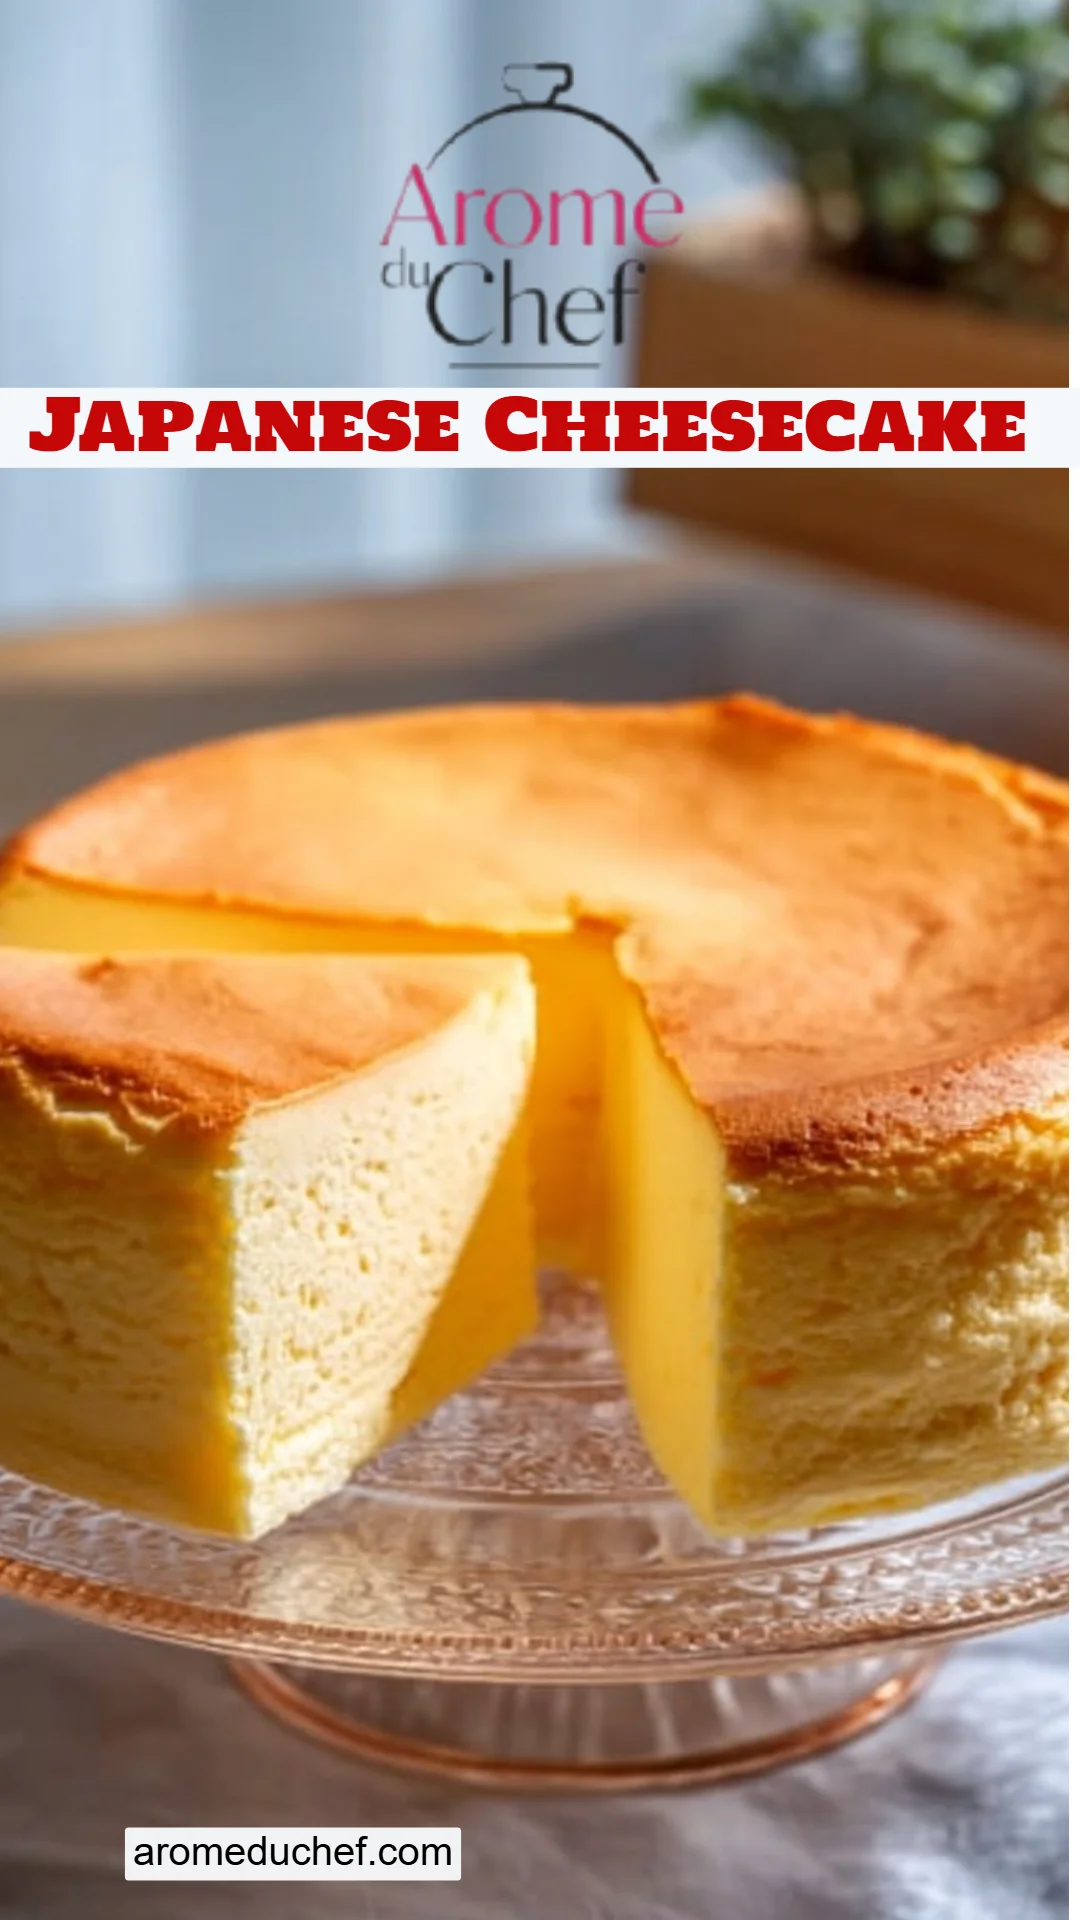
What makes this cheesecake stand out is its fluffy consistency, achieved by whipping egg whites to soft peaks before folding them into the cream cheese mixture. The taste is subtly sweet, allowing the rich flavors of the cream cheese to shine through without being overwhelming. It’s perfect for any occasion, whether as a sweet finale to a dinner party or a comforting afternoon snack with tea.
I promise you’ll be amazed at how versatile and special this dessert can be. When you learn to make it, you’ll likely find reasons to whip it up for birthdays, cozy family gatherings, or even as a delightful treat for yourself.
Why You’ll Love This Recipe
- Texture Like No Other: The combination of cream cheese and well-beaten egg whites creates a magical, airy feel that will leave your taste buds singing. You can say goodbye to dense cakes; this one is light and fluffy!
- Cost-Effective Indulgence: While a slice of Japanese Cheesecake at a fancy restaurant might cost a pretty penny, making it yourself is incredibly budget-friendly. With simple ingredients you’ll likely have on hand, you can whip up a delightful cake for just a fraction of the price.
- Customizable Delight: This cheesecake serves as an excellent canvas for different flavors. You can add citrus zest, matcha powder, or even a swirl of fruit puree to make your Japanese Cheesecake distinctively yours.
- Easy to Master: Fear not, baking enthusiasts! This recipe is straightforward and doesn’t require any professional-level skills. If you’ve baked a cake before, you’ll find this recipe manageable and rewarding.
- Perfect for Any Occasion: Whether you’re celebrating a holiday, hosting brunch, or simply wanting to treat yourself, a homemade Japanese Cheesecake fits beautifully into any moment, making it extra special for you and your guests.
Ingredients Section
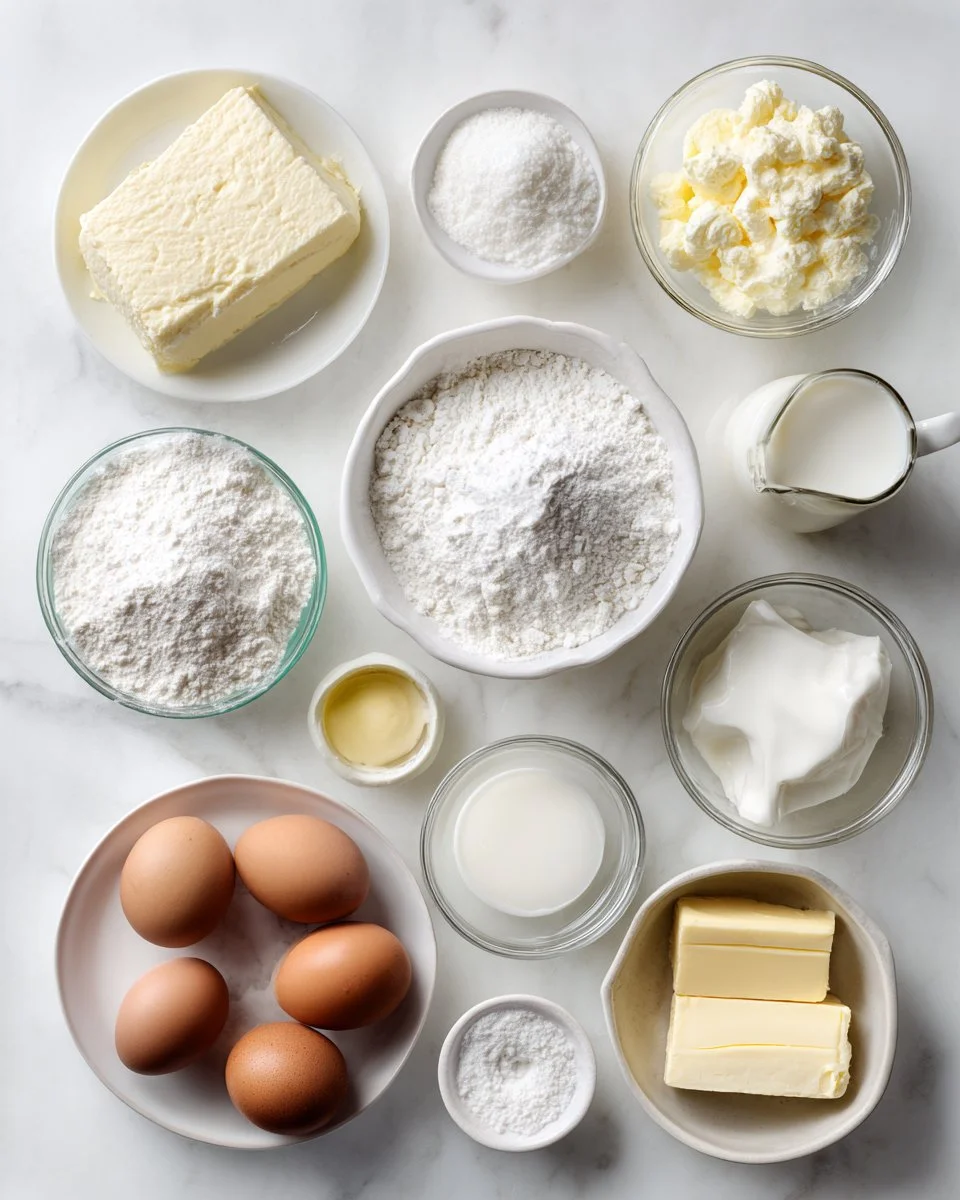
To create your fluffy Japanese Cheesecake, you’ll need the following ingredients:
- 3 (8 oz) packages cream cheese, softened (I recommend Philadelphia for its rich creamy texture)
- 1 cup granulated sugar (any brand will work; organic provides a nice touch)
- 1/4 cup milk (whole milk adds richness)
- 1/4 cup butter, melted (go for unsalted for control over salt levels)
- 4 large eggs, separated (room temperature for a smoother batter)
- 1/2 cup cake flour (use a quality cake flour for that perfect fluffiness)
- 1/4 cup cornstarch (helps with stability and tenderness)
- 1 tsp vanilla extract (pure vanilla extract is best)
- 1/4 tsp cream of tartar (this stabilizes the egg whites)
Prep Notes:
- Make sure your cream cheese and eggs are at room temperature before starting. This will help ensure a smoother and more uniform batter.
Step-by-Step Instructions
Let’s get baking! Follow these detailed steps to achieve your dreamy Japanese Cheesecake:
- Preheat your oven: Begin by preheating your oven to 320°F (160°C). This step is critical for ensuring an even bake.
- Prepare the cake pan: Grease a 9-inch round cake pan and line the bottom with parchment paper. This will help to remove the cake easily after baking.
- Cream the mixture: In a large bowl, beat the softened cream cheese until smooth. Gradually add the granulated sugar, mixing until fluffy. Then, pour in the milk and melted butter, mixing well to combine.
- Incorporate the yolks: Add the egg yolks one at a time, ensuring each one is fully mixed before adding the next. This helps keep the mixture smooth and well-combined.
- Add the dry ingredients: Sift in the cake flour and cornstarch, then add the vanilla extract. Mix everything until fully combined, being careful not to over-mix.
- Whip the egg whites: In a separate bowl, beat the egg whites with cream of tartar until soft peaks form. Gradually add the remaining sugar and keep mixing until stiff peaks form. This is a crucial step for achieving that fluffiness!
- Fold it carefully: Gently fold the whipped egg whites into the cream cheese mixture in three parts, being cautious not to deflate the egg whites. You want to see no white streaks remaining—this is where the magic happens!
- Prepare to bake: Pour the batter into the prepared cake pan.
- Water bath method: Place your cake pan in a larger baking pan filled with hot water (a water bath). This helps regulate the temperature as the cheesecake bakes, preventing cracking.
- Bake to perfection: Bake for about 60 minutes, or until the top is lightly browned and a toothpick inserted into the center comes out clean.
- Cooling phase: Turn off the oven and let the cake cool in the oven with the door slightly ajar for about an hour. This gradual cooling helps prevent any collapse.
- Chill before serving: Once cooled, remove the cake from the oven and let it cool to room temperature before refrigerating for at least four hours (overnight is even better!).
- Serve chilled: Slice, serve, and enjoy the fluffy and airy texture of your homemade Japanese Cheesecake!
Chef’s Tips:
- Avoid opening the oven door during baking to ensure even heat distribution.
- If you notice browning too quickly, you can cover the top loosely with foil to prevent over-baking.
Expert Tips & Tricks
- Storage Recommendations: Store any leftover cheesecake in an airtight container in the refrigerator for up to 5 days. It can also be frozen for up to 1 month, just ensure to wrap it well.
- Make-Ahead Instructions: This cheesecake is perfect for making ahead! You can bake it one or even two days before serving, allowing the flavors to settle beautifully.
- Troubleshooting Tips:
- If your cheesecake cracks, it may be due to a too-quick temperature change. Always let it cool in the oven.
- To fix a sunken cake, try to avoid over-mixing at any stage and ensure egg whites are whipped correctly.
- Using a Kitchen Scale: For precision, consider using a kitchen scale to measure your ingredients instead of cups—especially for the flour and sugar.
- Room Temperature Ingredients: Always ensure your ingredients are at room temperature. It helps create a smoother batter and ensures better mixing.
Serving Suggestions
Pair your Japanese Cheesecake with fresh fruits like strawberries, blueberries, or a drizzle of a light fruit sauce for a pop of color and flavor. You can also add a dollop of whipped cream or a sprinkle of powdered sugar for an elegant presentation.
For special occasions, serve slices alongside a cup of green tea or coffee as a delightful counterbalance to the cake’s sweetness.
Variations & Substitutions
- Citrus Zest: Add lemon or orange zest to the batter for a refreshing twist.
- Matcha Powder: Incorporate matcha into the batter for a beautiful green color and unique flavor.
- Chocolate Lovers: Add cocoa powder or melted chocolate for a rich chocolate variation.
If you have dietary restrictions, consider using dairy-free cream cheese and plant-based milk options. It’s versatile enough that everyone can enjoy a slice!
Nutrition & Storage Info
- Prep Time: 30 minutes
- Cook Time: 60 minutes
- Total Time: 90 minutes + cooling time
- Yield: 8 servings
- Estimated Calories: About 250 calories per slice
Storage Instructions:
- Room Temp: Not recommended, best served chilled.
- Fridge: Up to 5 days.
- Freezer: Up to 1 month; wrap tightly.
FAQ Section
- Can I use any cream cheese?
- It’s best to use a full-fat cream cheese for flavor and texture. Brands like Philadelphia give the best results.
- What if I don’t have cake flour?
- You can substitute cake flour with all-purpose flour combined with cornstarch—use 1/2 cup of all-purpose flour minus 2 tablespoons and replace with cornstarch.
- Why is my cheesecake dense?
- Dense cheesecake can result from overmixing or under-beaten egg whites. Make sure to fold gently to maintain air in the batter.
- Can this recipe be doubled?
- Yes! If you want a larger cake, just double the ingredients and use a bigger pan. Adjust the baking time accordingly.
- How do I prevent cracks?
- Use the water bath method, as it helps regulate temperature. Also, avoid opening the oven door while baking.
- Can I use egg substitutes?
- While traditional egg replacements like flaxseed won’t yield the same lightness, some readers have had success with aquafaba (chickpea water) to replace egg whites.
- What’s the best way to store leftovers?
- Cover tightly and refrigerate. You can freeze it for longer storage, but it’s better consumed fresh!
- Do I need to chill before serving?
- Yes, chilling allows the flavors to meld and improves texture.
- Can I add fruit into the batter?
- Yes! You can fold in small pieces of fruit like strawberries or blueberries, but do so gently to avoid deflating the batter.
- Why is mine not rising?
- Ensure your egg whites are whipped correctly to stiff peaks, and fold them into the batter gently but thoroughly.
Conclusion
This Japanese Cheesecake recipe holds a special place in my heart because it’s more than just a dessert—it’s a memory, a slice of joy, and an experience anyone can create at home. The airy texture and light sweetness make it the perfect treat for any occasion, and I am sure your family and friends will be blown away by your baking skills.
Now it’s your turn! I encourage you to try this recipe, share your outcomes, and let me know how it turned out. Did it bring back nostalgic memories like it did for me? Don’t forget to check out related recipes on the blog, as there’s always something delicious waiting to be discovered.
Happy baking!
Japanese Cheesecake
Ingredients
Method
- Preheat your oven to 320°F (160°C).
- Grease a 9-inch round cake pan and line the bottom with parchment paper.
- In a large bowl, beat the softened cream cheese until smooth.
- Gradually add the granulated sugar, mixing until fluffy.
- Pour in the milk and melted butter, mixing well to combine.
- Add the egg yolks one at a time, ensuring each is fully mixed before the next.
- Sift in the cake flour and cornstarch, then add the vanilla extract.
- Mix until fully combined, careful not to over-mix.
- In a separate bowl, beat the egg whites with cream of tartar until soft peaks form.
- Gradually add the remaining sugar and keep mixing until stiff peaks form.
- Gently fold the whipped egg whites into the cream cheese mixture in three parts.
- Pour the batter into the prepared cake pan.
- Place your cake pan in a larger baking pan filled with hot water.
- Bake for about 60 minutes, or until the top is lightly browned and a toothpick comes out clean.
- Turn off the oven and let the cake cool in the oven with the door slightly ajar for about an hour.
- Remove the cake from the oven and let it cool to room temperature before refrigerating for at least four hours.
- Slice, serve, and enjoy the fluffy and airy texture of your homemade Japanese Cheesecake.