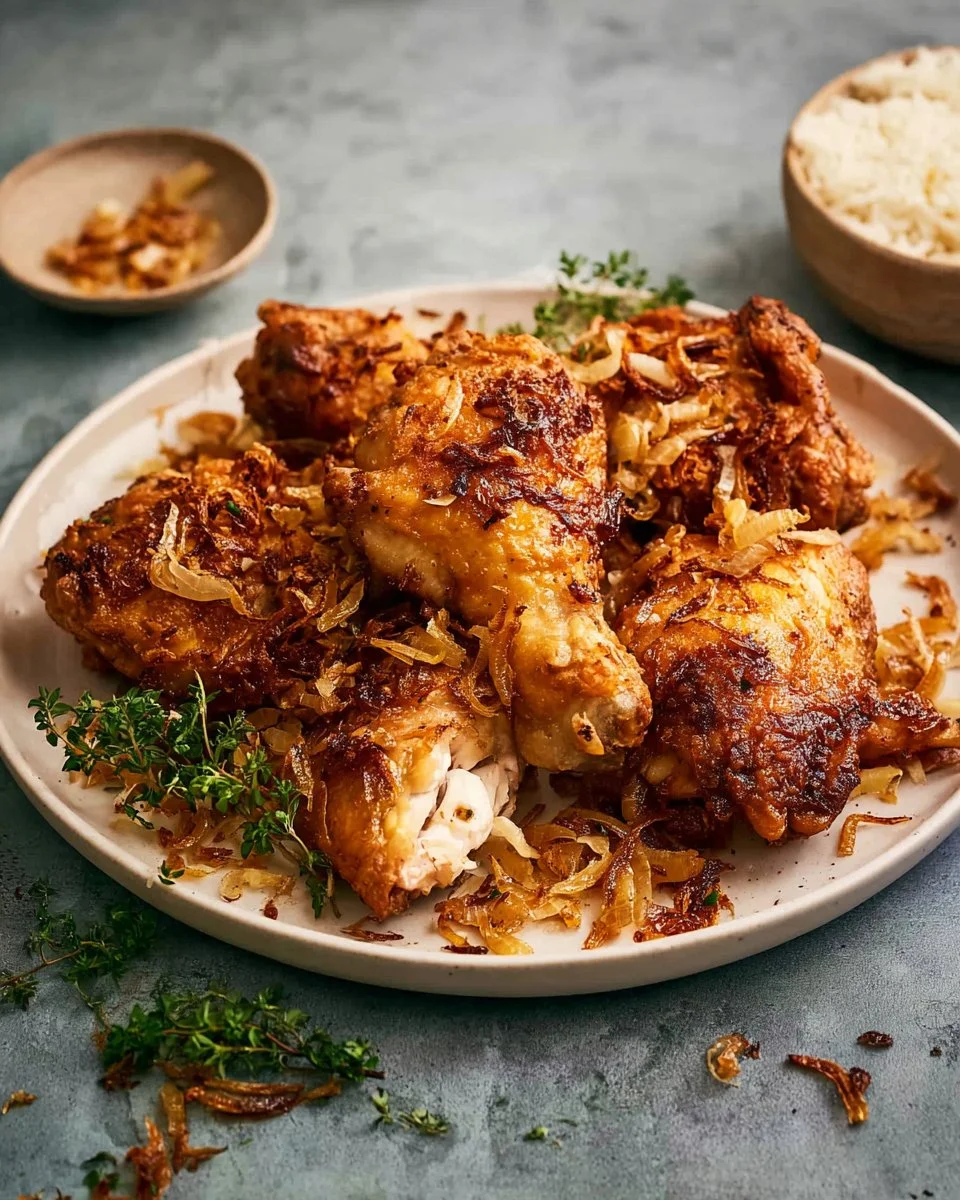
Every family has those cherished recipes, the kind that warms your heart before you even take a bite. For me, it’s my mom’s Thai Fried Chicken – Hat Yai Style. Growing up, the fragrant scent of marinating chicken would waft through our home, instantly placing me in a state of nostalgia and warmth. As my siblings and I gathered around the table, each crunch of that crispy skin made our laughter echo even louder. What makes this dish so special isn’t just the mesmerizing blend of flavors; it’s the love and memories we shared over countless meals.
This recipe stands apart from the others because it encapsulates a unique marination process using fresh herbs and spices that penetrate the chicken, leaving it juicy and flavorful while achieving that beloved crispy texture. While there are many fried chicken recipes floating around, this Hat Yai version brings a tantalizing kick, elevating your usual comfort food experience to something extraordinary. With my guidance, you’ll learn the secrets to mastering this iconic Thai dish right in your own kitchen. Grab your apron, and let’s embark on a delicious journey together!
What Are Thai Fried Chicken – Hat Yai Style?
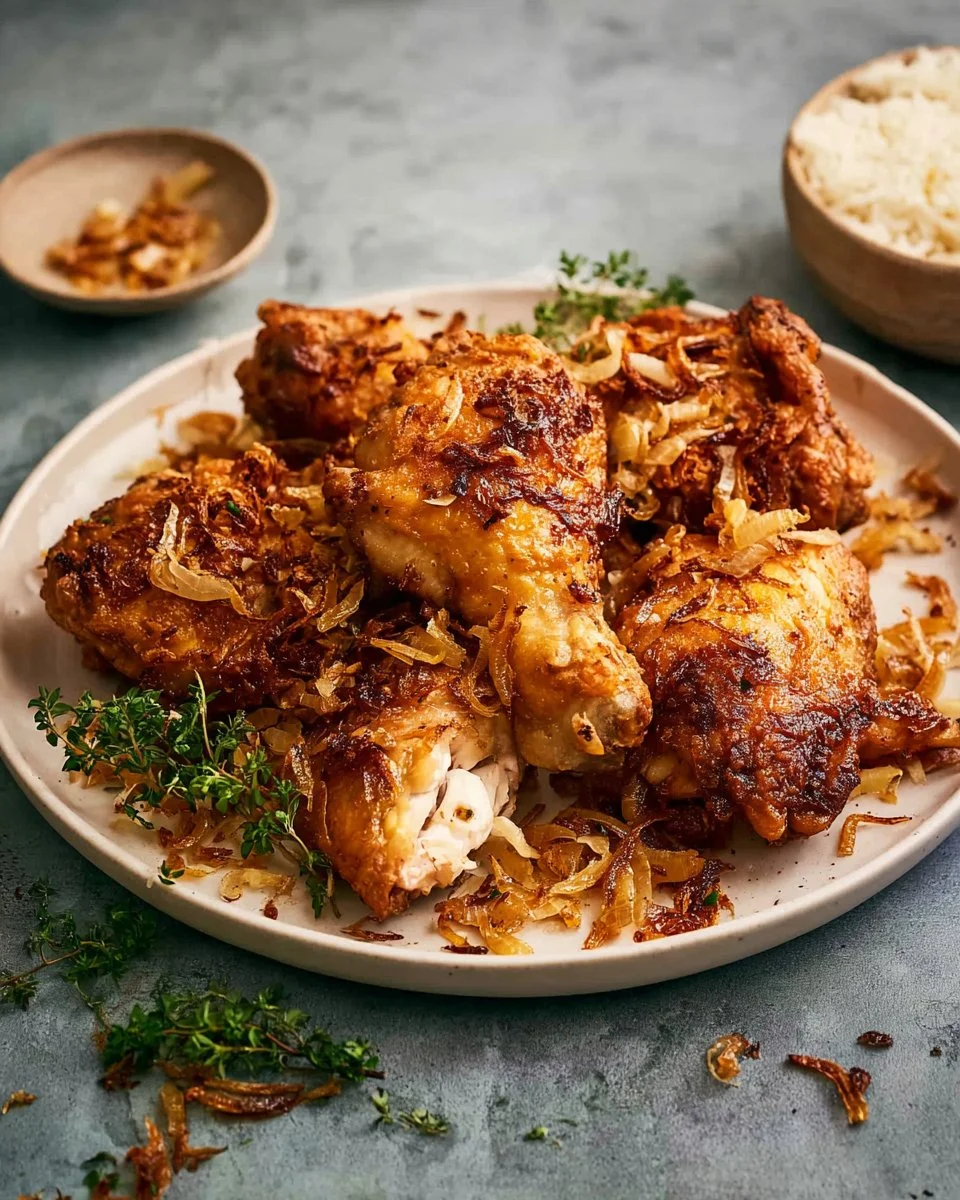
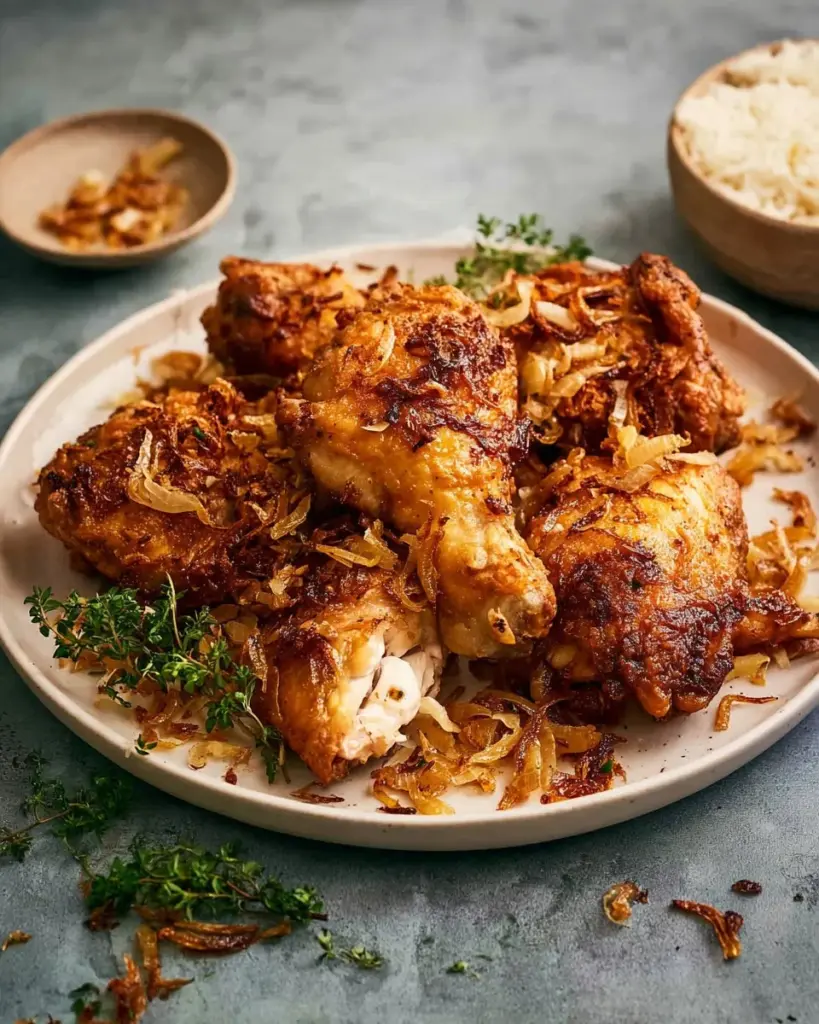
Originating from the vibrant streets of Hat Yai in Southern Thailand, Thai Fried Chicken – Hat Yai Style is renowned for its harmony of bold spices and fresh herbs. The dish boasts a unique characteristic: the use of white pepper in the marinade creates an unexpected yet deliciously mild heat that dances on your palate. The chicken is typically fried to a perfect golden crisp, capturing a crunch that gives way to tender, juicy meat.
What sets this version apart from the standard fried chicken is the meticulous marination process, which not only enhances the flavor but also ensures the chicken remains juicy during frying. Perfect for family gatherings, festive occasions, or a cozy dinner at home, this dish is the epitome of comfort food, evoking memories of love, laughter, and a sense of belonging with every delicious bite.
Why You’ll Love This Recipe
Unmatched Flavor: Unlike store-bought or restaurant versions, this recipe allows you to customize the marinade to match your preferences. By using fresh ingredients like garlic and cilantro, every bite packs a punch of flavor that you can’t find in pre-packaged options.
Cost-Effective: Preparing your own Thai Fried Chicken – Hat Yai Style at home not only saves money but also allows you to control the quality of ingredients. Those store-bought versions can be hefty on your wallet.
Easy to Make: Don’t let the worry of frying chicken intimidate you! This recipe is beginner-friendly and breaks down each step, making it easy for anyone to recreate authentic Thai flavors in their kitchen.
Customizable: Whether you love it spicy or prefer it mild, you can easily adjust the marination ingredients to suit your taste. Feel free to experiment with different herbs, like lemongrass or basil, for a unique twist that keeps things exciting!
A Family Affair: This dish is perfect for gatherings and celebrations. Imagine a table filled with laughter, where everyone is digging in and sharing their love for this flavorful fried chicken.

Ingredients Section
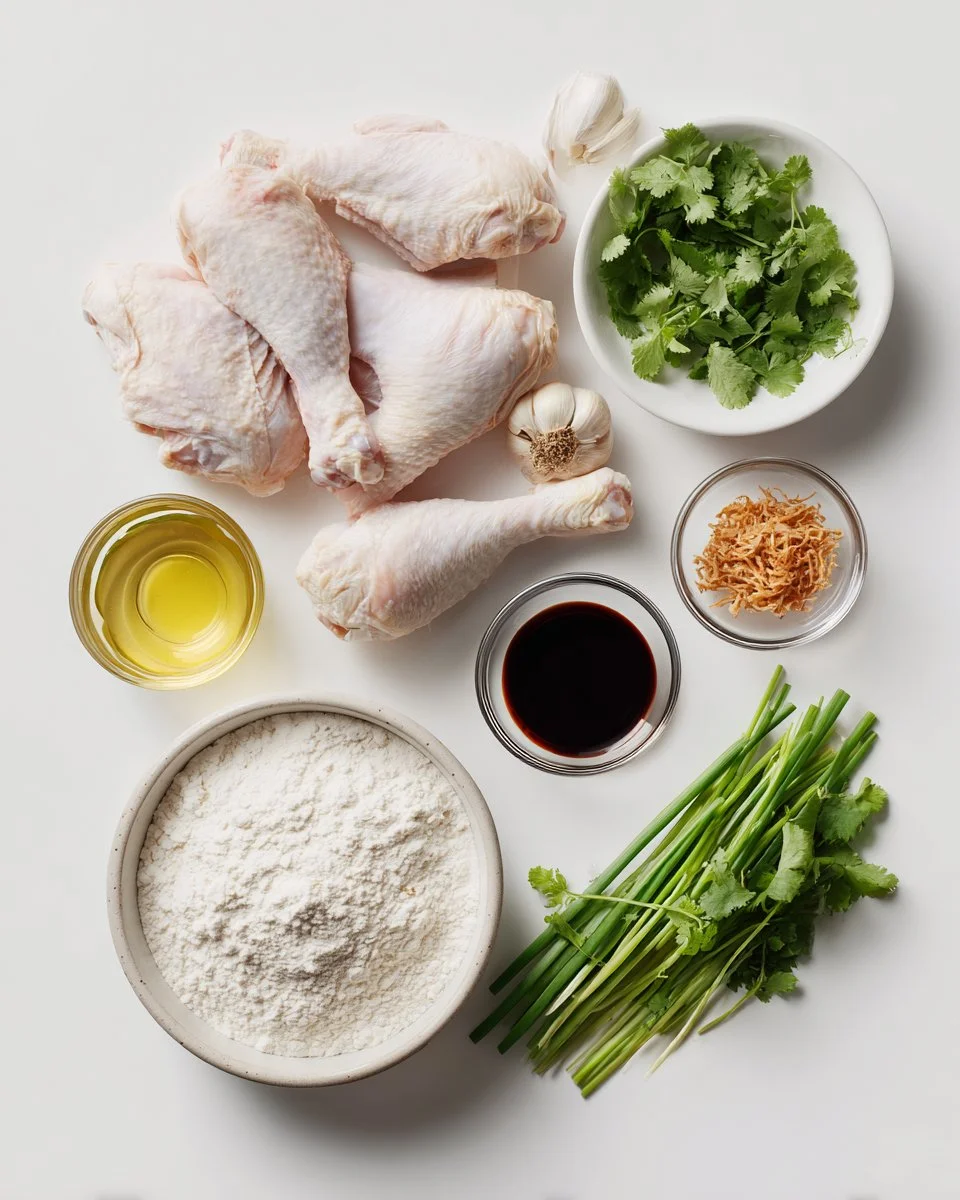
Here’s what you’ll need to create this mouthwatering Thai Fried Chicken – Hat Yai Style:
- 1 1/2 lb bone-in, skin-on chicken (drumsticks, thighs, and wings preferred) – for crunchy bits and juicy meat.
- 5 cloves garlic – crushed to release those delightful aromatic oils.
- 8 cilantro stems, chopped – fresh herbs enhance the overall flavor.
- 3/4 teaspoon white peppercorns (or black) – brings subtle heat without overwhelming the palate.
- 2 1/2 teaspoon sugar – balances the savory and spicy flavors.
- 2 tablespoon Thai soy sauce – for that umami depth.
- 1 tablespoon fish sauce – adds a complex salty flavor.
- 1/2 cup water – to create a flavorful marinade.
- 1 cup rice flour – essential for that crispy crust.
- Oil for frying (canola, peanut, or other neutral-flavored vegetable oil) – choose one that can withstand high heat.
- Fried shallots (store bought or homemade) – crispy garnish for added flavor.
- Sticky rice (optional, for serving) – pairs perfectly with the fried chicken.
- Sweet chili sauce (optional, for dipping) – for an extra sweet and spicy kick.
Note: Always go for fresh ingredients if possible. I love using Nam Pla (Thai fish sauce) for its quality flavor and Kikkoman soy sauce for the best umami touch.
Prep your chicken to room temperature before marinating for even cooking.
Step-by-Step Instructions
Prepare the Chicken: Score the chicken drumsticks about 1 cm deep on either side to help the marinade penetrate. For thighs, trim excess skin and make a 1 cm incision on either side of the bone.
Make the Marinade: Pound the white peppercorns until fine. Add in the garlic and cilantro stems, pounding them into a smooth paste. Mix in the sugar, fish sauce, soy sauce, and water to create the marinade.
Marinate: Place the chicken in a bowl and pour the marinade over it. Make sure all pieces are well coated. Cover and marinate for at least 4 hours, or better yet, overnight in the refrigerator for maximum flavor.
Fry the Shallots: Slice the shallots into 2mm thick pieces and toss with a pinch of salt. Let them sit for about 10 minutes to draw out moisture. Pat them dry on paper towels and fry in hot oil until golden and crisp. Set aside on paper towels to absorb excess oil.
Fry the Chicken: Heat oil in a deep pan to 375°F (190°C). Carefully coat the marinated chicken in rice flour, shaking off excess flour. Fry in batches to give each piece room. Maintain the oil temperature at around 300°F (150°C) while frying, ensuring the chicken reaches a safe internal temperature (165°F) before removing it to cool on a wire rack.
Serve: Let the chicken cool briefly before serving it with sticky rice and fried shallots for a delightful dining experience.
Chef’s Tips:
- If you’re looking for that signature crunch, maintain the oil temperature while frying.
- Make sure not to overcrowd the pan to ensure even cooking.
Expert Tips & Tricks
- Fresh Ingredients are Key: Always use fresh garlic and herbs to obtain robust flavors.
- Marinade Time: If you can, marinate the chicken overnight for optimal flavor infusion.
- Temperature Control: Use a kitchen thermometer to ensure your oil is at the correct temperature. Too hot will burn the coating; too cold will result in greasy chicken.
- Store Fried Chicken Properly: Store leftover chicken in an airtight container. They keep well in the fridge for up to 3 days.
- Make-ahead: You can marinate the chicken a day in advance and fry it just before serving for the utmost freshness.
Serving Suggestions
Serve your Thai Fried Chicken – Hat Yai Style alongside a warm plate of sticky rice for a delightful meal. I also love accompanying it with a fresh cucumber salad to cut through the richness. For an authentic Thai experience, present the dish with an array of dipping sauces like sweet chili sauce and a splash of lime. Perfect for casual dinners or festive gatherings, this chicken will undoubtedly steal the spotlight.
Variations & Substitutions
Feel free to try different flavor combinations:
- Spicy Twist: Add some chili flakes or fresh birds-eye chilies to the marinade if you’re feeling adventurous.
- Herb Variations: Swap out cilantro for Thai basil for a more aromatic touch.
- Dietary Adaptations: For a gluten-free version, substitute Thai soy sauce with tamari and use cornstarch instead of rice flour.
Nutrition & Storage Info
- Prep Time: 4 hours (including marinating time)
- Cook Time: 30 minutes
- Total Time: Approximately 4 hours 30 minutes
- Yield: Serves 4-6
- Estimated Calories: Approx. 350-400 per serving.
Storage:
- Store fried chicken in an airtight container at room temperature for up to 2 hours. For longer storage, refrigerate for up to 3 days or freeze for up to 1 month. To reheat, use an oven or air fryer to maintain the crispy texture.
FAQ Section
Can I use boneless chicken?
Absolutely! Boneless chicken will require less cooking time.Can I make it in an air fryer?
Yes, you can cook them in an air fryer at about 375°F, checking for doneness after 25 minutes.What to do if the chicken is too oily?
If your chicken ends up oily, ensure the oil is hot enough prior to frying next time, and let it rest on paper towels to absorb excess oil.Can I marinate longer than overnight?
Marinating for more than 24 hours may result in overly salty chicken. Stick to a maximum of overnight.Can this recipe be doubled?
Yes, this recipe can easily be doubled; just ensure you have enough frying oil and space in the pan.What can I substitute for fish sauce?
For a fish-free alternative, use soy sauce or a mushroom sauce.Should I remove the skin?
No, the skin is what gives the chicken its iconic crunch.What sauces pair best with this dish?
Sweet chili sauce and spicy vinegar sauce are popular choices for dipping!Who can I serve this dish to?
It’s a family-friendly dish, perfect for gatherings, parties, and casual dinners.What if I have leftovers?
Leftover chicken can be refrigerated and reheated to enjoy later!
Conclusion
This Thai Fried Chicken – Hat Yai Style is more than just a meal; it’s a piece of my heart and a gateway to memories filled with the laughter of my family. I encourage you to roll up your sleeves and try it out in your own kitchen. You’ll not only experience the joy of cooking but also share a feast packed with flavor and warmth with your loved ones. Don’t forget to leave feedback and let me know how your dish turned out! And for more delightful recipes, be sure to check out my blog for other culinary adventures that will warm your heart and satisfy your taste buds.
Nutritious Oatmeal Bars for Toddlers
Happy cooking!
Thai Fried Chicken – Hat Yai Style
Ingredients
Method
- Score the chicken drumsticks about 1 cm deep on either side to help the marinade penetrate. For thighs, trim excess skin and make a 1 cm incision on either side of the bone.
- Pound the white peppercorns until fine. Add in the garlic and cilantro stems, pounding them into a smooth paste. Mix in the sugar, fish sauce, soy sauce, and water to create the marinade.
- Place the chicken in a bowl and pour the marinade over it. Make sure all pieces are well coated. Cover and marinate for at least 4 hours, or better yet, overnight in the refrigerator for maximum flavor.
- Slice the shallots into 2mm thick pieces and toss with a pinch of salt. Let them sit for about 10 minutes to draw out moisture. Pat them dry on paper towels and fry in hot oil until golden and crisp. Set aside on paper towels to absorb excess oil.
- Heat oil in a deep pan to 375°F (190°C). Carefully coat the marinated chicken in rice flour, shaking off excess flour. Fry in batches to give each piece room. Maintain the oil temperature at around 300°F (150°C) while frying, ensuring the chicken reaches a safe internal temperature (165°F) before removing it to cool on a wire rack.
- Let the chicken cool briefly before serving it with sticky rice and fried shallots for a delightful dining experience.