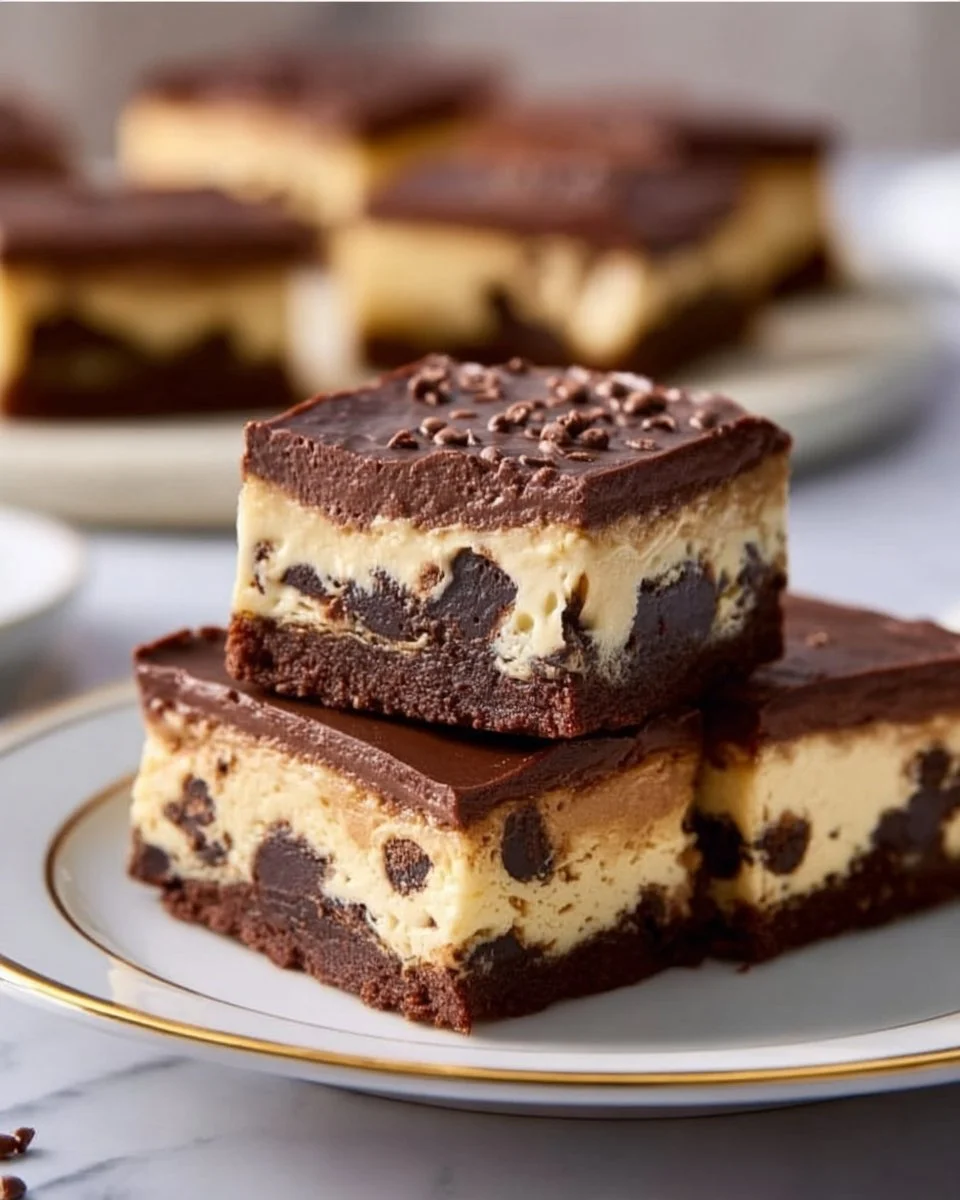
There’s a kind of magic that happens when two beloved desserts collide, and my ultimate favorite, Chocolate Chip Cookie Cheesecake Bars, is the delicious result! I still remember the first time I brought these bars to a family barbecue. My cousin, who typically declines dessert, took one bite and his eyes grew wide in disbelief. “These are incredible!” he exclaimed, and suddenly, I was the star of the show.
What makes these bars so remarkable is the perfect blend of rich, creamy cheesecake nestled between layers of chewy chocolate chip cookie dough. It’s like they were destined for each other! This recipe stands apart from others not just for its eye-catching looks, but for that delightful combination of textures and flavors—crispy edges, gooey chocolate, and silky creaminess that brings everyone to the table.
Every bite is a comforting embrace, filled with memories of family gatherings, lazy Sundays, and the warmth of shared moments. You’ll love how simple and fun it is to create your own batch. Stick around, and I promise you’ll walk away with all the tips and tricks to master this delightful dessert.
What Are Chocolate Chip Cookie Cheesecake Bars?
Chocolate Chip Cookie Cheesecake Bars are a delectable mashup of chocolate chip cookies and cheesecake, harmonizing the best of both worlds into one irresistible dessert. This genius creation is a modern twist on traditional desserts, often made by layering chocolate chip cookie dough and a luscious cream cheese filling in a baking dish, then baking it to perfection.
These bars tantalize your taste buds with their rich flavor. Imagine a buttery cookie base that’s both soft and chewy, topped with a velvety cheesecake layer that melts in your mouth, all crowned with a sprinkle of chocolate chips. The juxtaposition of textures feels indulgent and satisfying—truly, a dessert that makes your heart sing!
Perfect for parties, potlucks, or simply as a sweet treat for yourself, these bars are an instant crowd-pleaser. They’re ideal for celebrations, lazy weekends, or when you want to impress family and friends with something special yet simple.
Why You’ll Love This Recipe
Unbeatable Flavor Combination: With layers of gooey cheesecake and warm chocolate chip cookies, you can’t go wrong! This recipe isn’t your run-of-the-mill dessert; it’s a carefully crafted harmony that keeps dessert lovers in sheer delight.
Cost-Effective Treat: Why buy overpriced bakery bars when you can whip up a batch at home? All it takes is a few common pantry staples and a little love to create these bars.
Customizable to Your Liking: Want to switch things up? Toss in some nuts, use dark chocolate chips, or even maraschino cherries. The possibilities are endless, and this recipe lends itself beautifully to whatever flavors you adore.
Simple Preparation: With just a few steps, you’re not stuck in the kitchen all day. This recipe is perfect for both novice and experienced bakers, making it accessible for everyone.
Perfect for Any Occasion: Whether it’s a cozy night in, a family gathering, or a potluck, these bars fit right in. They’re easy to transport, and serve a crowd, making you look like a baking superhero!
Ingredients
- 1 cup unsalted butter, softened to room temperature (for the best texture)
- 1 cup brown sugar (should be packed down for the perfect sweetness)
- 1 cup granulated sugar
- 2 large eggs, at room temperature (this helps with easier mixing)
- 2 teaspoons vanilla extract (I love using pure vanilla for deep flavor)
- 3 cups all-purpose flour (can be swapped with gluten-free flour if needed)
- 1 teaspoon baking soda
- 1/2 teaspoon salt (balance is key!)
- 1 cup chocolate chips (semi-sweet are my go-to!)
- 16 oz cream cheese, softened (it needs to be at room temperature for easy blending)
- 1/2 cup granulated sugar
- 1 teaspoon vanilla extract (more for the cream cheese layer!)
- 2 large eggs, at room temperature
- 1 cup cookie dough (optional for topping; feel free to use store-bought or homemade)
Ingredient Notes: For the butter, I recommend using a high-quality unsalted variety like Lurpak or Kerrygold for rich flavor. If you need a dairy-free version, you can use coconut oil or a plant-based butter as a substitute.
Step-by-Step Instructions
Preheat and Prepare: Preheat your oven to 350°F (175°C) and grease a 9×13 inch baking dish. This ensures easy removal and perfect browning on the edges.
Cream the Sugars and Butter: In a large bowl, cream together 1 cup unsalted butter, 1 cup brown sugar, and 1 cup granulated sugar until light and fluffy—about 3-5 minutes. This step is crucial for that coveted chewy texture!
Add Eggs and Vanilla: Beat in 2 large eggs and 2 teaspoons vanilla extract until smooth. You want it to be well combined, as this creates a rich base for the bars.
Mix Dry Ingredients: In a separate bowl, whisk together 3 cups all-purpose flour, 1 teaspoon baking soda, and 1/2 teaspoon salt. Gradually blend this dry mixture into the wet ingredients until just incorporated—don’t overmix!
Fold in Chocolate Chips: Stir in 1 cup chocolate chips until evenly distributed.
Layer the Cookie Dough: Spread half (about 2/3 of the dough) of the cookie dough batter into the bottom of the greased pan, pressing it down evenly.
Make the Cheesecake Layer: In another bowl, beat together 16 oz softened cream cheese, 1/2 cup granulated sugar, and 1 teaspoon vanilla extract until smooth and creamy. Add 2 large eggs, one at a time, mixing until fully combined.
Pour and Layer: Carefully pour the cheesecake mixture over the cookie dough layer in the pan, spreading it out gently.
Add Cookie Dough Topping: Drop spoonfuls of the remaining cookie dough over the cheesecake layer, creating a marble effect. Don’t worry about making it perfect; the beauty is in the swirls!
Bake: Bake in the preheated oven for 30-35 minutes, or until the center is set and slightly golden. Chef’s Tip: The bars will firm up as they cool, so avoid overbaking!
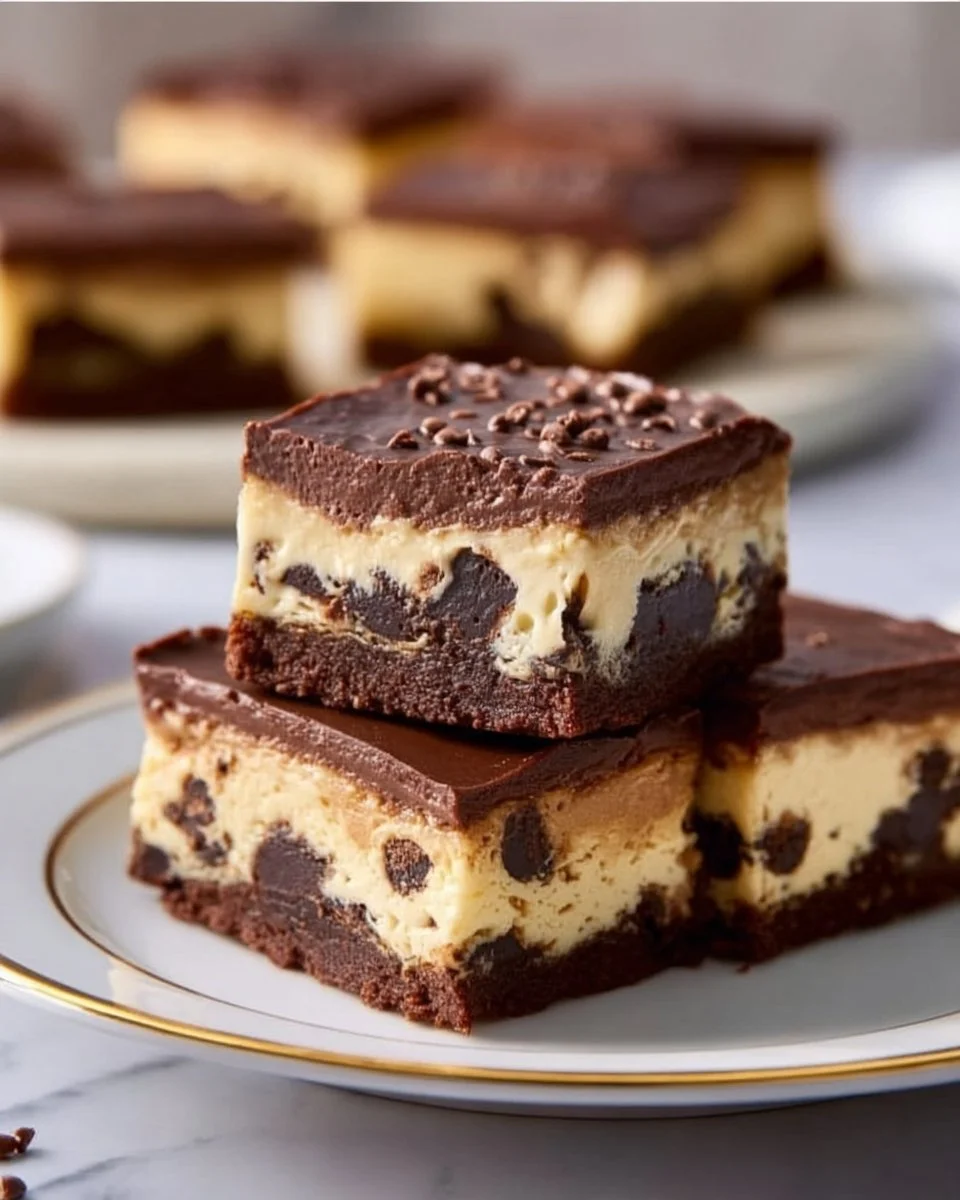
Cool and Slice: Allow the bars to cool completely in the pan before slicing into squares and serving—this helps with clean cuts!
Expert Tips & Tricks
Room Temperature Ingredients: Always start with room temperature dairy products for the creamiest texture. This makes blending feel effortless!
Don’t Overmix: Once you add the dry ingredients, mix just until combined. Overmixing can lead to tough bars, and nobody wants that!
Storage Recommendations: Keep any leftovers tightly wrapped or in an airtight container. They’ll last up to 3 days at room temperature or 5-7 days in the fridge.
Make-ahead Instructions: Pre-make the cookie dough and cheesecake batter the night before. Assemble and bake the next day for a fresher taste!
Common Mistakes to Avoid: Ensure your cream cheese is fully softened to avoid lumps in your cheesecake layer. If it’s too cold, it won’t mix well and can lead to a less creamy texture.
Cheat on Time: Use store-bought cookie dough for the topping for a quicker, stress-free dessert without compromising flavor!
Serving Suggestions
These Chocolate Chip Cookie Cheesecake Bars are delicious on their own, but you can elevate the experience even further! Serve with a scoop of vanilla ice cream or a dollop of whipped cream. For a pretty presentation, drizzle with chocolate or caramel sauce and sprinkle with sea salt for a gourmet touch.
These bars are ideal for any occasion—holiday gatherings, birthdays, or movie nights. Just be prepared to share the recipe because once you serve them, your guests will be begging for it!
Variations & Substitutions
- Flavor Combinations: Switch up the chocolate chips for white chocolate, butterscotch, or even peppermint chips during the holidays.
- Dietary Adaptations: For a gluten-free option, substitute all-purpose flour with a gluten-free 1:1 blend. Vegan options can also be created using plant-based butter, cream cheese, and flax eggs.
- Seasonal Variations: Add in seasonal flavors such as pumpkin spice in the fall or peppermint during the winter months for a festive twist!
Nutrition & Storage Info
- Prep Time: 15 minutes
- Cook Time: 30-35 minutes
- Total Time: About 1 hour, including cooling
- Yield: About 12-16 bars
- Estimated Calories: Approximately 300 calories per serving (based on 12 servings)
- Storage: Keep covered at room temperature for up to 3 days or refrigerate for up to 7 days. For longer storage, freeze for up to 3 months.
FAQ Section
Can I use low-fat cream cheese?
Yes! Low-fat cream cheese can be used, but the texture may be slightly different—still delicious!What if I don’t have baking soda?
You can substitute it with baking powder, but use three times the amount (1 teaspoon baking soda = 3 teaspoons baking powder).Can I make these gluten-free?
Absolutely! Use a gluten-free all-purpose flour substitute for the best results.How can I prevent the bars from being too crumbly?
Ensure that your butter is fully creamed and that you don’t overbake them. This keeps the texture chewy rather than crumbly.Can I substitute chocolate chips with something else?
Yes! Feel free to get creative with mix-ins like nuts, dried fruit, or alternative flavored chips.Do I need to chill the cheesecake layer?
No chilling is needed before baking. That’s part of the genius—you bake it all together!How can I tell when the bars are done?
Gently shake the pan; the center should be slightly jiggly but not liquid. It will firm up after cooling.Can I add fruit to the cheesecake layer?
Certainly! Fresh strawberries or blueberries would add a lovely fruity twist.How do I store leftovers?
Keep the bars in an airtight container at room temperature for up to 3 days, or refrigerate for longer storage.Are these bars suitable for freezing?
Yes! You can freeze unbaked or baked bars. Just wrap them tightly and enjoy them within 3 months.
Conclusion
These Chocolate Chip Cookie Cheesecake Bars – Mom On Timeout are a delightful fusion of flavors and textures that truly make them stand out. Whether you’re creating a new family tradition or impressing friends at a gathering, this recipe is sure to be a hit! I encourage you to try making your own batch and share your thoughts in the comments. What variations did you try?
Don’t forget to check out my other favorite recipes on the blog, like my classic brownies or seasonal pumpkin pie, as you continue your baking adventure!
Easy High Protein Cottage Cheese Tuna Pasta Salad