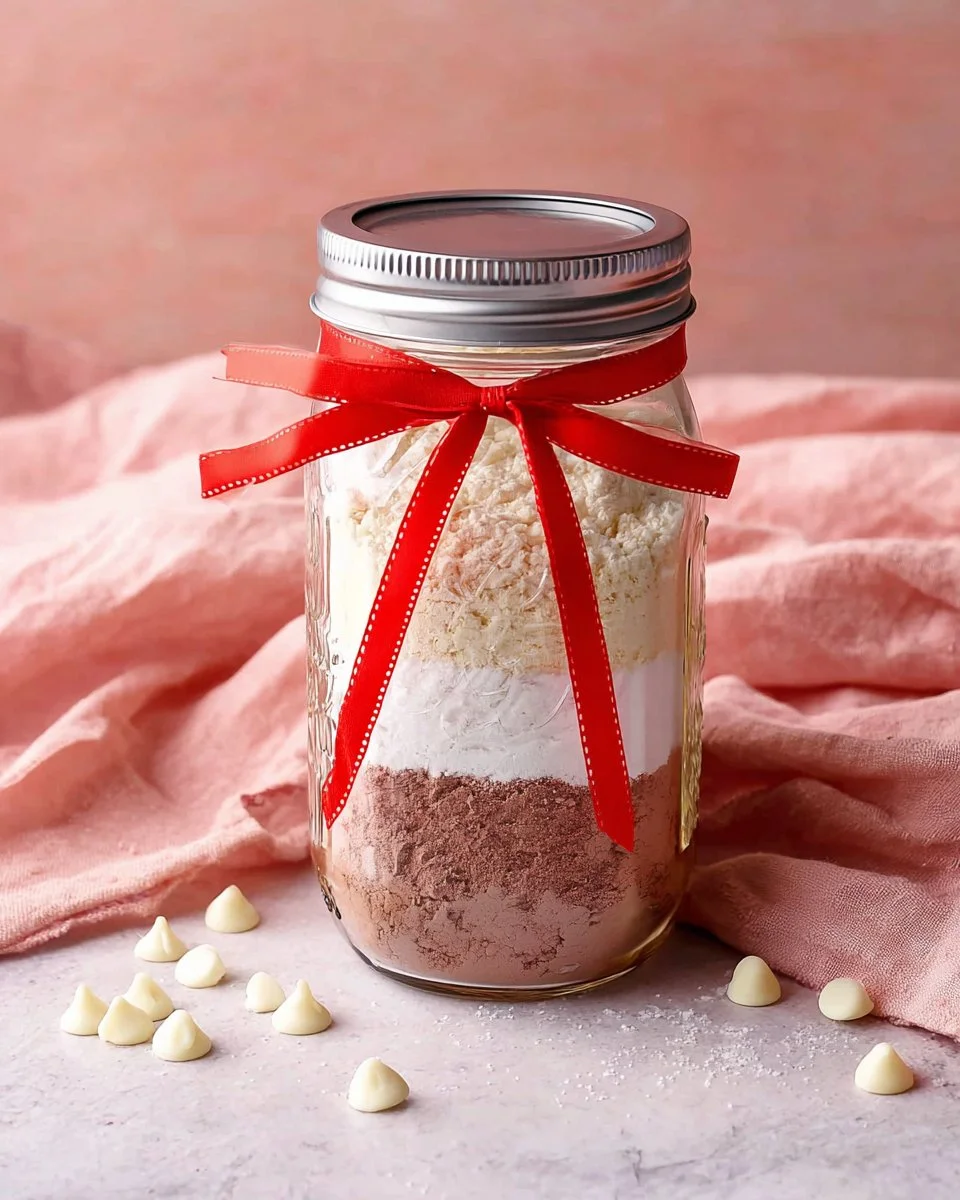
Ah, the enchanting aroma of freshly baked cookies wafting through the house; it evokes memories of childhood, family gatherings, and those moments when you simply need a sweet treat to lift your spirits. It’s no secret that cookies hold a special place in our hearts, and my Chewy Red Velvet Cookies in a Jar are no exception. The vibrant red hue and the decadent taste of sweet, tender cookies, coupled with lovely white chocolate chips, create an irresistible treat that’s perfect for any occasion.
But what makes Chewy Red Velvet Cookies in a Jar truly stand out? Unlike other cookie recipes that often leave you with dry or crumbly results, this recipe promises that satisfying chewiness with each bite. These cookies are more than just a delightful dessert; they’re a warm hug in cookie form, reminding us of cozy evenings and laughter-filled gatherings with loved ones.
In today’s post, I’ll guide you step-by-step through this simple yet delightful recipe that not only satisfies your sweet tooth but also serves as a beautiful gift or a fun activity to enjoy with friends and family. You’ll discover how easy it is to bring joy and comfort into your kitchen, creating memories that last a lifetime. Are you ready to bake? Let’s get started!
What Are Chewy Red Velvet Cookies in a Jar?
Originating from the beloved red velvet cake, these Chewy Red Velvet Cookies in a Jar bring a playful twist to the classic. Traditionally known for their deep red hue and velvety texture, red velvet desserts are often paired with cream cheese frosting. In cookie form, however, they transform into delightful bites that you can enjoy any time of day.
The taste is a delightful blend of cocoa and vanilla, with a hint of tanginess from the buttermilk that sets red velvet apart. The unique texture is soft and chewy, with pockets of melted white chocolate that add a creamy sweetness—a perfect contrast to the slight bitterness of cocoa. Whether you’re baking for a special occasion or just filling your cookie jar at home, these cookies provide that comforting indulgence we all crave.
These cookies make an excellent option for birthdays, holidays, or just as a treat for yourself at the end of a long day. They’re a versatile recipe that brings joy to any occasion!
Why You’ll Love This Recipe
- Easy to Make: You won’t need any specialized equipment or ingredients. It’s a simple and straightforward recipe that even novice bakers can follow. You’ll be pleased to know that it’s ready in about 30 minutes!
- Cost-Effective: When compared to buying fancy cookies from the store or a café, DIY cookies save you money while allowing for a personal touch. The ingredients are affordable and typically found in your pantry.
- Customizable: Want to tailor it to your taste? Feel free to add nuts, swap in dark chocolate instead of white chocolate, or add a sprinkle of sea salt on top for added flavor. It’s a great base recipe that invites your creativity.
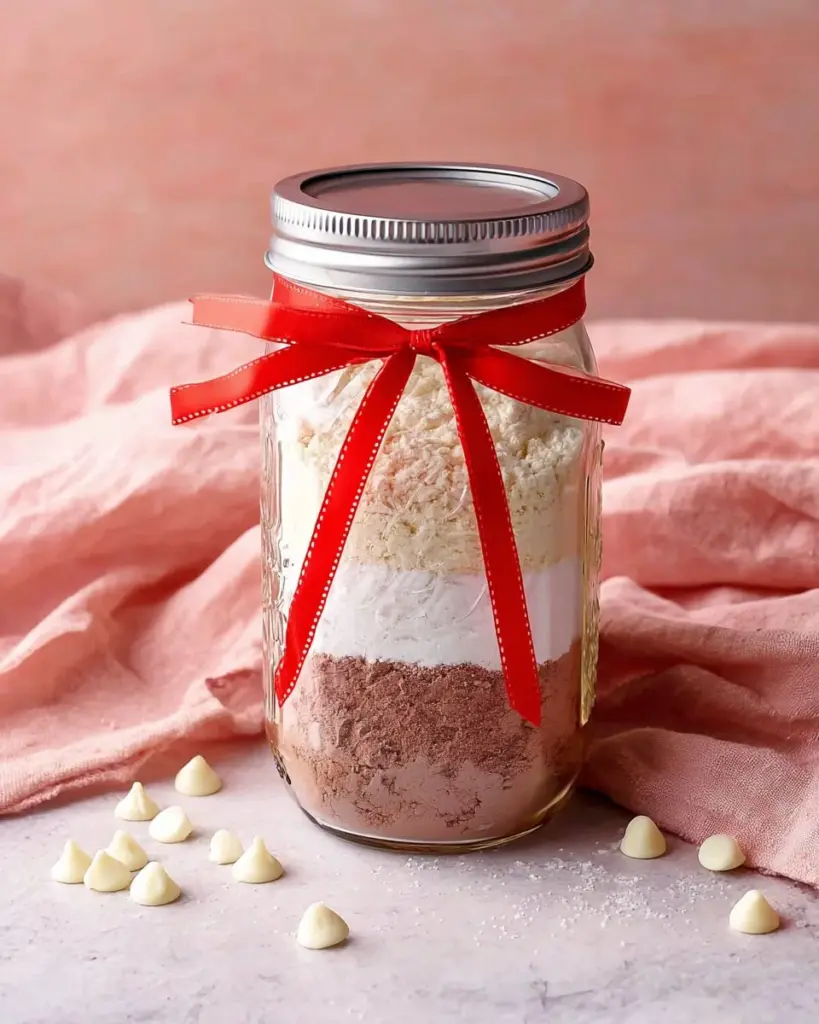
- Gift-Worthy: Presenting these cookies in a jar makes them a perfect gift for friends, family, or teachers. They’re visually stunning and delicious, ensuring you’ll leave a lasting impression.
- Easily Storable: You can make these cookies ahead of time and store them in an airtight container. They maintain their deliciousness for days, making them a reliable treat for when those cookie cravings strike.
When compared to store-bought or gourmet cookie options, you’ll find these homemade cookies are unbeatable in both taste and satisfaction. Plus, the joy of baking them yourself? Priceless!
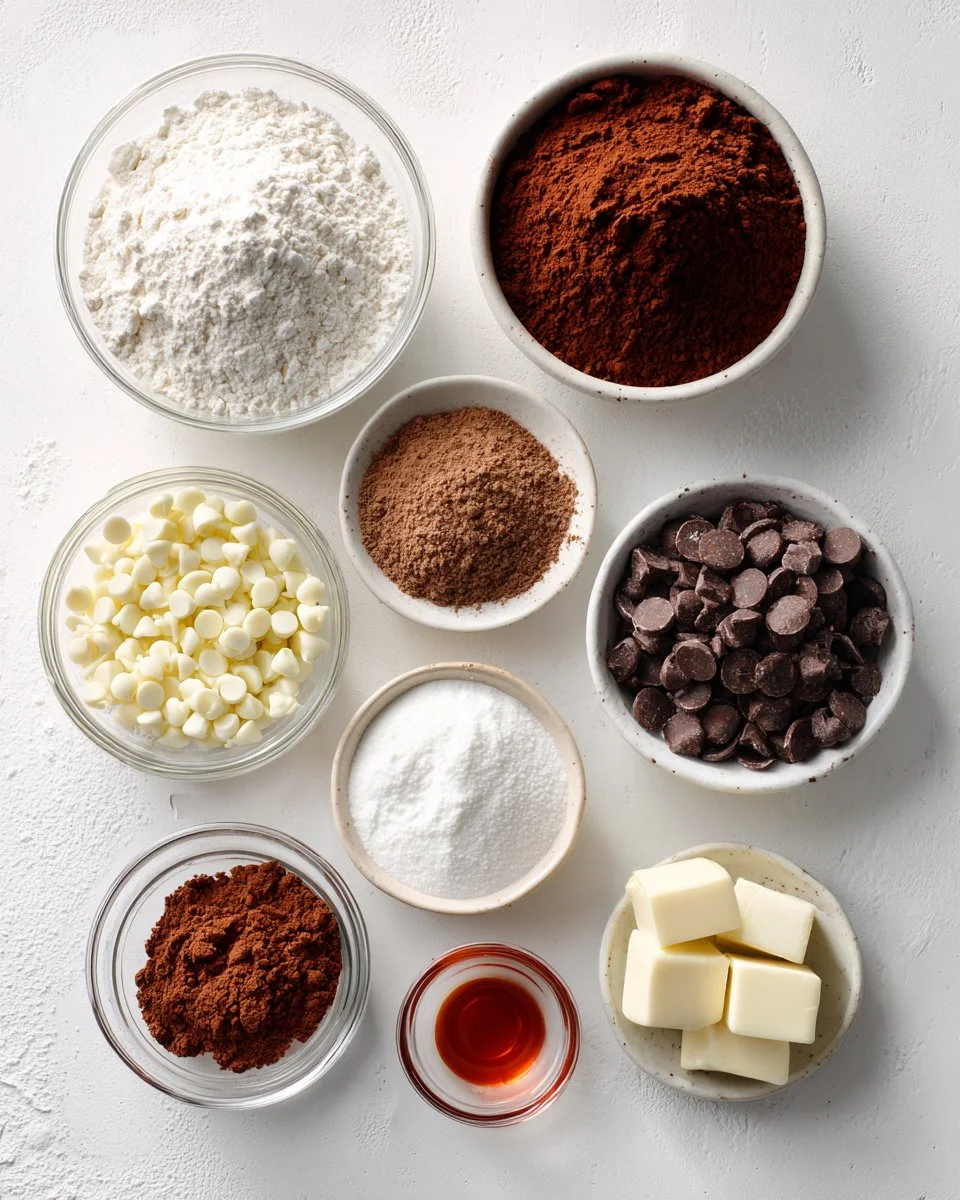
Ingredients
- 1 cup all-purpose flour: Use a high-quality brand for best results.
- 1/3 cup cocoa powder, sifted to remove lumps: I love using Hershey’s or Ghirardelli for a rich chocolate flavor.
- 1/2 tsp baking soda: Ensures the cookies rise just right.
- 1/4 tsp baking powder: Adds a touch of lift to get that perfect chew.
- 1/2 cup sugar: Granulated white sugar for sweetness.
- 1/4 cup brown sugar: Packed dark or light brown sugar adds moisture and depth.
- 1/2 cup white chocolate chips: Semi-sweet or milk chocolate works too if you’re not a white chocolate fan!
- 1/4 cup melted butter, cooled to room temperature: For that rich buttery flavor. Unsalted butter is my go-to.
- 1 egg, room temperature: Helps in binding the cookies.
- 1 1/2 tsp vanilla extract: Pure extract is preferred for its intense flavor.
- 1 tsp red food coloring: Gel coloring provides the best results without making the batter too runny.
Prep Notes: Make sure to bring eggs and butter to room temperature for a smoother batter. This also helps with even baking!
Step-by-Step Instructions
- Sift: Start by sifting the cocoa powder in a bowl to remove any lumps. This step ensures that your cookies will have a smooth texture.
- Layer the Ingredients: In a clean jar, layer the ingredients in this exact order:
- 1 cup all-purpose flour
- Cocoa powder
- 1/2 tsp baking soda
- 1/4 tsp baking powder
- 1/2 cup sugar
- 1/4 cup brown sugar
- 1/2 cup white chocolate chips
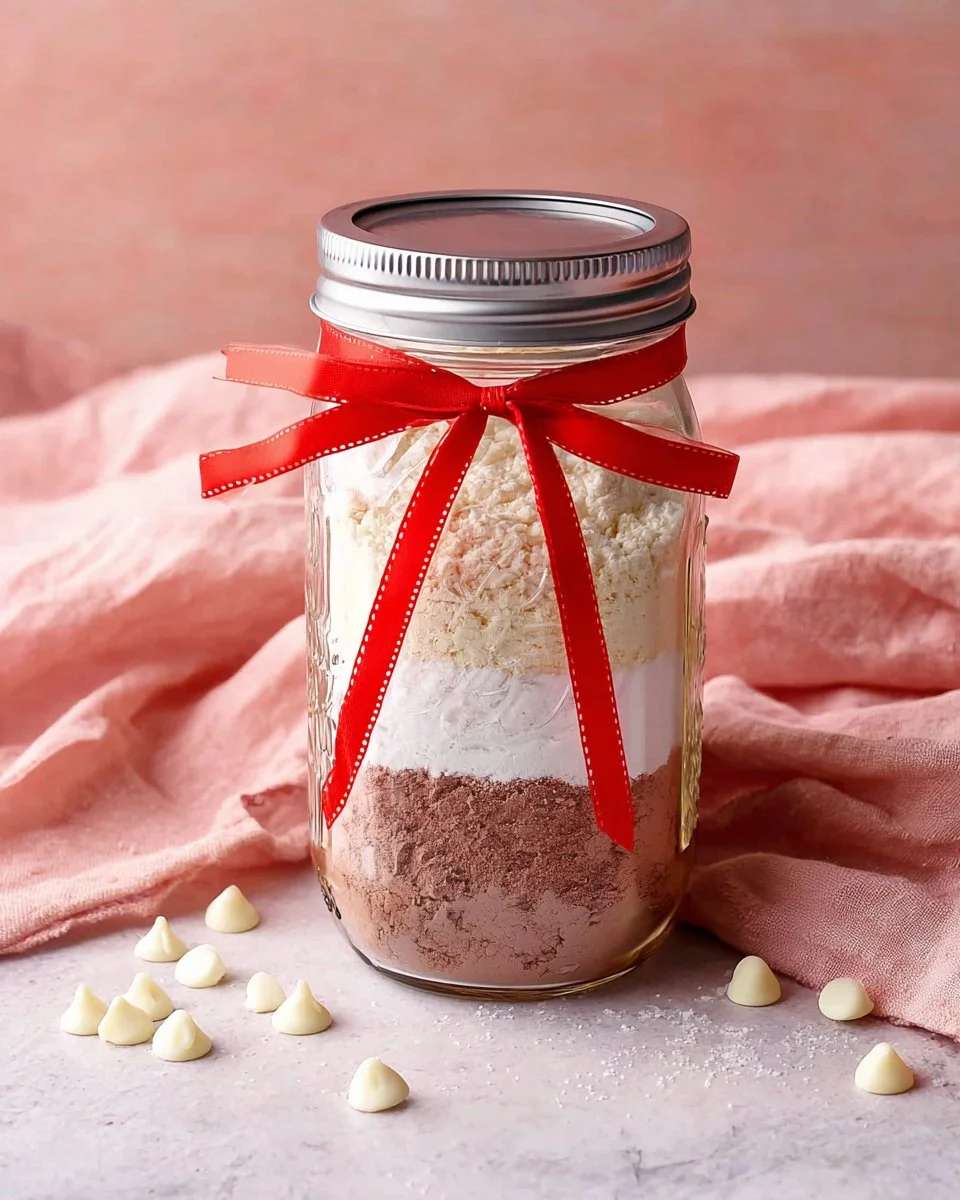
- Tip: Pack each layer gently but firmly to create a beautiful jar. This jar makes for an excellent gift!
- Preheat the Oven: As you prep, preheat your oven to 350°F (175°C).
- Mix Wet Ingredients: In a separate bowl, whisk together the melted butter, room-temperature egg, vanilla extract, and red food coloring until blended smoothly.
- Combine: Pour the contents of the jar into a medium-sized mixing bowl. Create a well in the center of the dry ingredients. Add the wet mixture into the well and mix gently until just combined. Be careful not to overmix; it’s okay if there are a few flour streaks visible!
- Shape Cookies: Drop rounded tablespoons of dough onto an ungreased baking sheet, making sure to space them about 2 inches apart.
- Bake: Bake in the preheated oven for 10-12 minutes until the edges are set but the centers look soft. Visual cue: the cookies will look slightly puffed and may crack on top.
- Cool Down: Let them rest on the baking sheet for 2 minutes before transferring to a wire rack to cool completely.
A chef’s tip: The key to chewy cookies is to slightly under-bake them. They’ll continue to cook on the rack as they cool!
Expert Tips & Tricks
- Experiment with Flavors: If you’re feeling adventurous, try adding a splash of almond extract for an extra layer of flavor, or even some chopped nuts for added crunch.
- Storing Them: Keep your cookies in an airtight container at room temperature for up to 5 days. If you want to prolong their freshness, store them in the fridge for up to 10 days or freeze them for up to 3 months!
- Make-ahead Instructions: You can prepare the dry mix and store it in the jar for up to a month. Just remember to label it with the addition of wet ingredients!
- Common Mistakes to Avoid: Ensure that the butter is cooled before using; hot butter will melt the white chocolate chips too quickly. Also, don’t skip the measuring and sifting steps to avoid lumpy batter!
- Troubleshooting: If your cookies come out too flat, they might be lacking enough flour or baking soda. Keep an eye on the bake time, as ovens can vary!
- Use the Right Flour: Stick to all-purpose flour for the best results. Avoid using cake flour, as it will make them too soft.
Serving Suggestions
These delectable Chewy Red Velvet Cookies in a Jar are perfect on their own, but they shine even brighter with a few accompaniments! A tall glass of cold milk is a classic pairing, while coffee (or hot chocolate, of course!) enhances their indulgent flavor. For presentation, arrange them on a colorful plate with a drizzle of chocolate sauce on the side, or serve them in mason jars for a rustic, charming look.
Are you hosting a gathering? Consider serving these cookies alongside other sweets like brownies or a simple fruit platter to balance the richness.
Variations & Substitutions
- Different Flavor Combinations: Want to change things up? Add mint extract and chocolate chips for a minty twist, or try a mix of dried cranberries and pecans for a seasonal treat.
- Dietary Restrictions: Looking for a vegan version? Substitute the egg with a flaxseed egg (1 tablespoon of ground flaxseed mixed with 3 tablespoons of water) and use a vegan butter alternative.
- Seasonal Variations: Around Valentine’s Day, you can add heart-shaped sprinkles or package them attractively with ribbons to make them extra special.
Nutrition & Storage Info
- Prep Time: 15 minutes
- Cook Time: 10-12 minutes
- Total Time: Approximately 30 minutes
- Yield: About 12 cookies
- Calories per Serving: Approximately 180 calories per cookie
- Storage Instructions: Store at room temperature for 5 days, in the fridge for 10 days, or freeze for up to 3 months.
FAQ Section
1. Can I use another type of chocolate chips?
Absolutely! Semi-sweet or dark chocolate chips both work beautifully in this recipe.
2. How do I store leftover cookies?
Keep them in an airtight container to maintain their freshness. You can also freeze them for longer storage.
3. Can I double the recipe?
Yes! Just make sure you have enough baking sheets and space in your oven.
4. What happens if I forget to sift the cocoa powder?
You may end up with little cocoa lumps in your batter, which can affect the final texture. Sifting is essential!
5. Can I add nuts or other mix-ins?
For sure! Feel free to get creative with nuts, dried fruit, or even different chocolates.
6. What can I substitute for red food coloring?
You might try beet powder or cocoa powder for a more natural approach, but these won’t give you the same intensity of color.
7. Can I bake the dough right after mixing?
Yes, you can! For the best results, though, allowing the dough to rest for a brief moment can enhance the flavor.
8. How can I make them gluten-free?
Use a gluten-free all-purpose flour blend, adjusting the adding ratio slightly according to the brand’s directions.
9. What if my cookies are too hard?
This could mean they were overbaked or had too much flour. Ensure you measure accurately, and consider setting your timer for the lower end of the bake time.
10. Can I use brown sugar instead of white sugar?
You can certainly use all brown sugar; this will give the cookies a chewier texture and deeper flavor.
Conclusion
Settling down with a batch of warm, chewy cookies is one of life’s simplest pleasures, and these Chewy Red Velvet Cookies in a Jar encapsulate that with each delicious bite. They’re perfect for melting hearts or just indulging in a moment of sweetness. I encourage you to give the recipe a try—your taste buds will thank you!
If you enjoyed this recipe, I’d love to hear your thoughts or any variations you tried. Also, be sure to check out other delightful treats on the blog like my classic chocolate chip cookies or Thai Style Pasta with Macaroni.
Happy baking!
Chewy Red Velvet Cookies in a Jar
Ingredients
Method
- Sift the cocoa powder in a bowl to remove any lumps.
- Layer the ingredients in a clean jar in this order: all-purpose flour, cocoa powder, baking soda, baking powder, granulated sugar, brown sugar, and white chocolate chips. Pack each layer gently but firmly.
- Preheat your oven to 350°F (175°C).
- In a separate bowl, whisk together the melted butter, room-temperature egg, vanilla extract, and red food coloring until blended smoothly.
- Pour the contents of the jar into a mixing bowl. Create a well in the center and add the wet ingredients. Mix gently until just combined, being careful not to overmix.
- Drop rounded tablespoons of dough onto an ungreased baking sheet, spacing them about 2 inches apart.
- Bake in the preheated oven for 10-12 minutes until the edges are set but the centers look soft.
- Let the cookies rest on the baking sheet for 2 minutes before transferring them to a wire rack to cool completely.