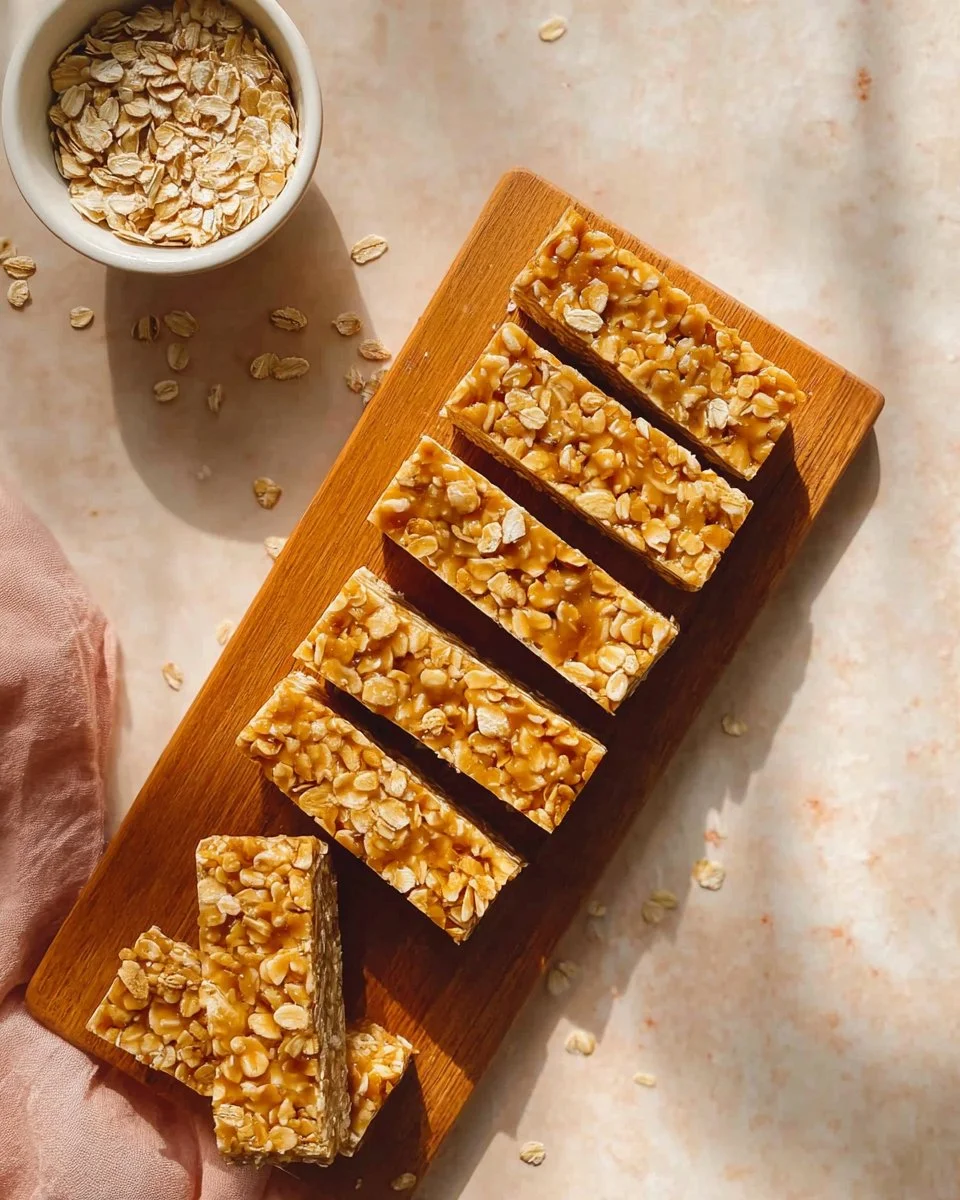
Growing up, my favorite after-school snack was a scoop of creamy peanut butter slathered on a piece of bread, sprinkled with a bit of honey. There was something so satisfying about that sweet, nutty goodness that felt like a warm hug. As I began my journey into the world of baking, I wanted to recreate that nostalgic experience but with a twist. Enter my Irresistible No Bake Oatmeal Bars! These delightful bars have become my go-to recipe, combining oats and peanut butter to create a treat that’s both utterly indulgent and surprisingly wholesome.
These bars bring back memories of my childhood while offering a modern, healthier edge. Unlike store-bought granola bars packed with preservatives and sugars, my version is clean, customizable, and oh-so-easy to make. With just a few simple ingredients, you can whip up these delightful snacks that are perfect for busy mornings, post-gym fuel, or when you just need that little something sweet.
In this post, I’ll share the secrets to making these delectable bars, from ingredient tips to step-by-step instructions. Get ready to be amazed at how easy it is to bring a bit of nostalgia into your kitchen!
What Are Irresistible No Bake Oatmeal Bars?
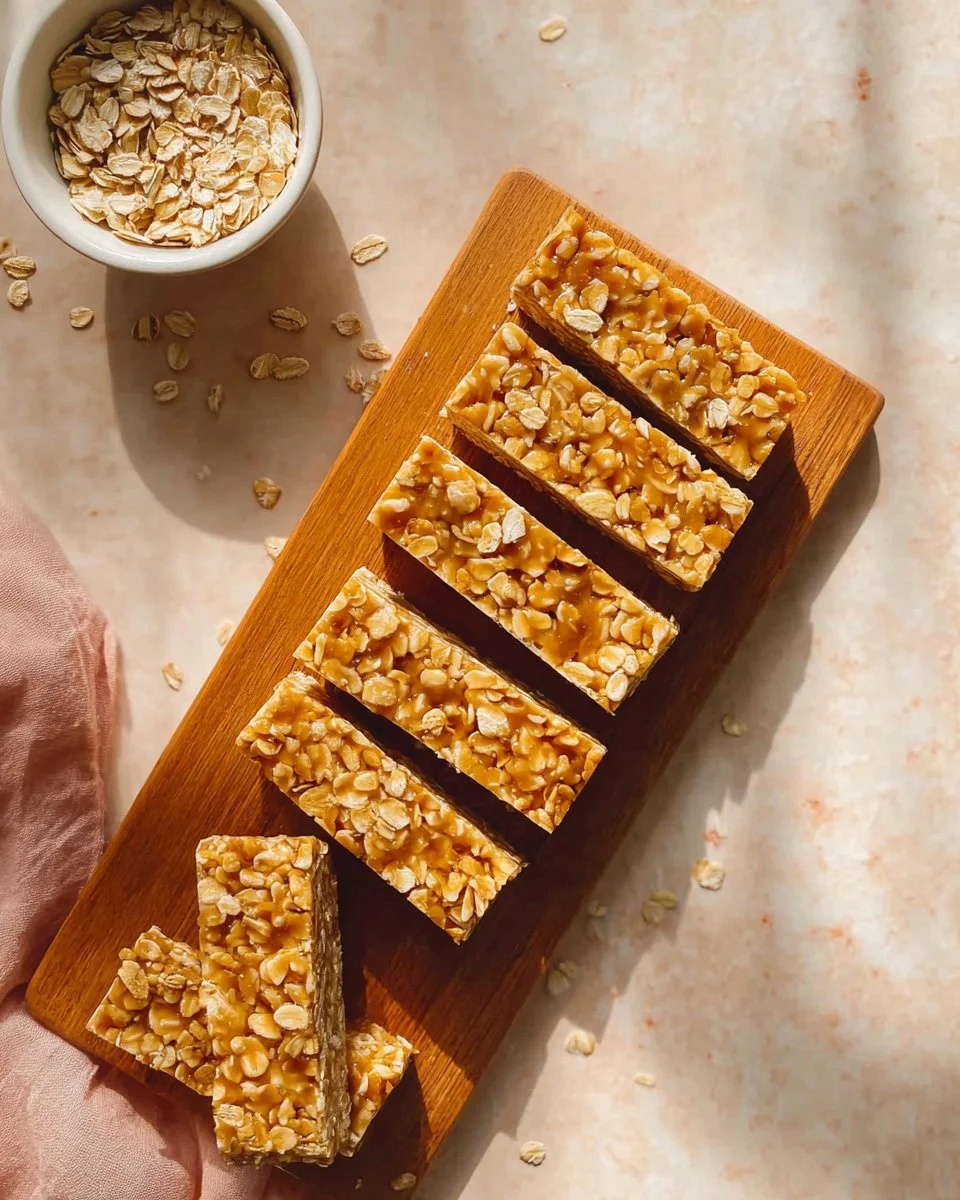
The story of Irresistible No Bake Oatmeal Bars begins with the classic no-bake desserts that many of us love. This treat is rooted in simplicity and natural goodness, combining hearty oats with a deliciously creamy peanut butter base. When you take a bite, you’re met with a perfect balance of chewy and crunchy, with a rich flavor that will have you reaching for more.
What sets these bars apart from others is their incredible versatility. You can add nuts, dried fruits, or even a sprinkle of chocolate chips to tailor them to your taste. They’re excellent for any occasion—packing them in your kids’ lunchboxes, enjoying them as a late-night snack, or sharing them at a family gathering. There’s no limit to the deliciousness!
Whipping up these oatmeal bars doesn’t require any fancy equipment or culinary skills—just your hands and a mixing bowl. So whether you’re an experienced baker or a newbie in the kitchen, you’ll find these bars just as easy as they are tasty.
Why You’ll Love This Recipe
- Store-Bought Alternatives Can’t Compete: Sure, you can find granola bars in the grocery aisle, but most contain hidden sugars and preservatives. With my Irresistible No Bake Oatmeal Bars, you know exactly what goes in each bite—real food, no additives.
- Cost-Effective: Making these at home is not only healthier but also friendlier on your wallet. The ingredients are basic and typically inexpensive, making this recipe budget-friendly. You won’t believe how much you save compared to store-bought options!
- Endless Customization: One of the best parts about these bars is the freedom to personalize them. Want a fruity kick? Toss in dried cranberries or chopped apples. Looking for something indulgent? Add dark chocolate chips or drizzle some melted chocolate on top!
- Quick and Easy Prep: This recipe is perfect for busy individuals or families. A little mixing and a quick chill in the fridge mean you can have a tasty snack ready in no time! Plus, kids can easily help out with this recipe, making it a fun family activity.
- No Baking Required: Remember those days of wrestling with the oven? With this no-bake recipe, you won’t have to worry about overheating your kitchen. It’s a convenient option, especially during the warmer months!
Ingredients Section
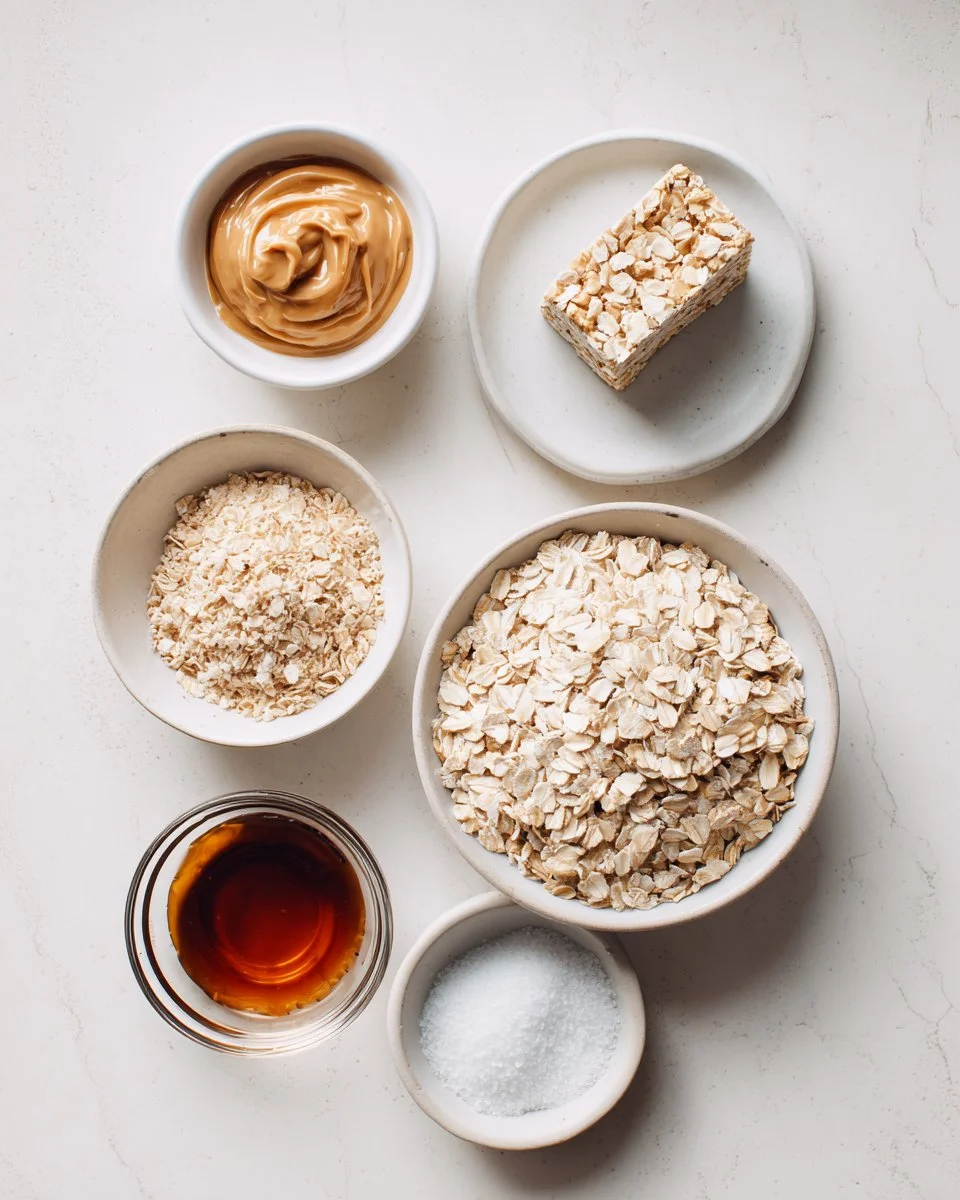
Here’s what you’ll need to make these Irresistible No Bake Oatmeal Bars:
- 3 cups rolled oats: Use old-fashioned oats for the best texture. Look for organic versions if possible.
- 1 1/4 cups natural peanut butter: Choose a creamy, natural option without added sugars. I love Jif Natural or Smucker’s.
- 1/2 cup pure maple syrup: Go for real maple syrup for that authentic flavor. Avoid imitation syrup for the best results.
- 1/2 teaspoon vanilla extract: Pure vanilla extract enhances the overall flavor profile. Brands like Nielsen-Massey are fantastic.
- 1/4 teaspoon sea salt: A pinch of salt brings out all the sweet and nutty flavors.
Prep Notes: Make sure your peanut butter is at room temperature for easy mixing. You can also substitute almond butter or sun butter for nut-free options.
Step-by-Step Instructions
- Prepare your pan: Start by lining an 8×8 inch baking pan with parchment paper, allowing some overhang on the sides. This makes it so much easier to lift the bars out once they’re ready!
- Mix the dry ingredients: In a large mixing bowl, combine the 3 cups of rolled oats and 1/4 teaspoon of sea salt. Stir them together until evenly mixed.
- Melt the peanut butter: In a small saucepan over low to medium-low heat, combine 1 1/4 cups of peanut butter and 1/2 cup of maple syrup. Stir frequently (about 3-5 minutes) until the mixture is smoothly melted. You want it to be just warm enough to mix easily, but don’t let it bubble!
- Add in the flavor: Remove the saucepan from the heat and stir in the 1/2 teaspoon of vanilla extract. The vanilla aroma will make your kitchen smell divine!
- Combine wet and dry: Pour the peanut butter mixture into the oat mixture. Stir well until every oat is coated. The mixture might seem a bit thick; that’s okay!
- Press into the pan: Transfer your mixture to the prepared baking pan. Using a spatula or your hands (damp hands work best!), press it firmly into the corners and edges, making sure it’s compact.
- Refrigerate: Place the pan in the refrigerator for at least 30 minutes to allow the bars to set. This step is crucial for the bars to hold their shape.
- Cut and serve: Lift the bars out of the pan using the parchment overhang and cut into 12-16 squares. Enjoy them chilled straight from the fridge or at room temperature.
Chef’s Tips:
- Don’t skip chilling time—this helps the bars set perfectly.
- To prevent sticking, press down firmly but gently when shaping the mixture in the pan.
Common Mistakes to Avoid
- Overheating the peanut butter mixture can make it too runny; keep the heat low!
- If the mixture is too crumbly, it might need a touch more maple syrup or peanut butter to hold together.
Expert Tips & Tricks
- Storage Recommendations: Store these bars in an airtight container in the fridge for up to a week. They also freeze wonderfully for up to 3 months—great for meal prep!
- Make-Ahead Instructions: You can also prep the oat mixture days in advance. Just combine the dry ingredients and keep them sealed until you’re ready to melt your peanut butter and syrup.
- Troubleshooting Common Problems: If your bars are too crumbly, try adding a bit more maple syrup; if they’re too sticky, consider adding a few more oats.
- Try Different Nut Butters: I’ve tried using almond and cashew butters, and all were delicious! Feel free to mix it up based on your preferences.
- Use Fresh Ingredients: Ensure that your oats and nut butter are fresh for the best flavor and texture. Stale ingredients can impact the end result significantly.
Serving Suggestions
These Irresistible No Bake Oatmeal Bars are perfectly paired with a steaming cup of coffee or a refreshing smoothie. For a delightful breakfast treat, cut them into smaller bites and serve with fresh fruit on the side. If you’re putting together a picnic or a casual get-together, arrange the bars on a beautiful platter drizzled with a bit of honey or melted chocolate. They also make an excellent post-workout snack when paired with a protein smoothie!
Variations & Substitutions
- Flavor Combinations: How about adding a pinch of cinnamon for warmth, or a tablespoon of cocoa powder for a chocolate twist?
- Dietary Adaptations: For a nut-free version, substitute with sunflower seed butter, and for gluten-free, ensure you’re using certified gluten-free oats.
- Seasonal Variations: In fall, add pumpkin spice or chopped dried cranberries. During the summer, mix in some chopped dried mango or coconut flakes for a tropical flavor!
Nutrition & Storage Info
- Prep Time: 10 minutes
- Chill Time: 30 minutes
- Total Time: 40 minutes
- Yield: 12-16 servings
- Estimated Calories: Approximately 150 calories per bar (varies based on mix-ins)
- Storage Instructions: Store in an airtight container at room temperature for 3-5 days, in the fridge for up to a week, or freeze for 3 months.
FAQ Section
- Can I use quick oats instead of rolled oats?
- Yes! Quick oats will work but will yield a softer texture.
- How do I prevent the bars from falling apart?
- Press the mixture firmly into the pan to bind it well, and allow adequate chilling time in the fridge.
- Are these bars gluten-free?
- If you use certified gluten-free oats, these bars can be gluten-free!
- What can I substitute for maple syrup?
- Agave syrup or honey work as alternatives, but keep in mind they may slightly alter the flavor and consistency.
- How should I store any leftovers?
- Keep them in an airtight container in the fridge or freeze sections for on-the-go snacks.
- Can I add protein powder?
- Absolutely! Just be mindful of the additional liquid you may need to incorporate.
- What if I don’t have a baking pan?
- You can use any dish with similar dimensions; just line it with parchment paper!
- Can I make these vegan?
- Yes! Use maple syrup, and substitute peanut butter with a plant-based nut or seed butter.
- How can I ensure they set properly?
- Make sure the mixture is well-compressed in the pan and allow enough chilling time before cutting.
- What if they taste too salty?
- If you find the taste too salty, consider reducing or omitting salt next time, especially if your nut butter already contains salt.
Conclusion
These No-Bake Chocolate Oat Bars Recipe are not only a walk down memory lane but also a straightforward and nutritious way to satiate your sweet tooth. You’ll love how easy they are to prepare, and the possibilities for customization are endless! I encourage you to give them a try and taste the magic for yourself.
Don’t forget to drop your thoughts or any variations you’ve tried in the comments below—I’d love to hear about your baking adventures! While you’re here, check out my other recipes for comforting family snacks that are sure to impress.
Your next snack is waiting for you, and I promise it’s going to be irresistible!
Quick Greek Ground Turkey Rice Bowls
Irresistible No Bake Oatmeal Bars
Ingredients
Method
- Line an 8×8 inch baking pan with parchment paper, allowing some overhang on the sides.
- In a large mixing bowl, combine the rolled oats and sea salt. Stir until evenly mixed.
- In a small saucepan over low to medium-low heat, combine peanut butter and maple syrup. Stir frequently until smoothly melted, about 3-5 minutes.
- Remove the saucepan from heat and stir in vanilla extract.
- Pour the peanut butter mixture into the oat mixture and stir well until every oat is coated.
- Transfer the mixture to the prepared baking pan and press it firmly into the corners and edges.
- Place the pan in the refrigerator for at least 30 minutes to allow the bars to set.
- Once set, lift the bars out using the parchment overhang and cut into 12-16 squares.