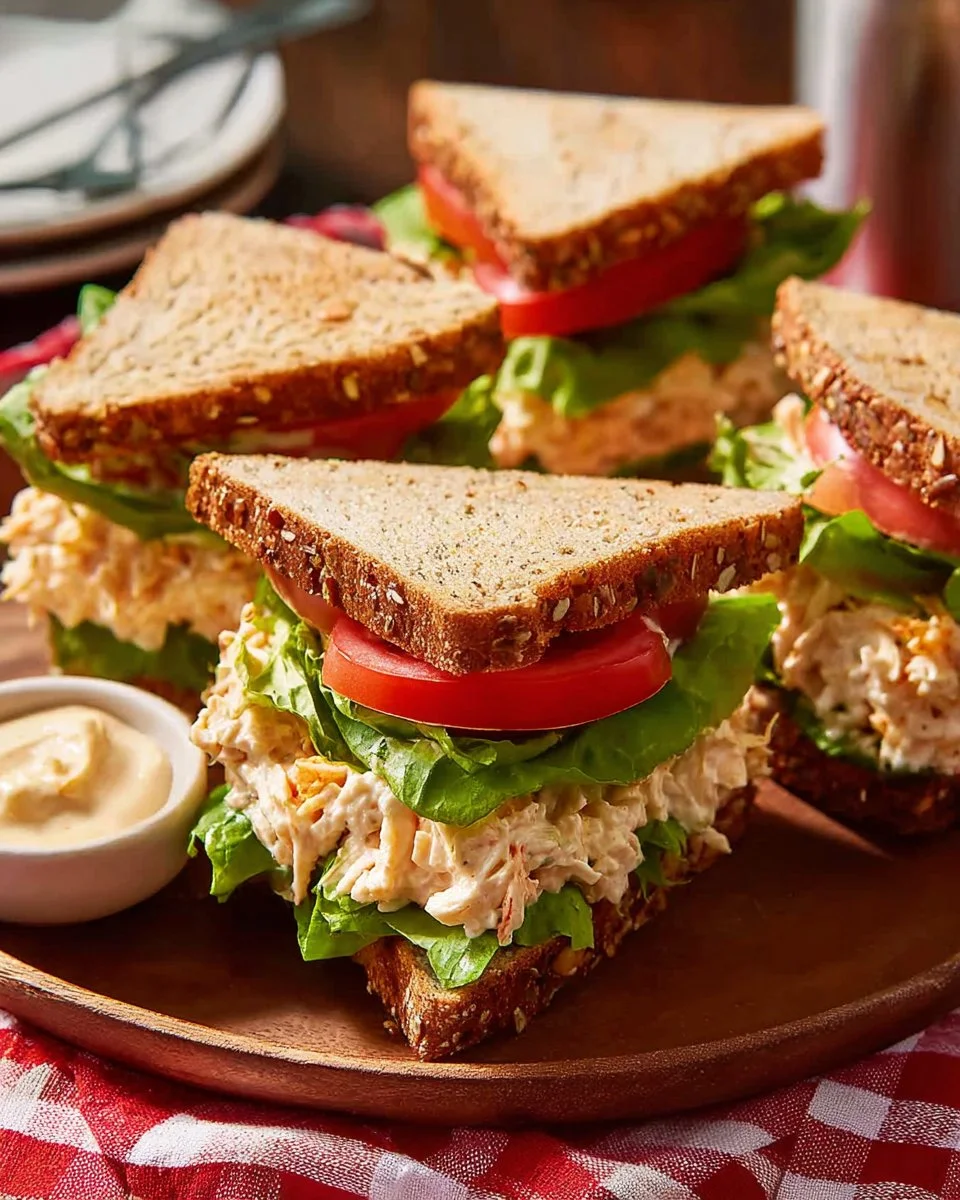
Imagine a lazy Sunday afternoon, surrounded by the delightful aromas of cheesy goodness and spicy chicken wafting through the air. As a passionate food lover, I find myself reminiscing about the times my family gathered around the table, all because of a dish that united us—Buffalo Chicken Dip. Now, picture that incredible dip transformed into a sandwich, bringing a fresh twist to our beloved classic.
These Buffalo Chicken Dip Sandwiches are truly special. They combine the comforting flavors of creamy ranch, succulent shredded chicken, and a zesty kick, all nestled between golden, crispy bread. What makes this recipe stand out from the countless others out there? It’s all in the balance of flavors and the customizable nature that allows you to cater to your family’s taste buds.
Every bite transports me back to childhood memories filled with laughter, the clinking of plates, and the warmth of my family. I’ve dedicated countless attempts to find the perfect combination for this sandwich, and I promise you, this detailed recipe is sure to be a family favorite! Get ready to learn how to create a sensational Buffalo Chicken Dip Sandwich that will have everyone asking for seconds!
What Are Buffalo Chicken Dip Sandwiches?
Buffalo Chicken Dip Sandwiches are the love child of two beloved American dishes: Buffalo chicken dip and sandwiches. The dip itself originated in the late 1980s in Buffalo, New York, and has since become a staple at tailgates, parties, and family gatherings. The sandwich version takes that savory dip filled with shredded chicken, creamy cheese, and a well-balanced kick, and bakes it between crispy slices of bread, creating a delicious handheld meal.
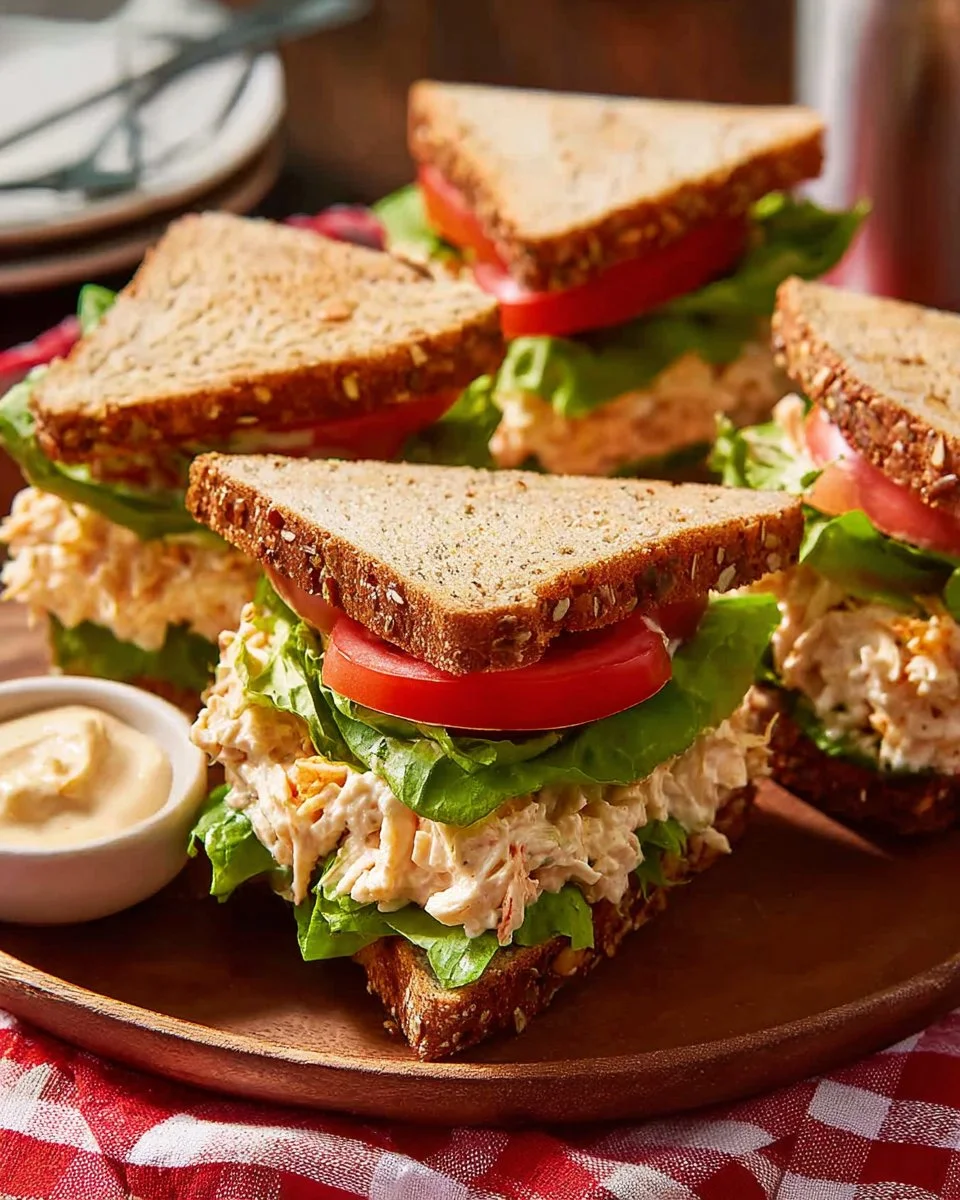
Taste-wise, these sandwiches are a symphony of flavors—the spiciness of hot sauce melds beautifully with the cool richness of the cream cheese and blue cheese, while the fresh crunch of lettuce and tomatoes elevate the entire experience. If you’re looking for an easy recipe that impresses at any occasion, these sandwiches are a fantastic choice for game day, potlucks, or simply satisfying a craving for comfort food.
Why You’ll Love This Recipe
- Mouth-watering Flavor: Every bite delivers an explosion of flavor with the tangy hot sauce, creamy cheese, and savory chicken working together in perfect harmony.
- Cost-Effective & Homemade: By crafting these sandwiches yourself, you save money compared to overpriced restaurant versions. Plus, you control the quality of the ingredients. Why settle for store-bought when you can create your own masterpiece?
- Customization: Whether you prefer a little extra heat or want to go mild, these sandwiches are easily customizable! Experiment with different types of cheese or spicy sauces to make it your own.
- Simple Preparation: This recipe is perfect for beginner cooks and seasoned chefs alike! With an investment of only about 20-30 minutes, you’ll have a scrumptious meal that everyone will rave about.
- Ultimate Comfort Food: There’s something nostalgic about a grilled cheese-style sandwich filled with comforting dips that makes it a perfect choice for family gatherings or a chill movie night.
Ingredients

- 1 1/2 cups chicken, finely shredded (cooked and seasoned chicken)
- 1/3 cup cream cheese (room temperature for easy mixing)
- 1/3 cup hot sauce (use your favorite brand; Frank’s RedHot works wonders!)
- 1/4 cup onion, finely diced (yellow onion adds nice sweetness)
- 2 tablespoons crumbled blue cheese (or more to taste; feta is a good substitute)
- 8 slices bread (I recommend a hearty sourdough or whole wheat)
- 8 slices cheese (provolone or cheddar are excellent choices)
- 4 leaves lettuce (crisp romaine or iceberg for crunch)
- 8 slices tomato (fresh heirloom for vibrant colors)
- Cooking spray (or butter to achieve that golden crust)
Ingredient Notes:
- Use leftover rotisserie chicken for an even easier prep.
- You can substitute the hot sauce for a milder or sweeter version like BBQ sauce if the heat isn’t your thing.
- When choosing bread, I recommend something that holds up well to grilling, like a Texas toast or thick ciabatta.
Step-by-Step Instructions
Step 1:
In a bowl, combine the finely shredded chicken, cream cheese, hot sauce, diced onion, and crumbled blue cheese. Microwave for 30-45 seconds until melted and creamy. Stir until all ingredients are well combined. Chef’s Tip: Use a fork to break up the cream cheese if it’s stubborn!
Step 2:
Lay out your bread slices on a clean surface. Place cheese on 4 slices and evenly divide the buffalo chicken filling among them. Top with the remaining cheese and the other slices of bread. Visual Cue: The cheese should be melted to a slight gooeyness but not completely melted yet.
Step 3:
Coat the sandwiches with cooking spray (or spread a thin layer of butter). Heat a skillet over medium-high heat. Timing Tip: The skillet is ready when you sprinkle a drop of water and it sizzles!
Step 4:
Cook the sandwiches for about 2 1/2 to 3 minutes on one side until golden brown. Carefully flip and cook for an additional 1 1/2 to 2 minutes on the other side. Transfer to a cutting board, slice diagonally, and serve topped with lettuce and tomato.
Expert Tips & Tricks
- Storage Recommendations: Leftover sandwiches can be wrapped tightly in foil and stored in the refrigerator for up to 3 days. You can also freeze them for up to 2 months. Just reheat them thoroughly before serving.
- Make-Ahead Instructions: You can prepare the buffalo chicken filling a day in advance! Just store it in an airtight container in the fridge until you’re ready to assemble your sandwiches.
- Common Mistakes to Avoid: Avoid using stale bread, as it won’t hold the filling properly and can become soggy. Also, be careful not to overfill the sandwiches; a little filling goes a long way.
- Serving Suggestions: Serve with a side of crispy fries, coleslaw, or even a refreshing cucumber salad to balance out the richness of the sandwich.
- Personal Touch: I like to add a pinch of garlic powder for an extra kick to the filling!
Serving Suggestions
Serve your Buffalo Chicken Dip Sandwiches alongside crispy French fries, crunchy potato chips, or a refreshing green salad. For an extra touch, consider garnishing with extra crumbled blue cheese or fresh herbs. These sandwiches make a perfect addition to game day spreads or casual family dinners!
Variations & Substitutions
- Different Flavors: Try using BBQ sauce for a smoky twist or ranch dressing for a milder flavor profile.
- Dietary Restrictions: Make it gluten-free by using gluten-free bread and ensuring that your hot sauce and other condiments comply.
- Seasonal Variations: During the summer, add fresh herbs like basil or cilantro for a bright touch. In the fall, consider incorporating roasted pumpkin or butternut squash into your filling.
Nutrition & Storage Info
- Prep time: 10 minutes
- Cook time: 15 minutes
- Total time: 25 minutes
- Yield: 4 servings
- Estimated calories per serving: 480 calories
Storage Instructions:
- Room Temperature: Best enjoyed fresh.
- Fridge: Store in an airtight container for up to 3 days.
- Freezer: Wrap tightly and store for up to 2 months.
FAQ SECTION
- Can I use leftover turkey instead of chicken? Absolutely! Leftover turkey makes a great substitute, especially after the holidays.
- What’s the best hot sauce to use? I recommend Frank’s RedHot for that classic Buffalo flavor, but feel free to experiment with your favorites!
- Can I make these sandwiches in an air fryer? Yes, cooking them in an air fryer can be a healthier option! Place them in a single layer and cook at 375°F for about 10 minutes, flipping halfway.
- How can I make these sandwiches spicy? Add more hot sauce to the filling or top the sandwich with sliced jalapeños before grilling.
- Is there a way to make this dish vegetarian? You can use shredded jackfruit or cauliflower as a substitute for chicken, along with your favorite Buffalo sauce.
- What sides pair well with these sandwiches? A fresh garden salad, crunchy potato chips, or vegetable sticks with ranch dressing complement the rich flavors of the sandwiches.
- How do I know when the sandwiches are done? They’re ready when they are a golden brown and the cheese has melted beautifully.
- What if I can’t find crumbled blue cheese? Feta or shredded cheddar works well as an alternative to blue cheese.
- Can I prepare the filling ahead of time? Absolutely! Make the buffalo chicken filling a day in advance and store it in the refrigerator.
- What’s the yield for this recipe? This recipe yields four hearty sandwiches, perfect for sharing with family or friends!
Conclusion
These Buffalo Chicken Dip Sandwiches are not just a meal, they’re an experience filled with warmth and nostalgia. Each bite embodies the joy of shared moments and comforting flavors that truly make a dish special. So go ahead, give this recipe a try and let me know how it turns out! I can’t wait to hear your thoughts! For more delicious recipes, don’t forget to explore my blog—there’s plenty of inspiration waiting for you!
Ghost Chocolate Covered Strawberries

Buffalo Chicken Dip Sandwich
Ingredients
Method
- In a bowl, combine the finely shredded chicken, cream cheese, hot sauce, diced onion, and crumbled blue cheese. Microwave for 30-45 seconds until melted and creamy. Stir until all ingredients are well combined.
- Lay out your bread slices on a clean surface. Place cheese on 4 slices and evenly divide the buffalo chicken filling among them. Top with the remaining cheese and the other slices of bread.
- Coat the sandwiches with cooking spray (or spread a thin layer of butter). Heat a skillet over medium-high heat.
- Cook the sandwiches for about 2 1/2 to 3 minutes on one side until golden brown. Carefully flip and cook for an additional 1 1/2 to 2 minutes on the other side.
- Transfer to a cutting board, slice diagonally, and serve topped with lettuce and tomato.