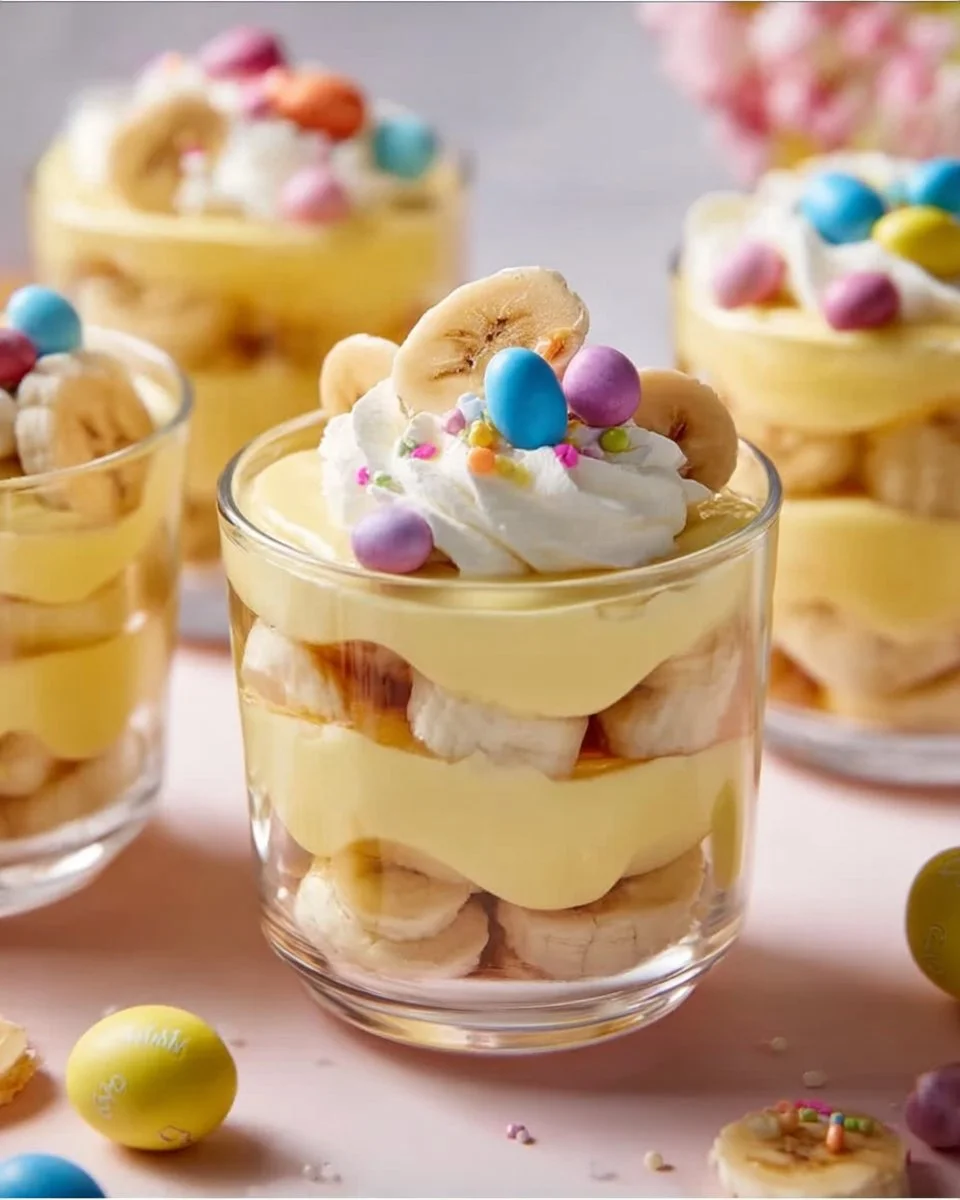
As the flowers bloom and Easter approaches, I can’t help but reminisce about the countless family gatherings filled with laughter, love, and of course, desserts! One cherished memory is of my grandmother’s kitchen, where the air was sweetened with the aroma of fresh banana pudding. This year, I want to revive that nostalgic flavor with a twist—Easter Banana Pudding Cups.
These delightful individual servings aren’t just a simple rendition of the classic; they’re elevated with layers of creamy goodness, soft bananas, and crunchy vanilla wafers that create a symphony of textures. Unlike store-bought versions, this recipe allows you to control the sweetness and use the freshest ingredients, making them not only delightful but also heartfelt.
Whether you’re hosting an Easter brunch or just looking for a comforting treat to enjoy with your family, these Banana Pudding Cups are portable, easy to assemble, and simply adorable. Get ready to learn how to whip up these delightful cups that are sure to create a warm and cheerful atmosphere around your table—let’s get started!
What Are Easter Banana Pudding Cups?
Easter Banana Pudding Cups have roots steeped in Southern tradition, where banana pudding is a staple dessert. Originating from the classic banana pudding dessert, these cups create a perfect handheld version that’s fun and festive.
The taste? Picture a rich, creamy filling that melts in your mouth, complemented by the sweetness of ripe bananas and the satisfying crunch of vanilla wafers. The layers create a delightful experience that’ll leave you craving more.
These cups are unique not only for their individual servings but also because they’re a canvas for creativity. You can dress them up in vibrant colors for spring or enjoy them as they are. Perfect for Easter gatherings, potlucks, or simply a cozy night at home, they’re a celebration of both taste and teamwork with loved ones.
Why You’ll Love This Recipe
Easy to Make: This recipe is as straightforward as it gets—perfect for both novice bakers and seasoned pros! You’ll be whisking and layering in no time.
Cost-Effective: Unlike those pricey store-bought desserts, these delightful cups are made with inexpensive ingredients that you probably already have in your pantry. You’ll save money without skimping on flavor.
Customization Galore: Not only can you play with different toppings like chocolate shavings or fresh fruit, but you can also adapt it to fit dietary needs. Want to make it gluten-free? Swap the vanilla wafers for gluten-free cookies!
Portable Presentation: Serving them in cups gives you the perfect opportunity for a stunning presentation. They’re easy to transport to parties and can be plated beautifully, allowing guests to indulge without any mess.
Quick to Assemble: With a minimal assembly time and just 30 minutes to chill, these cups are a great choice for last-minute gatherings, making them the ideal Easter dessert!

Ingredients
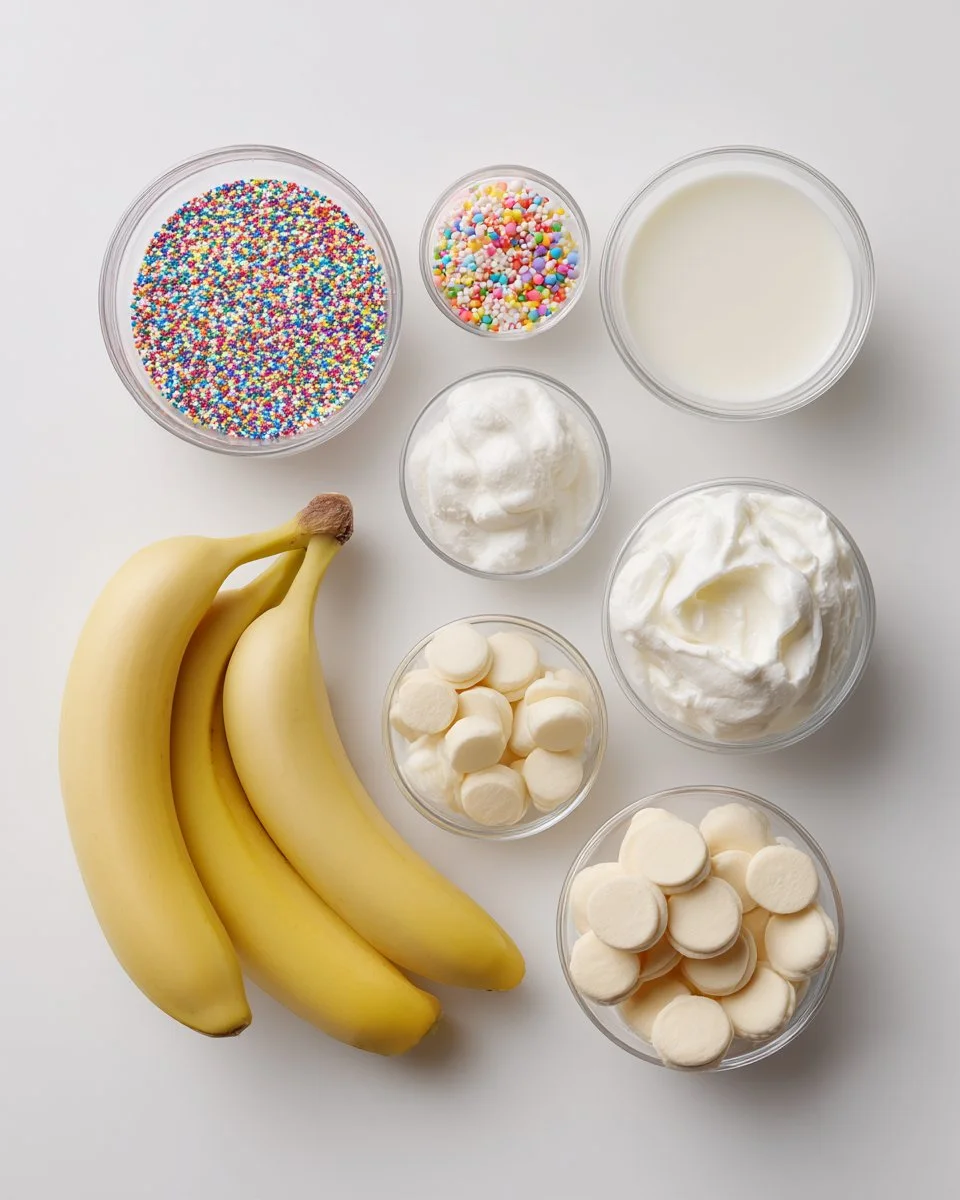
2 ripe bananas: Choose ripe but firm bananas for the best flavor and texture. They should have some brown specks for sweetness but not be overly mushy.
1 package (3.4 oz) instant vanilla pudding mix: I love using Jell-O brand for their reliable and classic flavor.
2 cups cold milk: Whole milk is preferred for creaminess, but you can substitute almond or coconut milk for a dairy-free version.
1 cup whipped topping: Opt for homemade whipped cream for an extra touch of indulgence; it’s worth the effort!
1 cup vanilla wafers or similar cookies: Nilla Wafers are my top pick for their crispiness; however, any similar cookie will do.
Sprinkles (optional, for decoration): Colorful sprinkles are a fun way to brighten up your cups for Easter!
Prep Notes
- Make sure your whipped cream is chilled and your bananas are ripe for the best flavor profile.
Step-by-Step Instructions
Prepare the Pudding: In a mixing bowl, whisk the instant pudding mix with cold milk until well combined and thickened (about 2 minutes). You’ll know it’s ready when it’s smooth and has a medium-thick consistency.
Fold in Whipped Topping: Gently fold in the whipped topping until the mixture is smooth and fluffy. Avoid over-mixing to maintain the light, airy texture.
Layer Your Cups: In clear cups (or mason jars for a rustic look), start layering! Add a generous spoonful of the pudding mixture at the bottom, followed by sliced bananas and crushed vanilla wafers. Use your hands to crush the wafers or place them in a zip-top bag for a little fun.
Repeat the Layers: Continue layering until your cups are full, ensuring each cup has a beautiful layers of pudding, bananas, and wafers.
Decorate: Top with more whipped topping and a sprinkle of colorful sprinkles if desired—this is where the Easter fun comes in!
Chill Before Serving: Refrigerate the cups for at least 30 minutes to allow the flavors to meld and the wafers to soften slightly.
Chef’s Tips
- You can prepare these cups a day in advance, which makes them great for busy schedules leading up to Easter.
- Avoid adding bananas too early if making ahead; they tend to brown quickly after slicing.
Expert Tips & Tricks
Use Fresh Ingredients: Opt for the freshest bananas and high-quality pudding mix for maximum flavor. Don’t skimp on the whipped topping—homemade is always better!
Storage Tips: If storing leftovers, keep them in the refrigerator, covered, for up to 2 days. The wafers will soft, giving you that desirable pudding texture.
Make-Ahead Instructions: You can assemble the cups the day before and store them in the fridge—just add the bananas right before serving for optimal freshness.
Troubleshoot Pudding Texture: If the pudding doesn’t thicken properly, check your milk’s temperature; it should be cold. If over-mixed, it may become too liquidy.
Personal Touch: Want to add a twist? Try flavoring the whipped topping with a little vanilla extract or using chocolate pudding instead of vanilla for a decadent variation.
Serving Suggestions
These Easter Banana Pudding Cups shine when paired with light, spring-themed dishes! Consider serving them with a side of fluffy lemon muffins or a refreshing fruit salad to balance out the sweetness. For presentation, arrange them on a rustic wooden platter, garnished with fresh mint sprigs. Perfect for an Easter brunch buffet or a sweet treat among family and friends!
Variations & Substitutions
Chocolate Lovers: Substitute the vanilla pudding with chocolate pudding and layer in chocolate wafers for an indulgent twist!
Healthy Alternatives: Use Greek yogurt instead of whipped topping for a protein boost, and try honey or maple syrup to sweeten the pudding mix naturally.
Seasonal Adaptations: For autumn or Thanksgiving, incorporate pumpkin purée into the pudding mix for a warm, spiced flavor that pairs beautifully with banana.
Nutrition & Storage Info
- Prep Time: 15 minutes
- Chill Time: 30 minutes
- Total Time: 45 minutes
- Yield: 4-6 servings
- Estimated Calories: Approximately 250 calories per serving
Storage Instructions: Store in the refrigerator for up to 2 days. They can be kept at room temperature for 1-2 hours prior to serving but best chilled.
FAQ Section
Can I make this recipe gluten-free? Absolutely! Substitute the vanilla wafers with gluten-free cookies.
How long will these cups last in the fridge? They can be stored for up to 48 hours, but the wafers may lose their crunch over time.
Can I use fresh whipped cream instead of whipped topping? Yes! Fresh whipped cream elevates the flavor, just make sure it’s lightly sweetened.
What can I use instead of bananas? Try using strawberries, raspberries, or peaches for delightful fruit variations!
Is this recipe suitable for kids? Definitely! The layering process can be a fun activity for them to help with, and they’ll love the flavor.
Can I freeze these? Freezing is not recommended as the texture will suffer, but you can freeze the pudding mixture separately for later use.
What if my pudding doesn’t thicken? Ensure that you used cold milk and didn’t over-mix the pudding—a firm whisking is key!
How can I make these more festive? Use colorful sprinkles or edible glitter on top. You can even garnish with mini chocolate eggs for Easter!
Do I need to cover these while chilling? Yes, cover them with plastic wrap to prevent any fridge odors from affecting their flavor.
Can I use other flavor pudding mixes? Absolutely! Vanilla, chocolate, and coconut are all great choices.
Conclusion
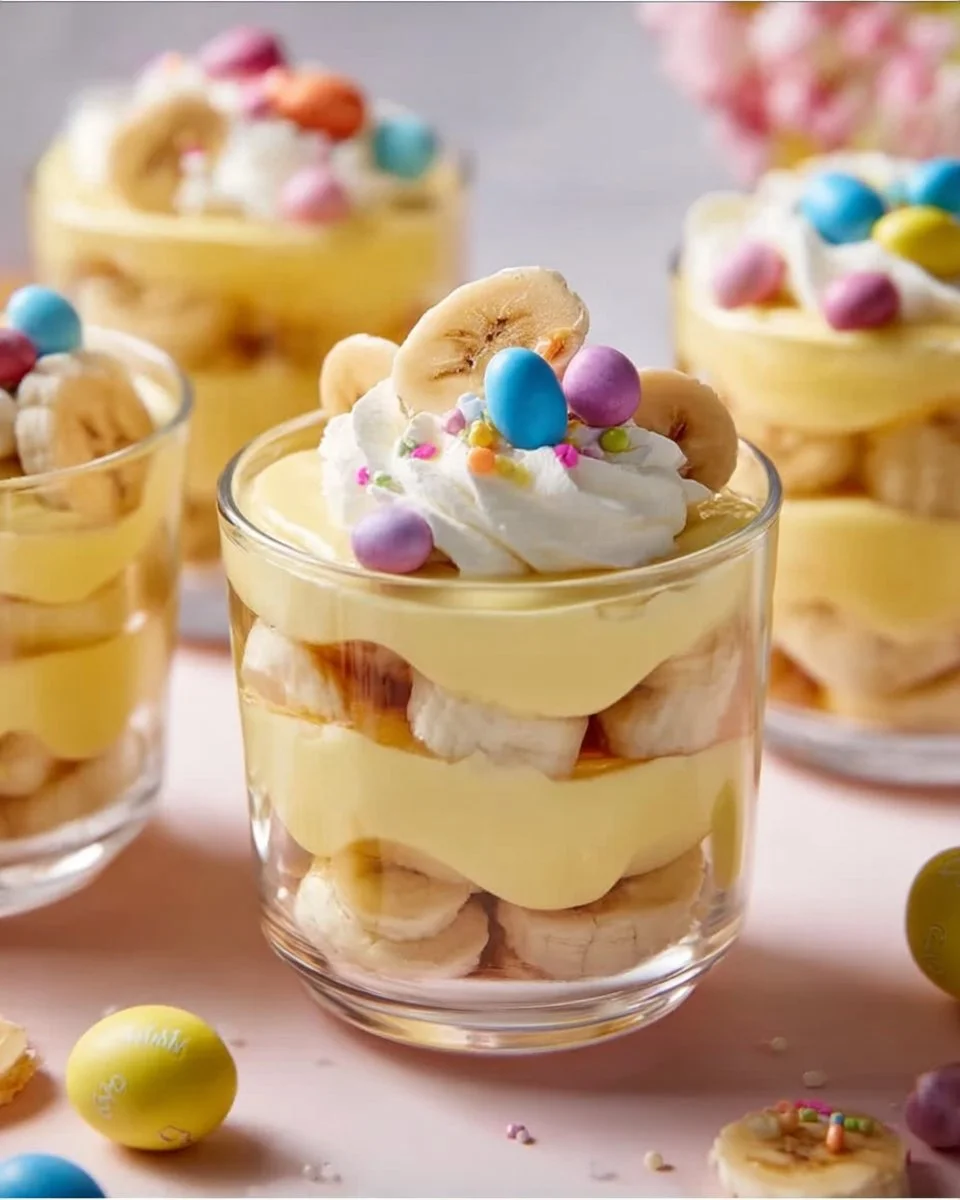
This Easter Banana Pudding Cups – The Country Cook brings together nostalgia and love in a delightful, easy-to-make treat that’s perfect for any celebration. Their layered presentation and delightful texture will make them the highlight of your spring festivities. I encourage you to give it a try and share your thoughts—I’d love to hear how they turned out for you!
If you’re looking for more delightful desserts, don’t forget to check out other recipes on my blog. Happy baking, and may your Easter festivities be filled with sweetness and joy!