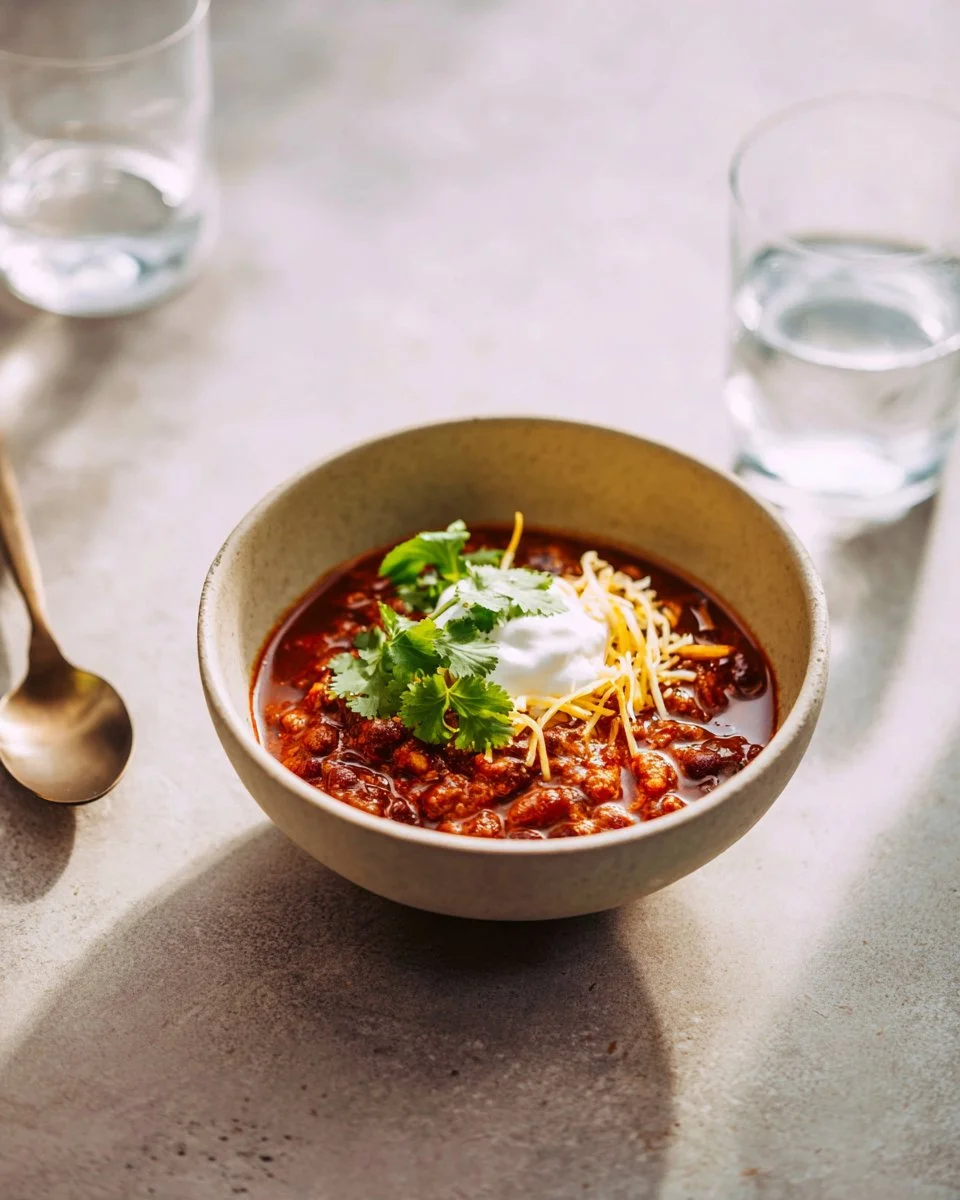
There’s nothing quite like a bowl of chili on a chilly evening, right? I still remember the first time my aunt brought her famous chicken chili to our family gathering. It was a rainy Saturday, and as soon as I walked through the door, the mouthwatering aroma wrapped around me like a warm hug. Fast forward to today, and I’ve reinvented that nostalgic dish into my own version of Instant Pot Chicken Chili – a quick and delicious meal that captures all the comforting textures and robust flavors of my childhood.
This recipe stands out because of its effortless preparation and the vibrant depth of flavors. Unlike traditional chili recipes that may require hours of simmering, my Instant Pot version is ready in less than 30 minutes, delivering tender chicken and a thick, savory broth that’s simply irresistible. It’s the perfect blend of ease and heartiness, making it ideal for busy weeknights or cozy weekends.
Join me in the kitchen, and I promise you’ll learn how to whip up a delicious pot of chili that brings warmth to your table and creates beautiful memories!
What are Instant Pot Chicken Chili?
Originating from the Tex-Mex cuisine that marries the warmth of spices with the heartiness of protein, Instant Pot Chicken Chili elevates a simple dish into an easy, all-in-one meal. This chili is typically creamy and richly flavored, thanks to the sautéed garlic and aromatic spices, while the chicken provides a tender texture that soaks up all the goodness around it.
What makes this chili unique is its ability to adapt! You can use beans, tomatoes, and spices in countless combinations while always keeping the essence of comfort food alive. It’s a perfect weeknight dish or a crowd-pleasing option for gatherings. With just a few ingredients and an Instant Pot, you can create something special in record time.
Why You’ll Love This Recipe
Quick and Easy: Unlike simmering chili on the stove for hours, this Instant Pot magic lets you have a hot meal in just 30 minutes! That’s right – from prep to plate.
Flavor-packed: The sautéing technique combined with pressure cooking locks in flavors, resulting in a deeply satisfying bowl of chicken chili. You’ll wonder why you didn’t make this sooner!
Budget-friendly: With affordable ingredients like chicken legs, beans, and spices, this meal won’t break the bank. It’s a delicious option for feeding the family without sacrificing flavor or quality.
Endless Customization: Whether you want to kick up the heat with jalapeños, add veggies for extra nutrition, or make it dairy-free, you have total freedom to experiment with flavors!
Dinner-party Ready: This dish impresses without extensive effort! Just set the table, scoop into bowls, and serve – you’ll look like a pro without the stress.
Let’s make this the easiest dinner you’ll ever cook!

Ingredients
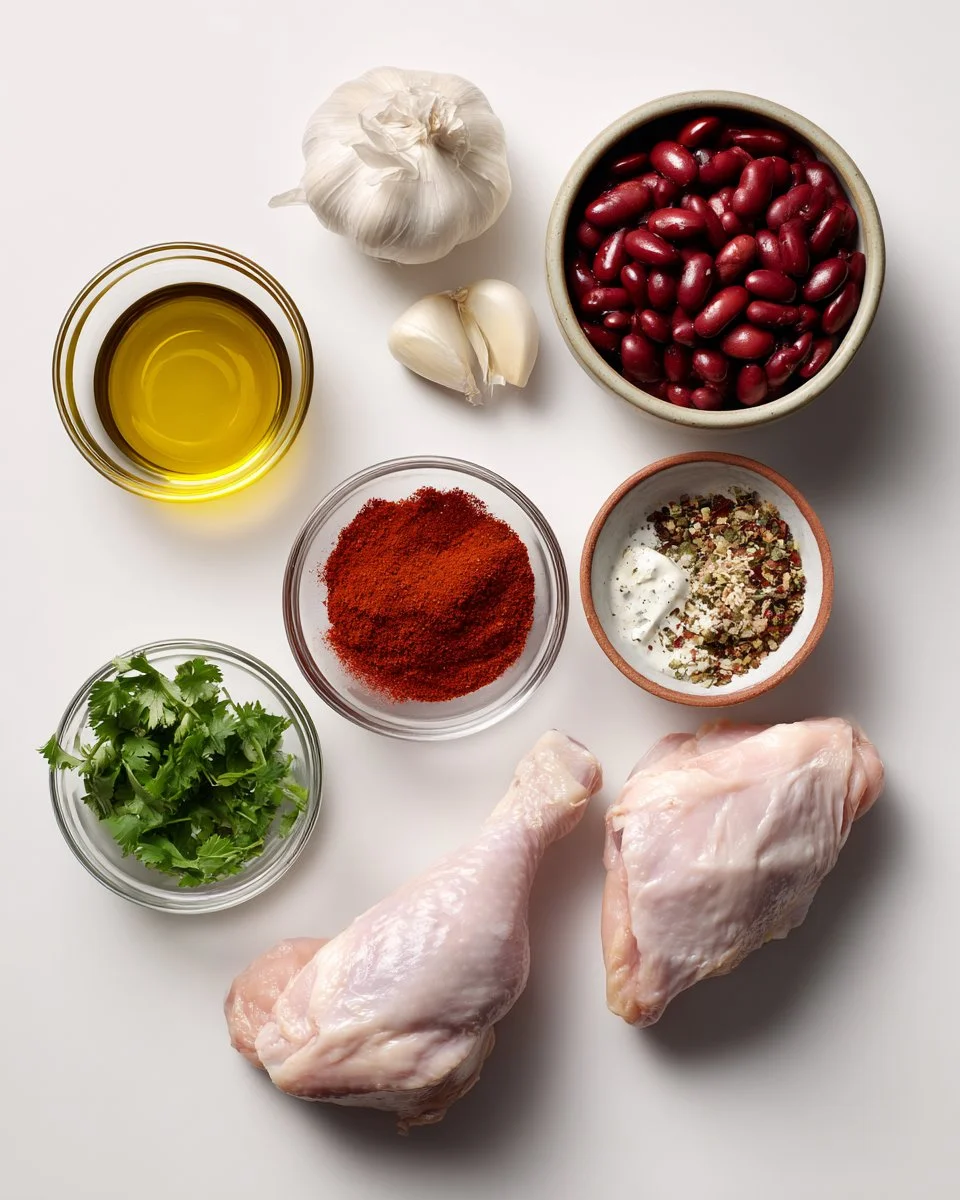
Here’s what you’ll need:
- 1/4 cup olive oil: This adds richness and helps to sauté garlic. Use high-quality extra virgin olive oil for best results.
- 5 cloves garlic (minced): Fresh garlic packs an aromatic punch. Feel free to use jarred minced garlic in a pinch, but fresh is preferred!
- 1 (6 oz) can no-sodium tomato paste: Provides a thick, sweet base. Opt for organic brands if available for a richer flavor.
- 1/2 cup chili powder: A key ingredient giving it that classic chili taste. Adjust based on your spice preference!
- 1 tsp kosher salt: Enhances flavors without overpowering. Always taste before adding more.
- 4 chicken legs (skin discarded): Juicy and tender when cooked, chicken thighs can be a great substitute here for more flavor.
- 1 (540 mL) can black or kidney beans (or about 2 cups home-cooked beans): A great source of protein and texture. Use low-sodium canned beans for health benefits.
- 2 cups no-sodium chicken broth: Homemade is best, but high-quality store-bought options work well. Make sure to check labels for additives.
- Sour cream and cilantro (for serving, optional): These are delightful toppings that add creaminess and a fresh finish.
Prep Notes: Make sure your olive oil is at room temperature, and if you refrigerate your chicken, bring it to room temperature to ensure even cooking.
Step-by-Step Instructions
Sautéing the Aromatics: If you’re using an electric pressure cooker with a sauté function, now’s the time to heat it up! If not, grab a heavy skillet and heat it over medium heat. Pour in the olive oil and sauté the minced garlic for about 2 minutes, or until it’s fragrant. You want it to be golden but careful not to brown it too much.
Incorporate Tomato Paste: Add the tomato paste into the pan, stirring frequently for about 4 minutes until it smells toasty and becomes a darker red. This step will enhance the depth of flavor in your chili.
Add the Rest of Your Ingredients: If you sautéed in a skillet, scrape those delicious bits into your pressure cooker. Then, add the remaining ingredients — chicken legs, black or kidney beans, chicken broth, chili powder, and kosher salt — and stir until fully incorporated.
Pressure Cook: Close the lid, set your valve to sealing, and pressure cook on high for 20 minutes.
Shred the Chicken: After it beeps, allow a natural release for about 5 minutes, then carefully quick-release the remaining pressure. Using a slotted spoon, remove the chicken legs and place them on a plate. When they’re cool enough to handle, shred the chicken using two forks and stir back into the chili. Discard the bones.
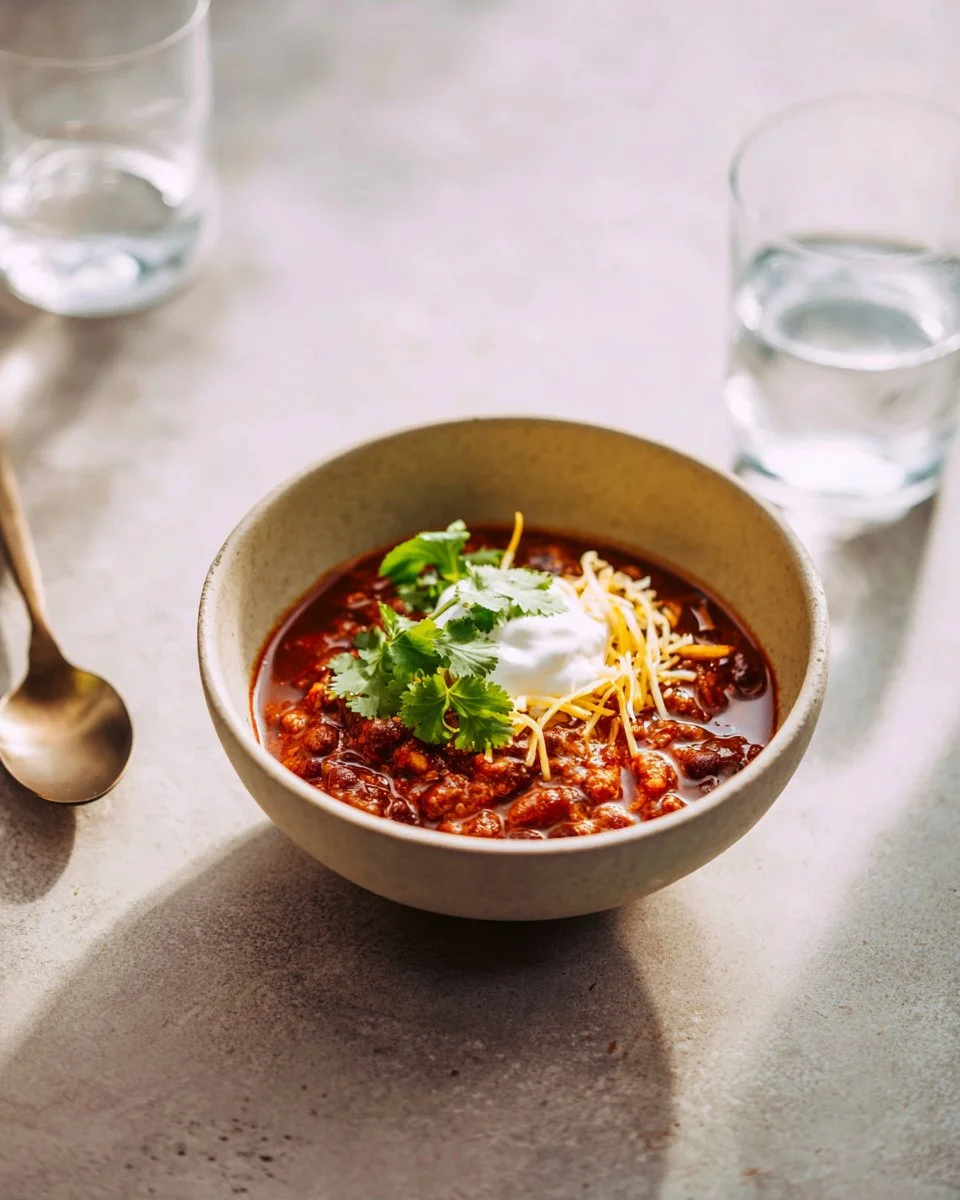
Serving: Serve hot, topped with sour cream and cilantro for that extra touch of freshness and creaminess.
Chef’s Tip: If you find your chili turns out too thick, simply add more chicken broth until you reach your desired consistency.
Expert Tips & Tricks
Quality Matters: The fresher and higher quality your ingredients are, the better your chicken chili will taste!
Don’t Skimp on the Sauté: Sautéing makes a big difference in flavor—don’t rush this step!
Leftovers are Gold: Store any leftovers in an airtight container in the fridge for up to 3-4 days or freeze them for up to 3 months. Just remember, if freezing, leave some space in your container for expansion.
Make Ahead: You can prep your ingredients ahead of time! Just chop your veggies and store them in a zip-lock until you’re ready to cook.
Troubleshooting: If your chicken isn’t shredding easily, it may need a few more minutes of pressure cooking. Just secure the lid again and add a couple of extra minutes.
Serving Suggestions
This Instant Pot Chicken Chili is great on its own, but you can elevate your meal with a few sides! Consider pairing with cornbread, crunchy tortilla chips, or even a fresh green salad. For presentation, serve in vibrant bowls topped with a dollop of sour cream, a sprinkle of cilantro, and perhaps some diced avocado for that extra touch of deliciousness.
This dish is perfect for game days, cozy family dinners, or a casual gathering with friends. Trust me; it’s the kind of comfort food that warms both the belly and the heart.
Variations & Substitutions
- Spice Level: To give your chili an extra kick, add a diced jalapeño or sprinkle in some crushed red pepper flakes.
- Protein Swap: If you prefer turkey or beef, they can easily replace the chicken for a different flair.
- Vegetarian Version: Omit chicken altogether and load up on beans and veggies like bell peppers and corn.
- Seasonal Adjustments: In the fall, throw in diced sweet potatoes for a sweet twist; in summer, add fresh corn for a burst of sweetness.
Nutrition & Storage Info
- Prep Time: 10 mins
- Cook Time: 20 mins
- Total Time: 30 mins
- Yield: Serves 4-6
- Estimated Calories: Approx. 320 calories per serving
- Storage Instructions: Allow to cool, then store in the fridge for 3-4 days or freeze for up to 3 months.
FAQ Section
Can I use frozen chicken legs?
- Yes, but you may need to increase the cooking time slightly by about 5 minutes.
Can I make this chili in advance?
- Absolutely! It keeps well in the refrigerator for about 3-4 days and tastes even better the next day.
What toppings do you recommend?
- Sour cream, shredded cheese, chopped green onion, and fresh cilantro are all fantastic options!
Why does my chili taste bland?
- Always taste before serving and adjust seasoning as needed. Adding a bit more salt, spices, or even a squeeze of lime can add great flavor!
Can I double the recipe?
- Yes, but be aware that you may need to adjust the cooking time slightly depending on the size of your Instant Pot.
How do I know when chicken is cooked?
- Chicken should reach an internal temperature of 165°F for safe consumption.
Can I use another type of bean?
- Yes! Feel free to mix different varieties like pinto or cannellini beans.
What if I want a lower-carb option?
- You can reduce the beans or use cauliflower rice as a base instead.
Why does my chili have an unappealing color?
- That could be due to overcooking or not sautéing the tomato paste long enough.
What should I serve with my chili?
- In addition to cornbread, consider sourdough bread or even a plain, lightly seasoned rice!
Conclusion
This Instant Pot Chicken Chili recipe brings flavor and comfort in a way that’s quick and easy, reminding us all of the joy of cooking for loved ones. I encourage you to give it a try—your taste buds will be forever grateful!
I would love to hear your thoughts and any variations you come up with. If you enjoyed this recipe, check out my other cozy favorites on the blog, and let’s keep the love for wholesome cooking alive!

Instant Pot Chicken Chili
Ingredients
Method
- Heat the olive oil in the Instant Pot on sauté mode and sauté the minced garlic for about 2 minutes until fragrant.
- Add the tomato paste and stir for about 4 minutes until it becomes a darker red.
- Scrape any bits from the pan if using a skillet, then add the chicken legs, beans, chicken broth, chili powder, and salt. Stir until well combined.
- Close the lid, set the valve to sealing, and pressure cook on high for 20 minutes.
- Allow a natural release for about 5 minutes, then quick-release any remaining pressure.
- Remove the chicken legs, shred them, and stir back into the chili.
- Serve hot, topped with sour cream and cilantro.