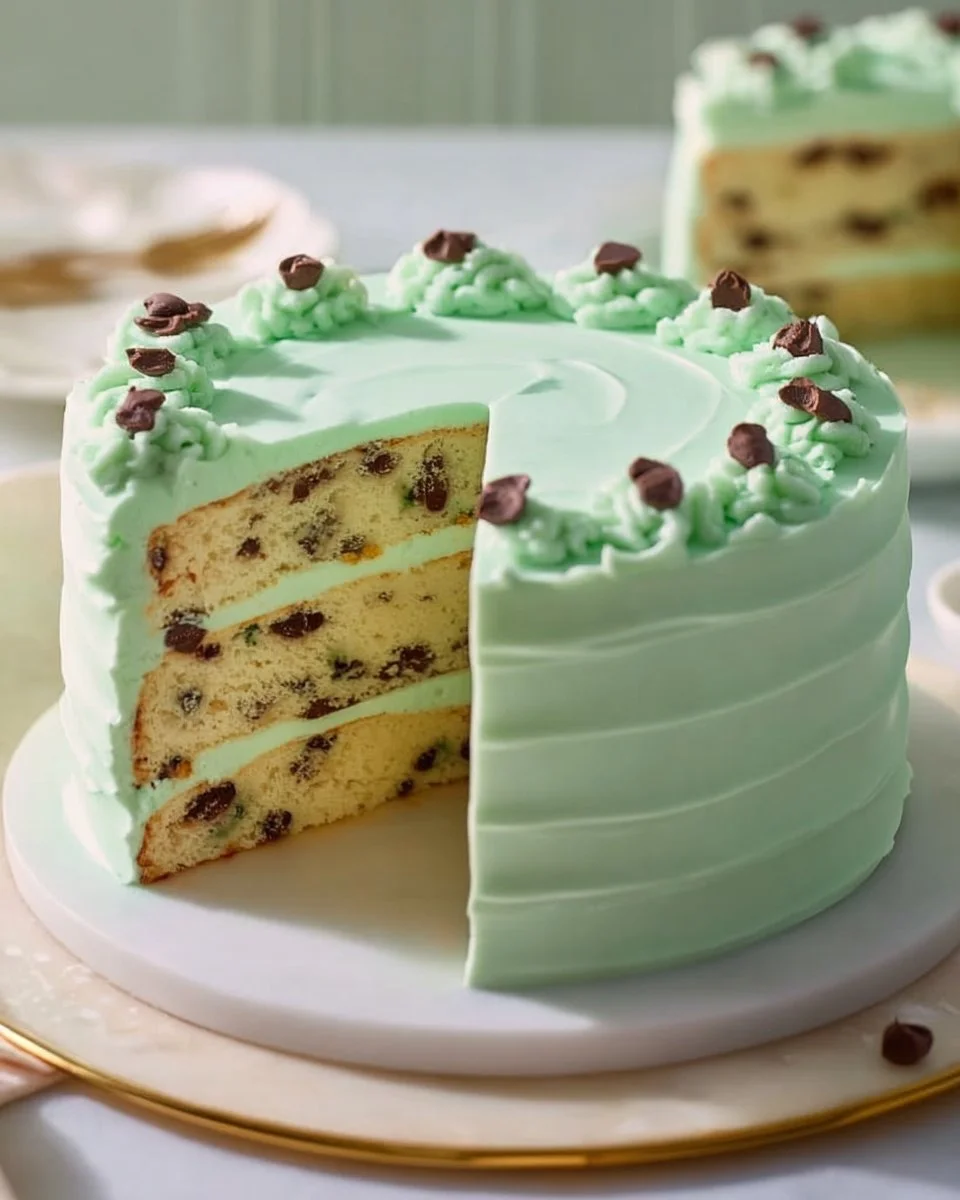
# Irresistibly Delicious Mint Chocolate Chip Cake: A Sweet Symphony of Flavor --- ## Introduction Growing up, my kitchen was always the heart of my home, brimming with the comforting scent of baked goodies wafting through the air. One of my fondest memories is whipping up a Mint Chocolate Chip Cake with my grandma during holiday gatherings. It wasn’t just a cake; it was a celebration, a sweet backdrop to laughter, stories, and love. Each slice was a blissful combination of rich chocolatey goodness with a refreshing minty twist, leaving us all eagerly coming back for more! What I love about this Mint Chocolate Chip Cake is not just its unique blend of flavors but also its versatility. It's perfect for birthdays, anniversaries, or even just a cozy family dinner. Unlike many store-bought versions that can fall flat in flavor, this homemade version bursts with freshness and indulgence. Using high-quality ingredients and a sprinkle of love, my recipe elevates the classic to a whole new level. Get ready to learn how to recreate this delightful cake that’s sure to bring back sweet memories or even create new ones for your family! Buckle up, because you’re about to embark on a delicious journey. --- ## What Are Mint Chocolate Chip Cakes? Mint Chocolate Chip Cake is a luscious masterpiece inspired by the beloved ice cream flavor that many of us adore. Originating as a delightful tribute to classic desserts, this cake combines layers of moist chocolate cake with delightful mint frosting, creating a symphony of taste that dances on your palate. Imagine sinking your fork into a piece of this cake and encountering a soft, velvety texture that gently melts in your mouth, punctuated by pockets of chocolate chips and that unmistakable cool, refreshing burst of mint. It’s the perfect balance of sweetness and freshness, making it unique and utterly irresistible. Whether it’s a festive celebration or just a simple treat, this Mint Chocolate Chip Cake is a go-to choice when you want to impress or indulge. It’s the dessert that bridges generations, tying memories of the past with the sweet moments of the present. --- ## Why You’ll Love This Recipe ### 1. **Unmatched Freshness** Unlike store-bought cakes that often use artificial flavors and preservatives, this recipe employs real peppermint extract along with high-quality chocolate. The result? A fresh, authentic taste that’s sure to impress your friends and family. ### 2. **Budget-friendly** Making your cake at home not only allows for customization but is also a cost-effective option. With basic pantry staples and a few fresh ingredients, you can whip up a decadent dessert for a fraction of what you’d spend at a bakery. ### 3. **Complete Customization** Love extra mint? Want to swap in gluten-free flour? This recipe gives you the freedom to make your Mint Chocolate Chip Cake uniquely yours. Add more chocolate chips or play around with different frosting techniques – it’s entirely up to you! ### 4. **Simple to Make!** Don’t worry if you’re not a professional baker: this Mint Chocolate Chip Cake is straightforward with easy-to-follow steps. You’ll impress everyone without feeling overwhelmed, making it a perfect recipe for beginner bakers. ### 5. **Perfect for Any Occasion** From birthdays to holiday gatherings or even just a random Tuesday, this cake is perfect for any occasion! Its stunning appearance and delectable taste will surely make it the star of the dessert table. ---
--- ## Ingredients Here's what you'll need to create your Mint Chocolate Chip Cake: - **2 cups all-purpose flour**: For a light, fluffy cake. Consider using a brand like King Arthur for consistent results. - **1 3/4 cups granulated sugar**: Adds sweetness and helps to create structured layers. - **3/4 cup unsweetened cocoa powder**: Opt for high-quality cocoa for rich chocolate flavor; I love using Ghirardelli. - **1 1/2 teaspoons baking powder**: This will help your cake rise beautifully. - **1 1/2 teaspoons baking soda**: Works alongside the baking powder for proper leavening. - **1 teaspoon salt**: Balances the sweetness and enhances flavor. - **2 large eggs**: Bring your eggs to room temperature for better incorporation. - **1 cup whole milk**: Adds moisture; feel free to substitute with almond milk if needed. - **1/2 cup vegetable oil**: For a tender crumb; can replace with melted coconut oil for added flavor. - **2 teaspoons peppermint extract**: The star of the show! Look for pure extract for the best taste. - **1 cup boiling water**: This is an essential step for a moist cake. - **1 cup chocolate chips**: Semi-sweet work best; they melt beautifully and enhance the chocolatey flavor. - **2 cups heavy cream**: Used for the dreamy frosting; opt for freshly whipped cream for the best texture. - **1 cup powdered sugar**: Sweetens the whipped cream for frosting. - **Green food coloring (optional)**: To achieve that enchanting minty hue in your frosting. ### Ingredient Notes: - **Quality Matters**: Always choose high-quality ingredients for the best results. - **Substitutions**: Don’t hesitate to swap any ingredients based on dietary needs or personal preferences! - **Prep Notes**: Make sure all your dairy ingredients are at room temperature for optimal mixing. --- --- ## Step-by-Step Instructions 1. **Preheat your oven to 350°F (175°C)**. Grease and flour two 9-inch round cake pans. This will help the cake come out easily. 2. **In a large mixing bowl**, combine flour, sugar, cocoa powder, baking powder, baking soda, and salt. Mix well until combined. 3. **Add eggs, milk, oil, and peppermint extract**. Beat on medium speed for about 2 minutes until the batter becomes smooth and well-combined. 4. **Stir in boiling water** until the mixture is fully combined. Don’t worry; the batter will be quite thin—this is what makes the cake moist! 5. **Fold in chocolate chips** gently to avoid breaking them. 6. **Pour the batter evenly into the prepared pans**. You can use a spatula to aid in spreading it out evenly. 7. **Bake for 30 to 35 minutes** or until a toothpick inserted into the center comes out clean. Keep an eye on it during the last few minutes! 8. **Let the cakes cool** in the pans for about 10 minutes, then remove them from pans to cool completely on wire racks. 9. **For the frosting**, whip heavy cream and powdered sugar together until stiff peaks form. 10. **If using**, add green food coloring one drop at a time until you reach your desired shade. 11. **Once cooled**, frost the top of one cake layer, add the second layer, and frost the top and sides liberally. 12. **Decorate with additional chocolate chips and mint leaves** if desired. 13. **Slice and enjoy your Mint Chocolate Chip Cake!** Gather your friends and family for the taste test! ### Chef’s Tips: - To check if your cake is done, gently press on the surface; it should spring back. - If your frosting is too runny, chill it in the fridge for 15-20 minutes before attempting to frost the cake. --- ## Expert Tips & Tricks 1. **Storage Recommendations**: Keep your Mint Chocolate Chip Cake in an airtight container in the fridge for up to 5 days. Make sure to separate layers with parchment paper to avoid sticking! 2. **Make-ahead Instructions**: You can prepare the cake layers a day in advance and store them in the fridge. Just make the frosting on the day you’re serving it for the freshest taste. 3. **Troubleshooting Tips**: - If the cake layers dome up while baking, gently press them flat as soon as they come out of the oven. - If your frosting isn’t thickening, try chilling the bowl and beaters before whipping, and ensure your heavy cream is cold. 4. **Presenting Your Cake**: Use a cake plate for a beautiful presentation, and consider garnishing with fresh mint leaves or additional chocolate shavings. 5. **Extra Flavor Boost**: For an additional flavor kick, consider adding a splash of espresso powder to the cake batter to enhance the chocolate flavor! --- ## Serving Suggestions Pair your Mint Chocolate Chip Cake with a scoop of vanilla or mint ice cream for an extra indulgent treat. If you’re feeling fancy, drizzling some chocolate sauce over top adds an elegant touch. This cake makes for a sensational centerpiece at any gathering from birthday parties to holiday celebrations! --- ## Variations & Substitutions - **Gluten-Free**: Swap all-purpose flour for a gluten-free all-purpose blend to accommodate dietary restrictions. - **Nutty Flavor**: Add chopped walnuts or pecans for extra texture and flavor. - **Seasonal Variants**: In winter, consider adding crushed candy canes on top for a festive touch, or use orange zest in the batter for a citrus twist in the spring. - **Low-Sugar**: Substitute sweeteners like Stevia in place of sugar for a lower-calorie version. --- ## Nutrition & Storage Info - **Prep Time**: 20 minutes - **Cook Time**: 35 minutes - **Total Time**: 55 minutes - **Yield**: Serves about 12 people - **Estimated Calories per Serving**: Approximately 350 calories (may vary based on exact ingredients) - **Storage Instruction**: Store at room temperature for up to 2 days or refrigerate for up to 1 week. For long-term storage, freeze slices wrapped tightly for up to 3 months. --- ## FAQ Section 1. **Can I make this cake ahead of time?** Yes! The cake layers can be made a day in advance and stored wrapped in plastic wrap in the refrigerator. 2. **Can I use different types of chocolate?** Absolutely! Feel free to swap semi-sweet chocolate chips for dark or milk chocolate for a sweeter flavor. 3. **What if my cake sinks in the middle?** This could be due to underbaking. Always check your cake with a toothpick to ensure it's cooked through. 4. **Can I decorate it differently?** Definitely! Get creative with different types of frosting, or add sprinkles and crushed candies for a festive touch. 5. **Is there a vegan version?** Yes! You can use flax eggs in place of real eggs, almond milk instead of whole milk, and coconut cream for frosting. 6. **Why is my frosting runny?** Make sure your heavy cream is very cold, and try chilling your mixing bowl and beaters before whipping for the best results. 7. **What's the best way to store leftover cake?** Store in an airtight container in the fridge for up to a week, or wrap slices in plastic wrap and freeze for longer storage. 8. **Can I use a different type of extract?** Yes! Feel free to experiment with other extracts like vanilla or almond for different flavor profiles. 9. **How can I make the cake chocolateier?** You can add a tablespoon of espresso powder or coffee to enhance the chocolate flavor without overpowering the other notes. 10. **What occasions are best for this cake?** This cake is perfect for birthdays, holidays, or any gathering where you want to impress your guests with something special! --- ## Conclusion Creating this Mint Chocolate Chip Cake is more than just following a recipe; it’s about crafting sweet memories with loved ones. With its rich texture and refreshing flavor, this cake is bound to become a favorite in your household, just like it is in mine. I encourage you to give it a try and share your experiences with me! Don’t forget to check out other delightful recipes on my blog to keep your baking adventures going. Happy baking, and may each bite be as sweet as the memories you create!
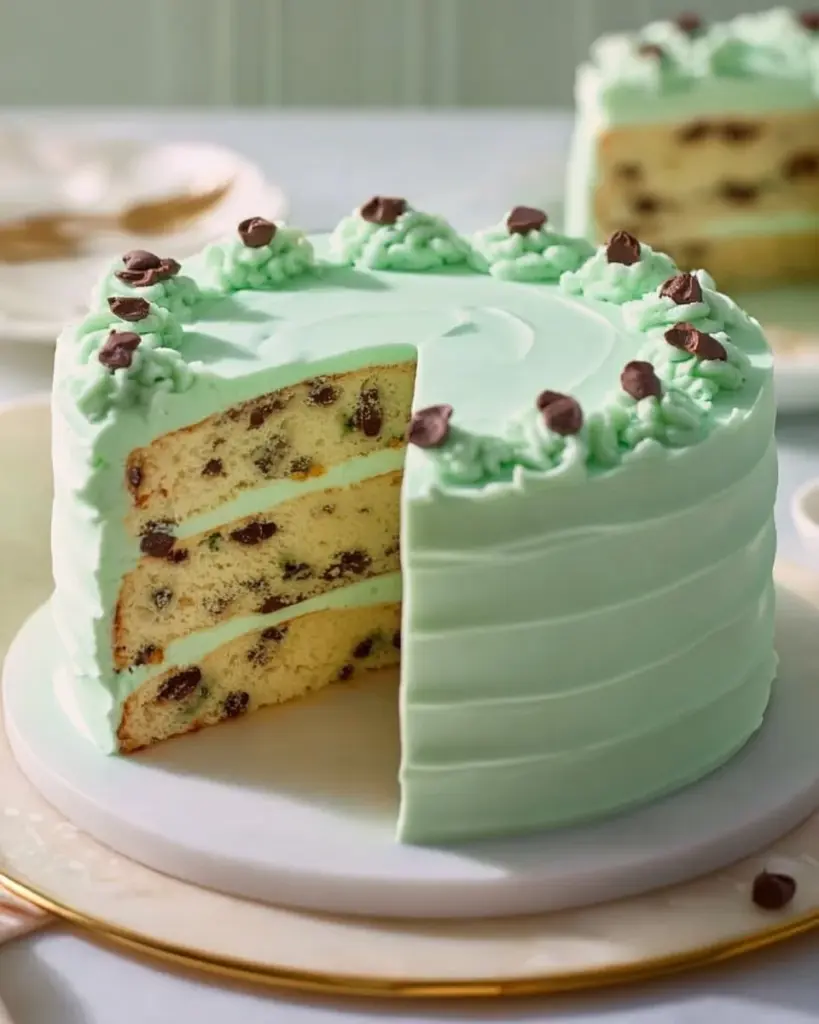
Mint Chocolate Chip Cake
A rich and moist cake combining chocolate and refreshing mint flavors, perfect for any occasion.
Ingredients
Method
Preparation
- Preheat your oven to 350°F (175°C). Grease and flour two 9-inch round cake pans.
- In a large mixing bowl, combine flour, sugar, cocoa powder, baking powder, baking soda, and salt. Mix well.
- Add eggs, milk, oil, and peppermint extract. Beat on medium speed for about 2 minutes until smooth.
- Stir in boiling water until fully combined; the batter will be thin.
- Fold in chocolate chips gently.
- Pour the batter evenly into the prepared pans.
Baking
- Bake for 30 to 35 minutes or until a toothpick inserted comes out clean.
- Let the cakes cool in the pans for about 10 minutes, then remove to wire racks to cool completely.
Frosting
- In a bowl, whip heavy cream and powdered sugar together until stiff peaks form.
- If desired, add food coloring one drop at a time until you reach the desired shade.
- Once cooled, frost the top of one cake layer, add the second layer, and frost the top and sides.
- Decorate with additional chocolate chips and mint leaves if desired.
Serving
- Slice and enjoy your Mint Chocolate Chip Cake!
Notes
Store in an airtight container in the fridge for up to 5 days and separate layers with parchment paper to avoid sticking.