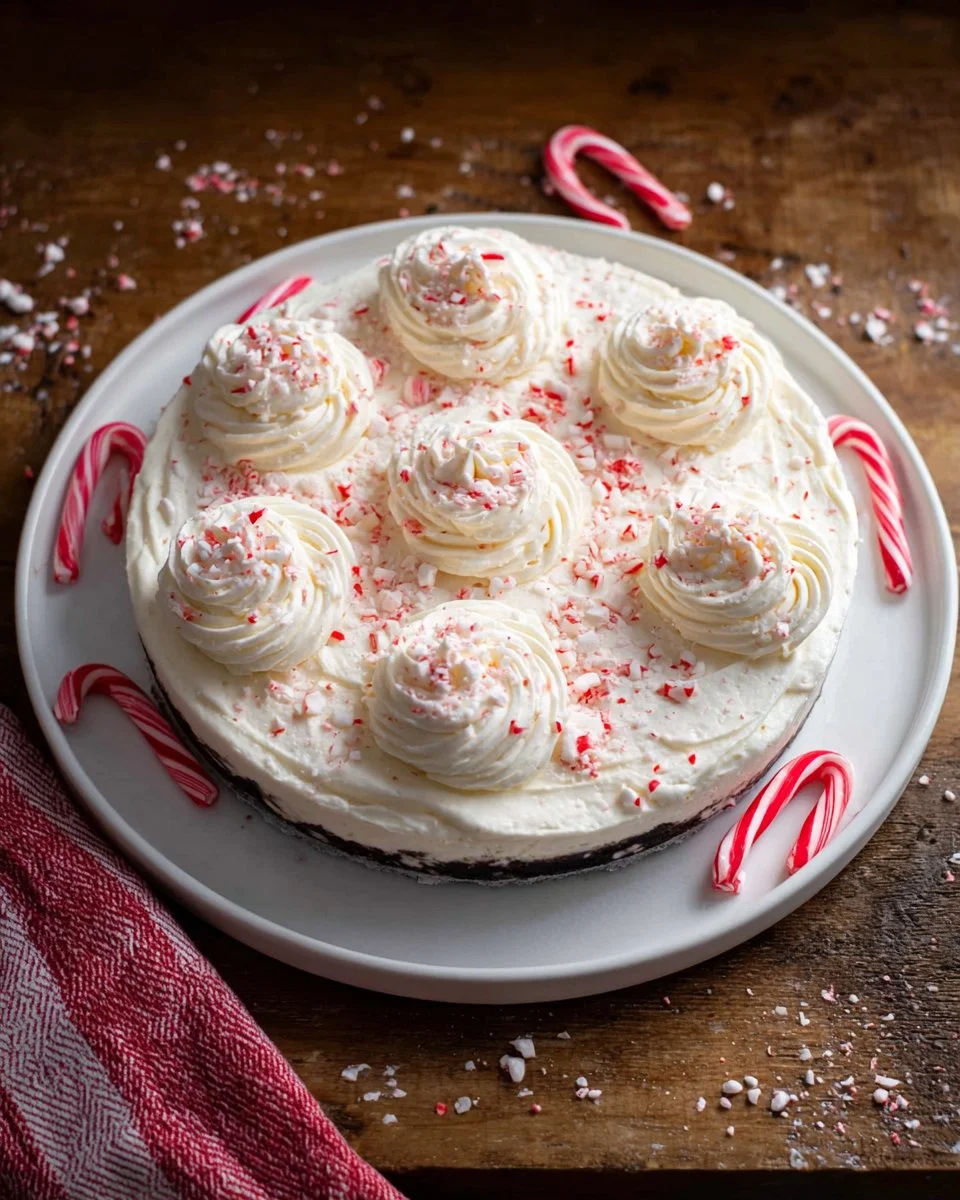
Every year, as the holiday season approaches, I find myself searching for the perfect recipe to share with my family and friends. It’s become a cherished tradition to whip up something special in the kitchen, filling our home with delightful smells and an even greater sense of togetherness. And this year, I’m over the moon to share my wholesome twist on the classic No Bake Peppermint Cheesecake!
This dessert is not just about the stunning layers of creamy goodness and the fresh frosty bite of peppermint; it holds a place in my heart as a delightful memory-maker. I remember struggling with my mom in the kitchen, trying to create a similar dessert every Christmas. None of our attempts could quite capture that divine balance between rich and refreshing—until now!
This No Bake Peppermint Cheesecake surpasses any store-bought solution and is a breeze to make. You’ll impress your guests and create a comforting experience for your family that you’ll all cherish for years to come. Stick around, and I’ll share step-by-step instructions and secret tips to help you succeed in making this delicious treat that is perfect for any occasion.
What Are No Bake Peppermint Cheesecakes?
No Bake Peppermint Cheesecakes are a delightful holiday favorite that blend the classic flavors of cheesecake with a fresh minty twist. Traditional cheesecakes require baking, but this no-bake version is lighter, cooler, and just as satisfying—perfect for those warm holiday gatherings or when you want dessert without the oven labor.
The taste is a harmonious blend of silky chocolate, refreshing peppermint, and smooth creaminess from the cream cheese and whipping cream—a perfect balance of richness and lightness. The crunch of crushed Oreo cookies adds a delightful contrast to the creamy filling, resulting in a texture that is irresistible!
These cheesecakes are ideal for festive celebrations, potlucks, or cozy family dinners when you want to serve something spectacular without spending hours in the kitchen. They provide the essence of indulgence while remaining cool and refreshing, making them a guilty pleasure you can enjoy without any regrets.
Why You’ll Love This Recipe
No Baking Required: Who doesn’t love a recipe that skips the oven? This simple method means you can avoid temperature control and potential baking mishaps. Plus, it saves you time—hello, extra hour to prepare for guests!
Cost-Effective: Once you bring home the basic ingredients, you’ll find it’s much cheaper than picking up a premium cheesecake from a bakery. You can make this incredible No Bake Peppermint Cheesecake for a fraction of the cost—and I promise it tastes just as good, if not better!
Fun to Customize: This recipe serves as a great base to play with flavors. Want to try a different flavor of cookies for the crust? Go for it! Feeling adventurous and want to try some seasonal ingredients? The sky is truly the limit!
Quick and Easy: This process is straightforward, and you’ll be enjoying your cheesecake in about 30 minutes of active time—leaving you with more time to focus on making memories with your loved ones.
Nostalgic & Comforting: This dessert isn’t just about taste; it’s about evoking memories. The flavors will remind you of cozy gatherings and festive cheer, making it not only a treat for the tastebuds but also for the heart.
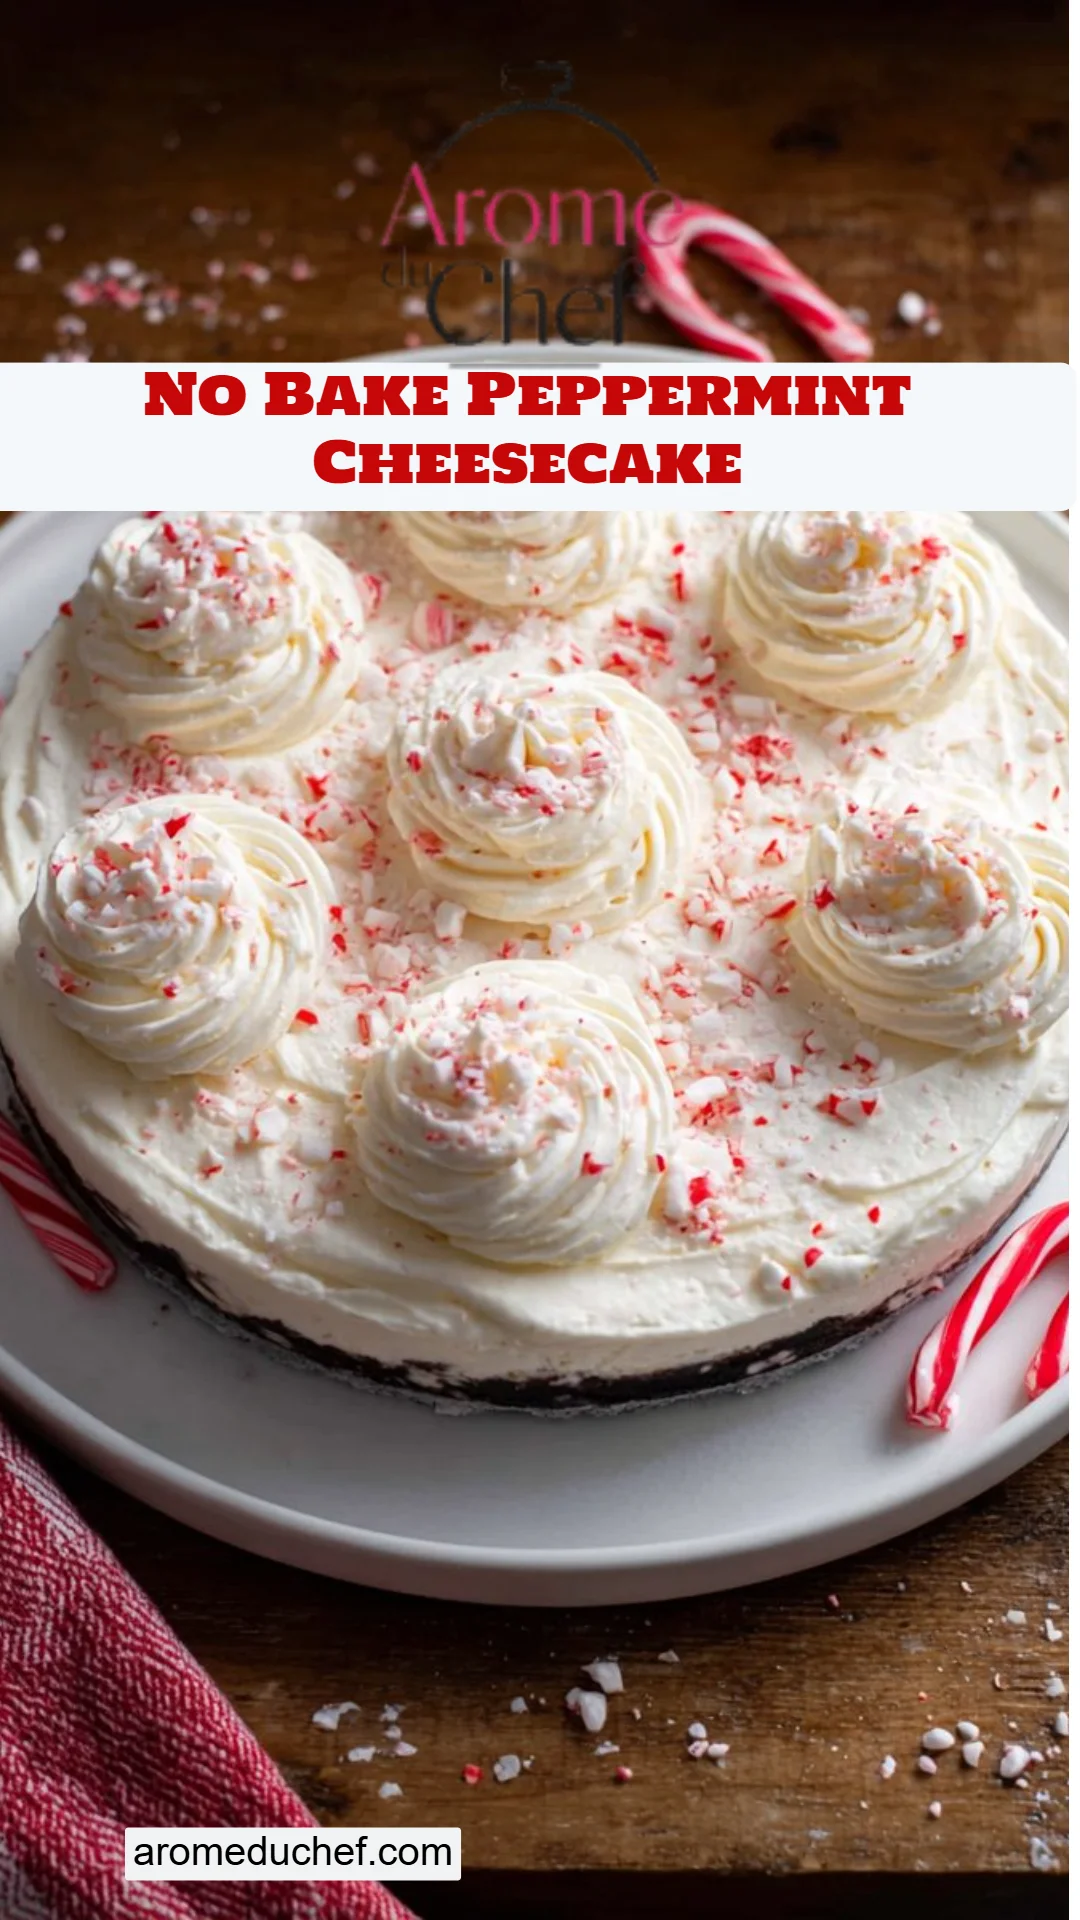
Ingredients Section
Here’s what you will need to whip up this dazzling No Bake Peppermint Cheesecake. Trust me, they are divine, and I recommend using high-quality ingredients for the best flavor.
- 2 cups (216 g) crushed Oreo Cookies (about 20 cookies) – For a delightful cookie crust, I recommend using classic Oreo; however, feel free to try other flavors like mint or golden Oreos for a fun twist—adaptability is key!
- 1/4 cup (1/2 stick / 57 g) unsalted butter, melted – Always use unsalted butter to control the salt content and avoid overpowering sweetness.
- 2 packages (8 ounces each) cream cheese, softened – I favor brands like Philadelphia for their consistent creaminess, but any cream cheese will do as long as it’s fully softened for easy mixing.
- 1 cup (200 g) granulated sugar – Sweetens the filling just perfectly; you may consider reducing this if you’re using sweeter toppings.
- 2 cups (476 g) heavy whipping cream – Use the heavy variety for a rich, fluffy texture.
- 1/2 teaspoon peppermint extract – A little goes a long way; be sure to use pure extract for the best flavor.
- 1/2 teaspoon vanilla extract – Opt for pure vanilla extract if possible for that warm flavor foundation.
- 1/4 cup (42 g) crushed candy canes, plus more for topping – For an extra holiday touch! You can also substitute with chocolate peppermint candies.
- Whipped cream, for topping – Homemade whipped cream truly elevates this cheesecake. If you’re in a hurry, canned whipped cream will still do!
Prep Notes: Make sure the cream cheese is at room temperature and the heavy cream is chilled for better whipping.
Step-by-Step Instructions
- Prepare the Pan: Spray a 9-inch springform pan with nonstick cooking spray and set aside.
- Make the Crust: In a small bowl, combine the Oreo cookie crumbs with melted butter, ensuring every crumb is coated. Press the mixture evenly into the bottom and halfway up the sides of the springform pan to form a sturdy crust.
- Mix the Filling: In a separate large mixing bowl, beat the softened cream cheese and granulated sugar on medium speed until smooth and creamy—about 2 minutes.
- Add Heavy Cream and Flavors: Add the heavy cream, peppermint extract, and vanilla extract. Continue beating for another 1 to 2 minutes until the mixture is light and fluffy.
- Fold in Candy Canes: Gently fold in the crushed candy canes into the cheesecake mixture until evenly distributed.
- Pour and Smooth: Pour the cheesecake filling into the prepared crust and smooth the top with a spatula to create an even surface.
- Chill: Refrigerate until firm, which should take about 6 hours or overnight for the best results.
- Serve: Once set, when ready to serve, garnish with whipped cream on top and sprinkle with more crushed candy canes!
Chef’s Tips:
- If you’re in a rush, you can chill the cheesecake for 2-3 hours, but longer is better for the best consistency.
- A glass of warm water will help release the sides of the springform pan smoothly.
Expert Tips & Tricks
- Storage Recommendations: Keep your No Bake Peppermint Cheesecake covered in the fridge for up to a week. If you have leftovers, it’s best to separate any toppings and store them separately to keep the presentation fresh.
- Make-Ahead Instructions: This cheesecake is a perfect make-ahead option! Prepare it a day before you plan to serve it, allowing the flavors to meld together beautifully.
- Troubleshooting Common Problems:
- If your filling doesn’t set properly, ensure you beat the cream until stiff peaks form for that necessary structure.
- If you find your crust is too crumbly, you might need to add a touch more melted butter to help it hold together.
- Serving Temperature: For the best flavor and texture, allow the cheesecake to sit at room temperature for about 10-15 minutes before serving.
Serving Suggestions
This No Bake Peppermint Cheesecake pairs wonderfully with a hot cup of cocoa or a festive spiced tea while curling up on the couch. Presentation-wise, I love garnishing it with chocolate shavings or a drizzle of chocolate sauce for an extra flair!
Perfect for family gatherings, holiday parties, or as a sweet surprise for any winter celebration, this cheesecake will surely steal the show.
Variations & Substitutions
If you’re feeling adventurous, here are some fun variations to switch things up:
- Chocolate Lovers: Add a layer of melted chocolate ganache on top before chilling for a rich chocolate peppermint experience.
- Swap the Flavor: Replace peppermint extract with other extracts like almond or orange for a twist that is equally delightful.
- Healthier Options: Use sugar-free cookies and cream cheese if you’re looking to lighten the recipe a bit. You can even substitute Greek yogurt for part of the cream cheese for extra creaminess.
- Seasonal Options: For a summer version, replace peppermint with fresh strawberries blended into the filling for a fruity delight!
Nutrition & Storage Info
- Prep Time: 30 minutes
- Cook Time: 0 minutes (chill time not included)
- Total Time: Approximately 6 hours (or overnight)
- Yield: About 10-12 servings
- Estimated Calories: Approximately 350 calories per slice
- Storage Instructions: Best stored in the fridge for up to a week. If you need to freeze it, wrap it tightly and it can last up to a month. Just ensure to let it thaw overnight in the fridge before serving.
FAQ Section
Can I use low-fat cream cheese?
Yes! Low-fat cream cheese can be substituted, but it may not provide the same rich texture.How do I make sure my cheesecake sets?
Ensure to beat the cream to stiff peaks and chill the cheesecake as directed—these are key to a perfectly set cheesecake.Can I use a different cookie for the crust?
Absolutely! Feel free to experiment with different cookies like graham crackers or digestive biscuits for unique flavors.What if I don’t like peppermint?
You can easily substitute the peppermint with another extract such as vanilla, almond, or even a seasonal flavor like pumpkin spice.Can I freeze the cheesecake?
Yes! Just be sure to wrap it tightly to prevent freezer burn. Thaw it overnight in the refrigerator before serving.How can I tell when the cheesecake is fully set?
It should feel firm to the touch and shouldn’t jiggle in the center when you gently shake it.Can I add more candy canes?
Of course! If you love the crunch, feel free to add more to both the filling and as a topping.Can I use whipped topping instead of heavy cream?
Yes! Whipped topping is a great time-saver and will still provide a nice lightness to the cheesecake.How do I avoid a runny filling?
Make sure your cream cheese is softened properly, and your whipped cream reaches stiff peaks before folding into the mixture.What’s the best way to slice a cheesecake?
Dip your knife in warm water before slicing, then wipe it clean; this results in cleaner slices of cheesecake!
Conclusion
This No Bake Peppermint Cheesecake is not just another dessert; it’s a celebration of flavors and a vessel for beautiful memories. Whether it becomes a comforting family favorite or a party showstopper, it’s sure to bring joy and warmth to every gathering you host.
Don’t forget to tell me how yours turns out in the comments section below, and if you have any tips or variations, I would love to hear them! For more delightful recipes just like this, check out my blog—I can’t wait to inspire your next sweet adventure!
Simple Matcha Latte with Lavender Cold Foam
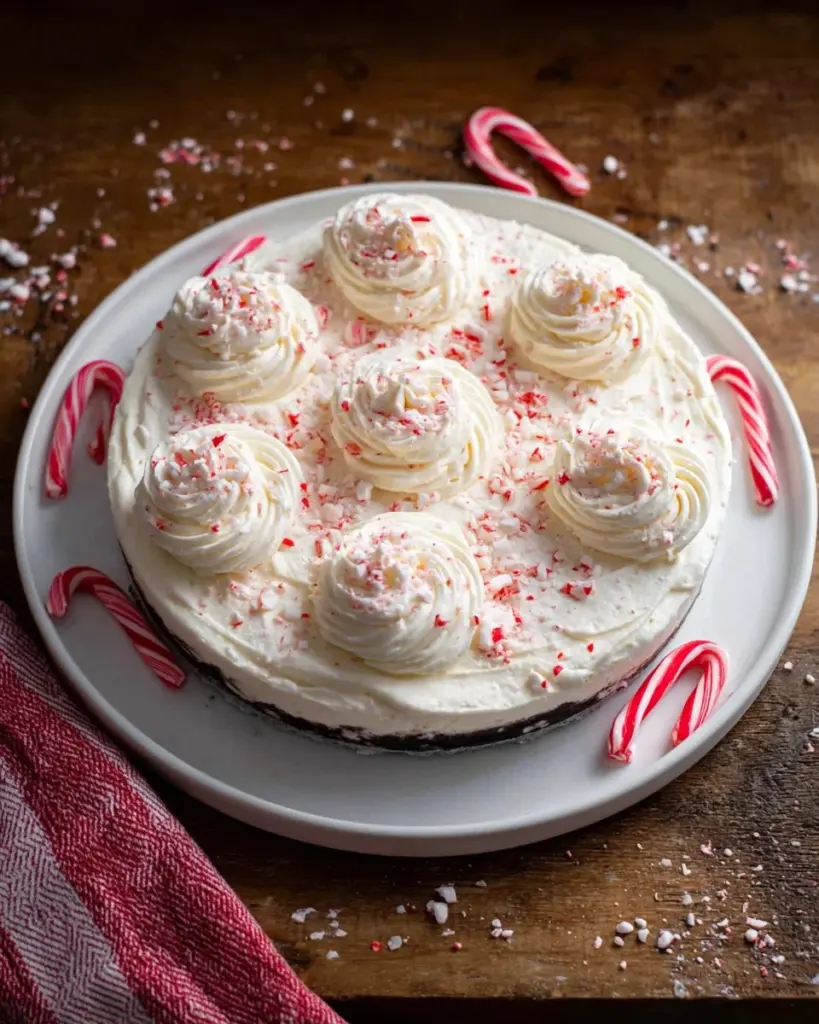
No Bake Peppermint Cheesecake
Ingredients
Method
- Spray a 9-inch springform pan with nonstick cooking spray and set aside.
- In a small bowl, combine the Oreo cookie crumbs with melted butter, then press into the bottom and halfway up the sides of the springform pan.
- In a separate large mixing bowl, beat the softened cream cheese and granulated sugar on medium speed until smooth and creamy, about 2 minutes.
- Add the heavy cream, peppermint extract, and vanilla extract. Continue beating for another 1 to 2 minutes until light and fluffy.
- Gently fold in the crushed candy canes until evenly distributed.
- Pour the filling into the prepared crust and smooth the top with a spatula.
- Refrigerate until firm, about 6 hours or overnight.
- Garnish with whipped cream and sprinkle with more crushed candy canes before serving.