Irresistibly Delicious Cream Cheese Thumbprint Cookies: A Sweet Nostalgic Treat
Growing up, the scent of freshly baked cookies wafting through the house was one of my fondest memories. My grandma would often whip up batches of cookies, and among them, her Cream Cheese Thumbprint Cookies held a special place in my heart. They’re not your average cookie; they are buttery, rich, and melt-in-your-mouth delightful — the perfect combination of sweet and tangy filled with vibrant jam. What sets this recipe apart from others is the cream cheese, which lends them a tender texture and an irresistible flavor profile.
Every bite brings back the warmth of family gatherings where we’d gather around the kitchen counter, eagerly waiting for the cooling cookies and fighting over the last one—an act filled with laughter, love, and a little sibling rivalry. Those memories inspired me to perfect my version of these cookies, making them ultra-soft and packed with jam. In this post, you’ll not only discover how to make these amazing Cream Cheese Thumbprint Cookies but also learn tips to customize them according to your taste, creating your own sweet family memories.
What Are Cream Cheese Thumbprint Cookies?
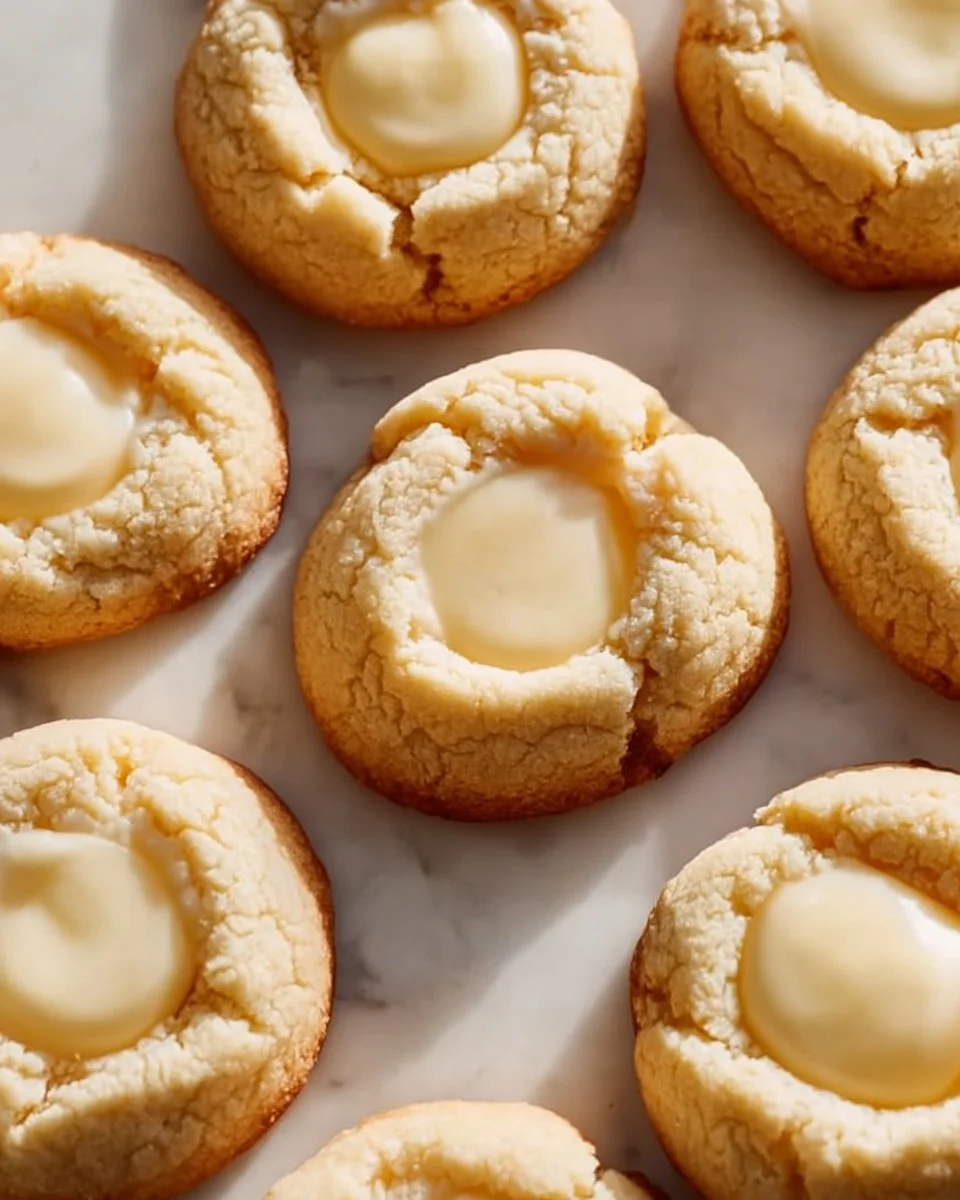
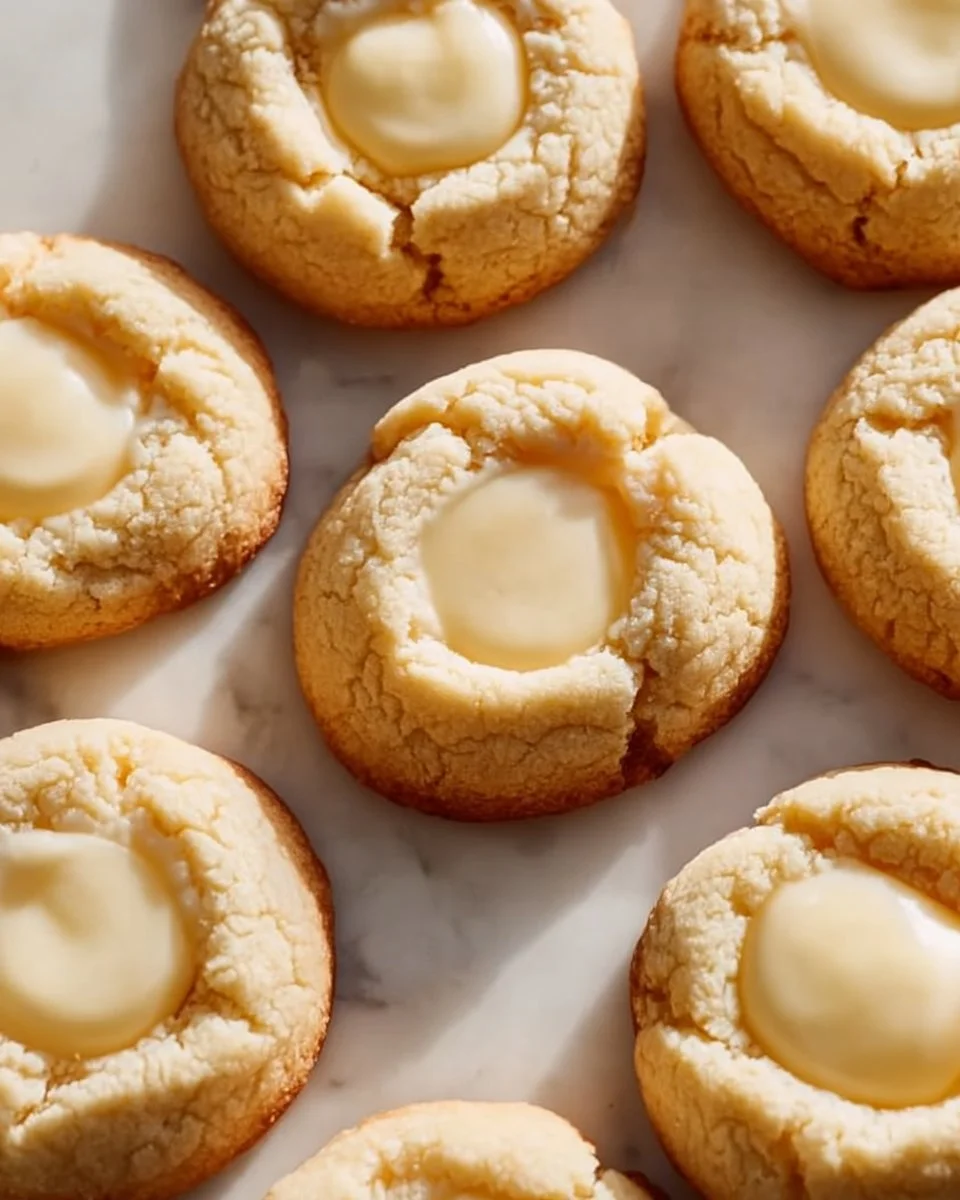
Cream Cheese Thumbprint Cookies originate from traditional cookie recipes, where the thumbprint technique creates an inviting little well in the center of each round cookie. This indentation is perfect for holding a luscious dollop of jam, which can vary from tangy raspberry to sweet apricot, allowing flavor enthusiasts to experiment freely.
These delightful cookies boast a rich and creamy texture thanks to the cream cheese, contrasted perfectly with the sweetness of the added jam. The crispy edges combined with a soft center create a delightful treat that’s perfect for any occasion—from holiday gatherings to cozy afternoon snacks. Bake a batch when friends come over or to celebrate a special event; they are sure to impress.
Why You’ll Love This Recipe
- Unmatched Flavor: These cookies are a symphony of flavors—sweet, tangy, and creamy rolled into one. Compared to store-bought cookies, these are worlds apart in freshness and taste.
- Budget-Friendly: Making a batch of Cream Cheese Thumbprint Cookies is much more cost-effective than buying fancy bakery treats. A few simple ingredients can yield numerous delicious cookies, allowing you to whip up sweets without breaking the bank.
- Make it Your Own: Customize this recipe by changing up the jam flavors to suit your taste. Maybe it’s a twist with lemon curd or a holiday-themed cranberry filling—options are endless!
- Easy to Make: This is a beginner-friendly recipe that doesn’t require any unique baking skills. In just about 30 minutes, you can prepare and bake a delectable cookie batch.
- Perfect for Sharing: These cookies are great for gifting! Whether it’s the holidays, a housewarming, or just because, a container of homemade Cream Cheese Thumbprint Cookies will surely spread smiles.
Ingredients

- 2 cups all-purpose flour: For the base of the cookie. Use a high-quality brand like King Arthur Flour for best results.
- 1/2 cup unsalted butter, softened: Room-temperature butter is essential for creaming properly.
- 1/2 cup cream cheese, softened: I recommend Philadelphia or another high-quality cream cheese.
- 3/4 cup granulated sugar: For sweetness and texture.
- 1 teaspoon vanilla extract: Pure vanilla extract enhances the flavor.
- 1/4 teaspoon salt: Balances the sweetness.
- 1/2 cup jam or preserves (for filling): Use your favorite type, whether it’s strawberry, raspberry, or apricot.
- Optional icing for decoration: Simply blend powdered sugar with a bit of milk for a quick drizzle.
Before you begin, allow your butter and cream cheese to soften at room temperature for optimal mixing!
Step-by-Step Instructions
- Preheat your oven to 350°F (175°C): This ensures the cookies are baked evenly.
- Cream the Butter and Cream Cheese: In a mixing bowl, combine the softened butter, cream cheese, and granulated sugar. Beat with an electric mixer until the mixture is light and fluffy, about 2-3 minutes.
- Chef’s Tip: Ensure your butter is at room temperature for best results; it will create a fluffier texture.
- Add Flavor: Mix in the vanilla extract and salt until just combined.
- Add the Flour: Gradually add the flour, mixing until just combined. Be careful not to overmix to keep the cookies light.
- Shape the Dough: Roll the dough into small balls (about 1 inch) and place them on a baking sheet lined with parchment paper.
- Create Thumbprints: Using your thumb or the back of a small spoon, gently press down to create an indentation in the center of each cookie.
- Fill with Jam: Spoon your desired jam or preserves into the indentation, filling it like a tiny bowl.
- Bake: Place the baking sheet in the oven and bake for 15-18 minutes or until the edges are lightly golden.
- Chef’s Tip: Keep an eye on the cookies during the last few minutes to avoid burning.
- Cooling Time: Allow the cookies to rest on the baking sheet for a few minutes before transferring them to a wire rack to cool completely.
- Optional Icing: Once cooled, drizzle with icing for a beautiful finish!
Expert Tips & Tricks
- Storage Recommendations: Keep the cookies in an airtight container at room temperature for up to a week. They can also be refrigerated if you like them chilled.
- Make-Ahead Instructions: You can prepare the dough in advance and refrigerate it for up to 2 days. When you’re ready, just roll, make the thumbprints, and bake.
- Troubleshooting Common Problems: If your cookies spread too much, ensure your butter isn’t too soft and that you’ve added the correct amount of flour.
- Experiment!: Try using different flavored creams or adding zest to your dough for a hint of citrus.
- Don’t Skip the Salt: A small amount of salt makes a big difference in enhancing flavors in sweet recipes.
Serving Suggestions
Pair your Cream Cheese Thumbprint Cookies with a hot cup of tea or coffee for a delightful afternoon treat. They also shine as a dessert centerpiece at gatherings or a lovely addition to a dessert platter next to brownies and mini cheesecakes.
Consider presenting them on a decorative plate with a sprinkle of powdered sugar and fresh fruit for a beautiful touch. Ideal for birthdays, holidays, or someone special’s treat!
Variations & Substitutions
- Flavor Combinations: Experiment with chocolate ganache instead of jam or integrate peanut butter for a delightful twist.
- Dietary Adaptations: To make these cookies gluten-free, use a 1:1 gluten-free baking blend. For a dairy-free version, substitute the butter and cream cheese with dairy-free alternatives.
- Seasonal Variations: Add spices like cinnamon or nutmeg during the holiday season to enhance the seasonal flavor.
Nutrition & Storage Info
- Prep Time: 10 minutes
- Cook Time: 15-18 minutes
- Total Time: 30-35 minutes
- Yield: About 24 cookies
- Estimated Calories per Serving: Approximately 90 calories
Storage Instructions: Keep in an airtight container at room temperature for up to 7 days, or refrigerate for up to 2 weeks. These cookies can be frozen for up to 3 months; just thaw before serving!
FAQ Section
- Can I use different flavors of preserves for the filling?
- Absolutely! Feel free to experiment with any flavors you like, such as lemon curd, nut butter, or even chocolate ganache.
- What’s the best way to store leftover cookies?
- Store them in an airtight container at room temperature or in the fridge to keep them fresh longer.
- Can I freeze these cookies?
- Yes, these cookies freeze beautifully! Just make sure they’re completely cooled before placing them in an airtight container.
- Is it necessary to use cream cheese?
- The cream cheese provides a unique flavor and texture. However, you can replace it with sour cream if you run out, with slightly different results.
- How do I adjust the baking time for high-altitude locations?
- If you are baking at high altitude, you may need to slightly decrease the baking time and increase the flour to prevent over-spreading.
- Can I use whole wheat flour instead of all-purpose flour?
- Yes, you can substitute half of the all-purpose flour with whole wheat flour for added nutrition, but the texture will be denser.
- Why are my cookies spreading too much?
- Over-creaming the butter, using too-soft butter, or not enough flour can lead to spreading. Make sure to measure correctly!
- Can I add nuts to this recipe?
- Certainly! Chopped nuts can be added into the dough or even sprinkled on top of the jam for extra crunch.
- What should I serve alongside these cookies?
- They pair wonderfully with coffee, tea, or even a scoop of vanilla ice cream for a decadent dessert.
- How do I make a different-flavored icing?
- Add flavor extracts, such as almond or lemon, to your icing mixture to change it up. A bit of food coloring can also enhance the presentation!
Conclusion
These Cream Cheese Thumbprint Cookies hold a special place in my heart, reminding me of cherished family memories and sweet gatherings. I hope you’re inspired to make them a part of your own culinary adventures. Give this recipe a try, and please share your thoughts and variations! I’d love to hear how they turned out for you. For more delightful cookies and treats, don’t forget to explore my other recipes on the blog! Happy baking!
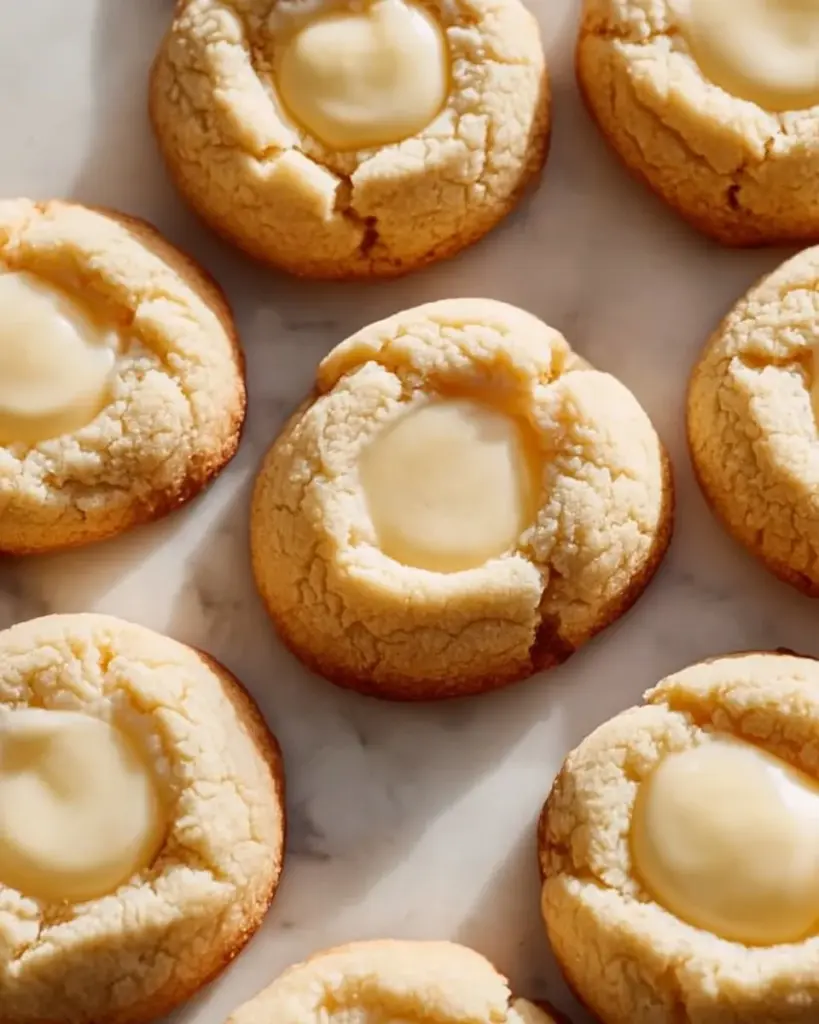
Cream Cheese Thumbprint Cookies
Ingredients
Method
- Preheat your oven to 350°F (175°C).
- In a mixing bowl, combine the softened butter, cream cheese, and granulated sugar. Beat with an electric mixer until light and fluffy, about 2-3 minutes.
- Mix in the vanilla extract and salt until just combined.
- Gradually add the flour, mixing until just combined. Be careful not to overmix.
- Roll the dough into small balls (about 1 inch) and place them on a baking sheet lined with parchment paper.
- Using your thumb or the back of a small spoon, gently press down to create an indentation in the center of each cookie.
- Spoon your desired jam or preserves into the indentation.
- Bake for 15-18 minutes or until the edges are lightly golden.
- Allow the cookies to rest on the baking sheet for a few minutes before transferring to a wire rack to cool completely.
- Once cooled, drizzle with icing if desired.