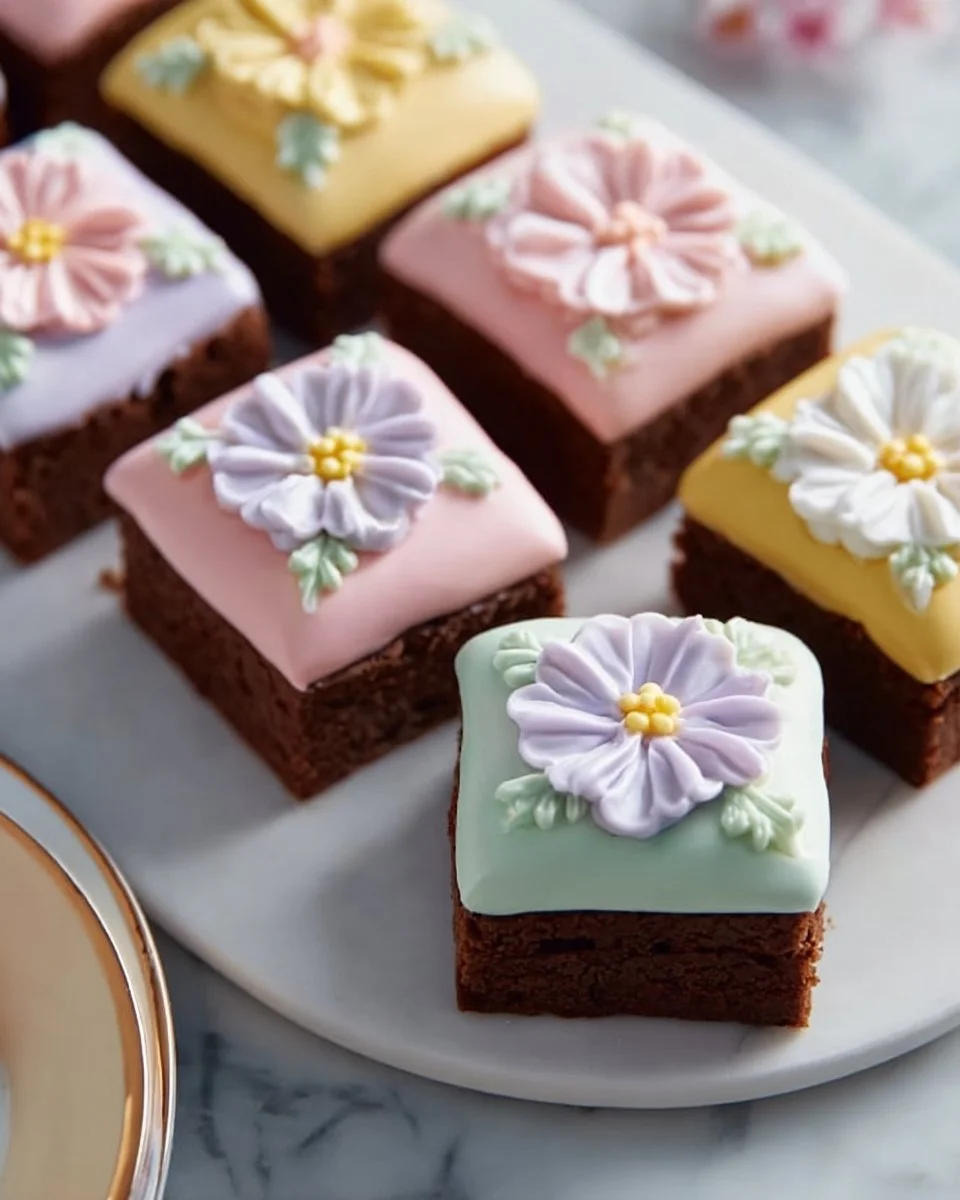
Irresistibly Chewy Spring Brownies: A Colorful Delight for Every Occasion!
Spring is a time of renewal, vibrant colors, and, of course, indulgent treats! These Spring Brownies are not just any brownies; they are a colorful celebration of the season, combining the rich chocolatey goodness we all crave with delightful pastel candies that bring joy to every bite. I first stumbled upon this recipe during a family reunion last spring. My sister whipped up a batch, and I instantly fell in love with how they brought everyone together—young and old, chocolate lovers and candy enthusiasts alike.
What sets these brownies apart from the rest is their chewy texture and melt-in-your-mouth richness, amplified by those cheerful candies. Unlike traditional brownies, which can often be overly dense or dry, my Spring Brownies offer the perfect balance of fudgy goodness and delightful crunch. Every bite carries the comforting warmth of home, reminding me of sunny days spent in the kitchen with my loved ones.
So, if you’re ready to learn how to create these masterpieces that not only taste divine but also look incredibly festive, I’m here to share all my secrets! You’ll discover how to perfectly whip up these brownies, customize them to your heart’s content, and impress your family and friends at your next gathering.
What Are Spring Brownies?
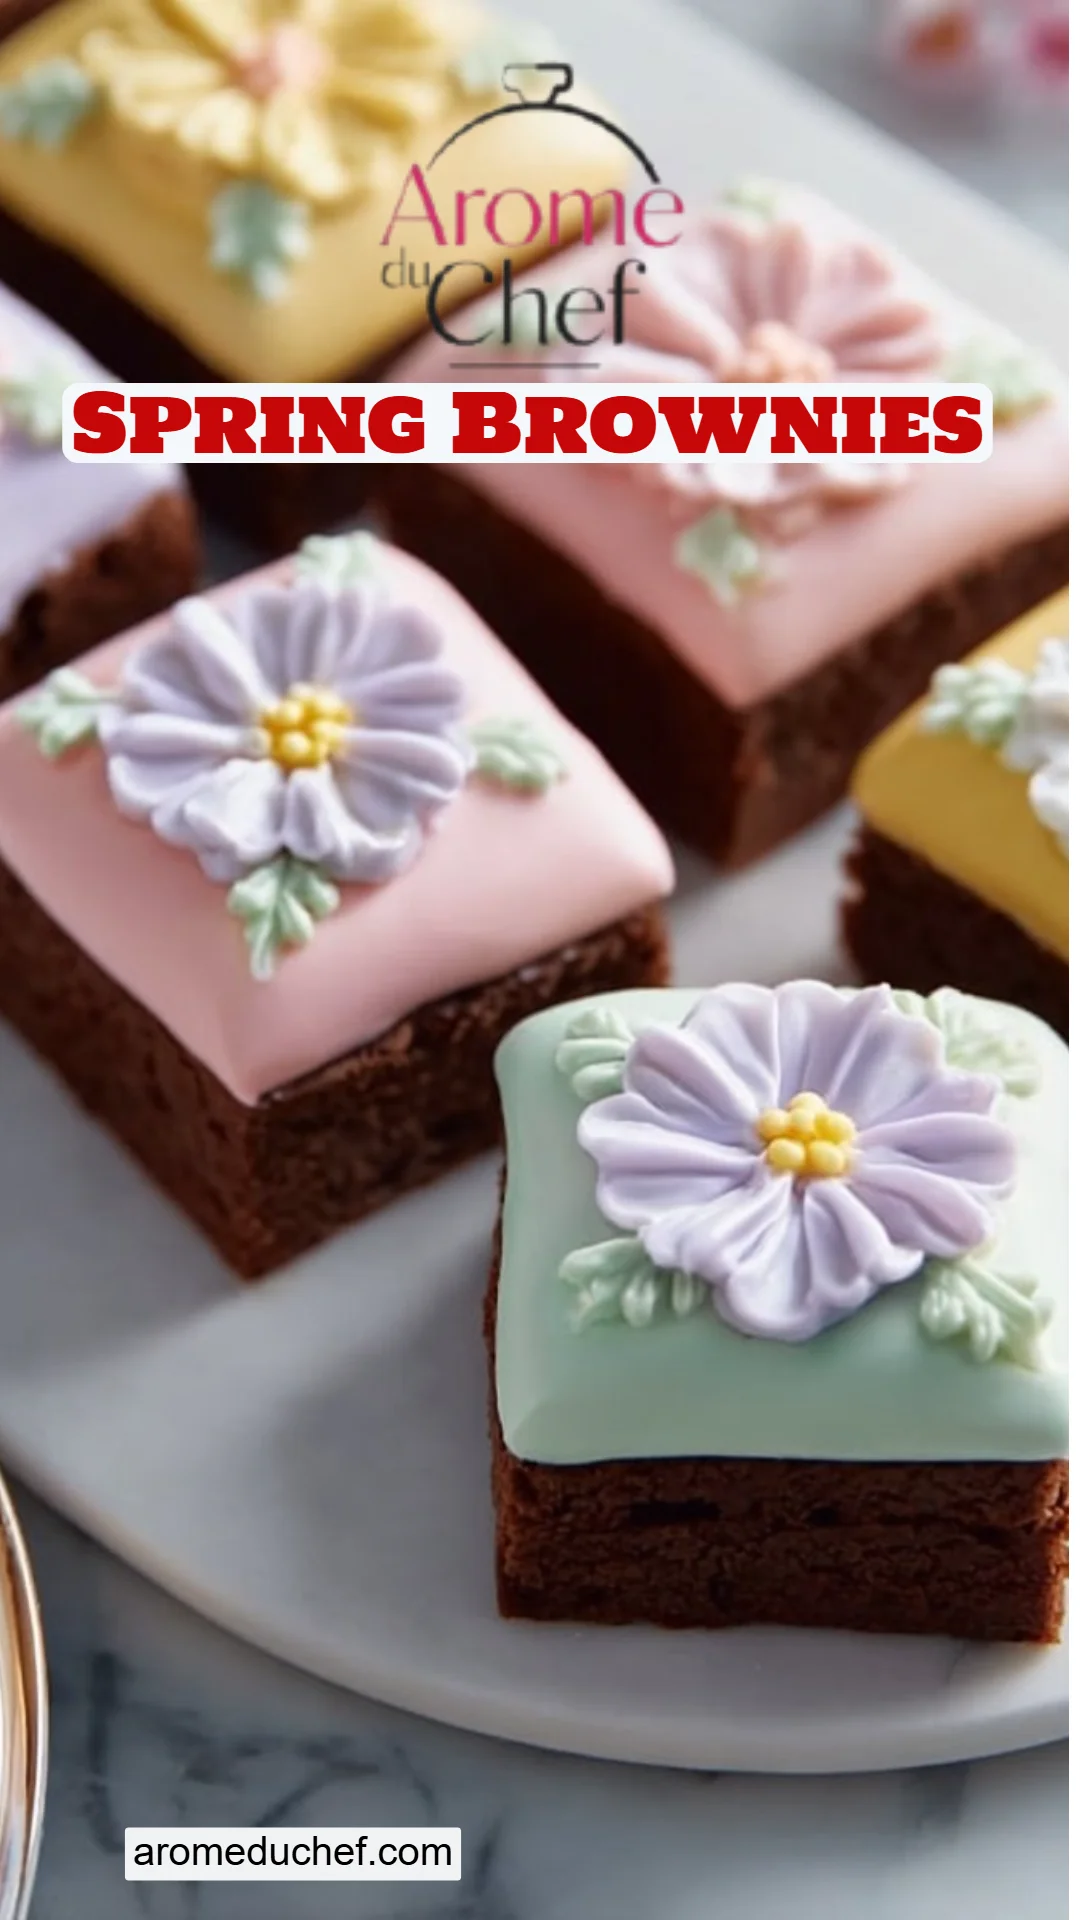
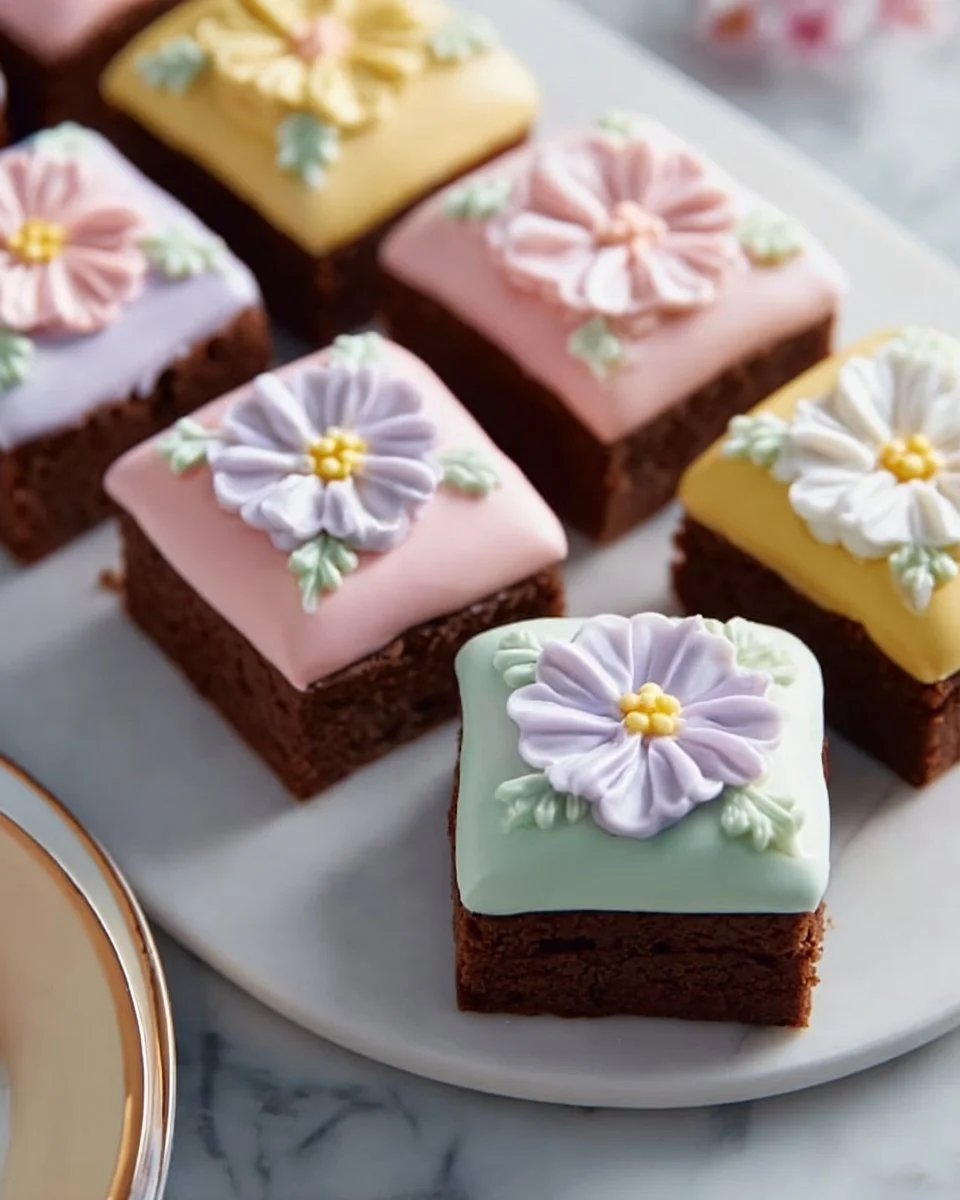
Spring Brownies are a delightful twist on the classic brownie, inspired by the vibrant hues and cheerful vibes of spring. Originating in kitchens all over, these brownies take the rich, fudgy brownie base we adore and elevate it with colorful pastel candies—think of them as chocolatey canvases waiting for floral and seasonal toppings.
The taste and texture of Spring Brownies are what make them truly unique. With every bite, you’ll experience a buttery chocolate richness that melds beautifully with crunchy candies; it’s a marriage of indulgence and whimsy. These brownies shine during spring festivities, from Easter gatherings to picnics in the park, providing joy and comfort with every square.
There’s no occasion too small to celebrate with these brownies; they are perfect for bake sales, parties, or even just an afternoon treat. Honestly, once you’ve tried them, you’ll want to make them a staple in your seasonal repertoire.
Why You’ll Love This Recipe
- Unmatched Flavor: The combination of rich cocoa and unsalted butter creates a brownie that is decadently chocolatey and moist, while the colorful candy toppings add a fun crunch and burst of sweetness that elevates the experience.
- Cost-Effective: With a handful of basic ingredients, you can create a dessert that rivals store-bought brownies, saving you money while providing a personalized touch. At just a fraction of the cost of artisanal treats, you can indulge without breaking the bank!
- Customizable to Perfection: Got a specific craving or a pantry to raid? Want to add nuts, swap out candies, or even brighten things up with a layer of icing? This recipe is incredibly versatile and can be tailored to fit any taste or dietary preference.
- Easy for Everyone: Even if you’re a beginner in the kitchen, this recipe walks you through each step with ease. It’s a no-fail, crowd-pleasing dessert that you can whip up in under an hour.
- Perfect for Any Occasion: Whether you’re celebrating a birthday, Easter, or just a simple Tuesday, these Spring Brownies provide the perfect sweet treat to share, making them a go-to option all year round.
Ingredients
For the Brownies:
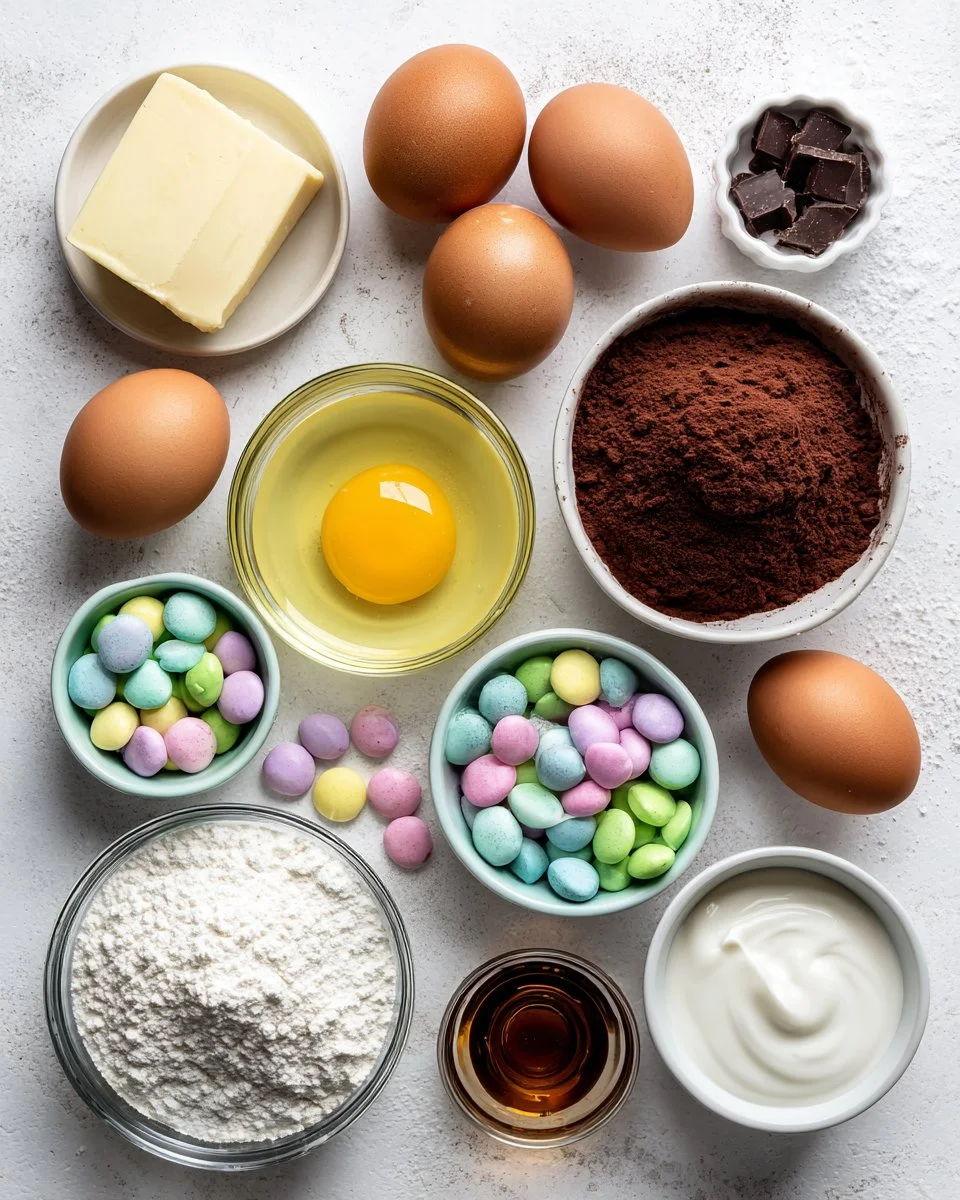
- 1 cup unsalted butter, melted
- 2 cups sugar
- 4 large eggs
- 1 teaspoon vanilla extract
- 1 cup all-purpose flour
- 1 cup cocoa powder
- 1/2 teaspoon salt
- 1/2 teaspoon baking powder
For Toppings:
- Colorful pastel candies (like M&Ms or chocolate eggs) for topping
- Frosting for decoration
Notes on Ingredients:
- Butter: Use high-quality unsalted butter for the richest flavor. Ensure it’s melted but cooled slightly to avoid scrambling the eggs.
- Sugar: Granulated sugar works best for this recipe, helping to create that fudgy texture.
- Cocoa Powder: Use Dutch-processed cocoa powder for a deeper chocolate flavor.
- Customization: Feel free to swap in gluten-free flour or use coconut sugar for a fruity twist!
Step-by-Step Instructions
- Preheat Your Oven: Set your oven to 350°F (175°C). Grease a 9×13-inch baking pan with cooking spray or line it with parchment paper for easy removal.
- Mix Butter and Sugar: In a large bowl, mix together the melted butter and sugar until well combined. You want it to be nice and smooth—this should take about 1-2 minutes.
- Incorporate Eggs: Add the eggs, one at a time, mixing well after each addition so they fully incorporate. This process will add air into the batter, which is essential for that perfect chewiness. Stir in the vanilla extract.
- Combine Dry Ingredients: In another bowl, whisk together the all-purpose flour, cocoa powder, salt, and baking powder. Make sure there are no lumps.
- Mix Wet and Dry: Gradually add the dry ingredients to the wet mixture, gently folding until just combined. Overmixing will result in a denser brownie.
- Spread the Batter: Pour the brownie batter into your prepared pan and spread it evenly with a spatula—the consistency should be thick and rich.
- Bake: Bake for 25-30 minutes, or until a toothpick inserted into the center comes out with just a few moist crumbs. Your kitchen will smell heavenly!
- Cool Completely: Let the brownies cool completely in the pan before frosting. This step is crucial; otherwise, your frosting will melt!
- Decorate: Once cooled, top with colorful pastel candies and pipe frosting as desired for that festive touch.
- Serve and Enjoy: Cut them into squares and enjoy them at gatherings, bake sales, or simply treat yourself to a delightful dessert!
Chef’s Tips:
- For maximum fudginess, underbake slightly—you want them to be soft in the center.
- If you find your brownies are too gooey, bake them for a few extra minutes but be careful not to dry them out.
Expert Tips & Tricks
- Storage Recommendations: These brownies stay fresh in an airtight container at room temperature for up to 3 days. If you need them to last longer, they freeze beautifully! Just wrap them tightly in plastic wrap and store in an airtight container—perfect for whipping out whenever a chocolate craving hits.
- Make-Ahead Instructions: Prepare your brownie batter a day in advance and store it in the refrigerator. When you’re ready to bake, bring it to room temperature first.
- Troubleshooting Common Problems:
- Dry Brownies: Ensure you’re measuring flour correctly and also watch the baking time closely.
- Crumbly Texture: This may be caused by overmixing; mix until just combined.
- Too Dense: Check if your baking powder is fresh, as it helps create the right lift!
Serving Suggestions
Pair your Spring Brownies with a scoop of vanilla ice cream for an indulgent dessert that will make your taste buds sing! You can also serve with fresh fruit, like strawberries or raspberries, to add a refreshing twist. For a stunning presentation, dust them with powdered sugar and arrange on a platter with vibrant seasonal blooms.
Spring Brownies are perfect for birthday parties, Easter brunch, or just a cozy get-together with friends. Their colorful appearance makes them a wonderful centerpiece, sparking conversations and smiles.
Variations & Substitutions
- Different Flavor Combinations: Try swapping in white chocolate chips or adding crushed nuts for a delightful crunch. You could even experiment with different flavored candies, such as peanut butter M&Ms or crunchy caramel pieces.
- Dietary Restriction Adaptations: For gluten-free brownies, use a 1:1 baking blend as a substitute for all-purpose flour. For egg-free, try using applesauce or a flaxseed mixture in place of the eggs.
- Seasonal Variations: In the fall, swap out the pastel candies for autumn-themed colors or add cinnamon to the batter for a cozy touch.
Nutrition & Storage Info
- Prep Time: 15 minutes
- Cook Time: 25-30 minutes
- Total Time: 45-50 minutes
- Yield: Approximately 24 brownies
- Estimated Calories per Serving: 200-250 calories (depending on size and toppings)
Storage Instructions: Store at room temperature in an airtight container for up to 3 days, refrigerated for a week, or freeze for up to 3 months.
FAQ Section
- Can I use a different type of sugar? Yes, you can experiment with brown sugar or coconut sugar for a different flavor profile and texture.
- Do I have to use pastel candies? Absolutely not! Use any candy you love—from chocolate chips to dried fruits—and make it your own!
- Can I make these brownies dairy-free? Yes! Substitute the unsalted butter with coconut oil or vegan butter, and ensure your chocolate and toppings are also dairy-free.
- What if my brownies are too chewy? If they turn out chewy, consider reducing the baking time slightly next time, as they continue to cook in the pan after removal.
- Can these brownies be made gluten-free? For gluten-free Spring Brownies, use a gluten-free flour mix in place of all-purpose flour.
- Is it necessary to frost these brownies? Frosting is optional! They are delicious plain, especially when topped with colorful candies for a festive flair.
- How do I store leftovers? Store brownies in an airtight container at room temperature for up to 3 days or in the fridge for up to a week.
- Can I add nuts to the recipe? Of course! You can mix in nuts like walnuts or pecans before baking for that extra crunch.
- What’s the best way to cut brownies? Use a sharp knife for clean cuts. You can also heat the knife in hot water before cutting for neater edges.
- Can I make these brownies ahead of time? Yes! These brownies can be made a day in advance; just store them covered at room temperature until you’re ready to serve.
Conclusion
These Spring Brownies are not only a treat for the taste buds but also a feast for the eyes, celebrating the joy of the season in every colorful square. Their rich flavors and customizable qualities will make them a beloved recipe in your kitchen library. I encourage you to try them out for yourself—once your family and friends taste these, they’ll be begging for the recipe! Don’t forget to share your feedback and comments below, and be sure to explore more delightful recipes on the blog for your next baking adventure! Happy baking!
Spring Brownies
Ingredients
Method
- Preheat your oven to 350°F (175°C) and grease a 9x13-inch baking pan.
- In a large bowl, mix together the melted butter and sugar until smooth.
- Add the eggs one at a time, mixing well after each addition, then stir in the vanilla extract.
- In another bowl, whisk together flour, cocoa powder, salt, and baking powder, ensuring no lumps remain.
- Gently fold the dry ingredients into the wet mixture until just combined.
- Pour the batter into the prepared pan and spread it evenly.
- Bake the brownies for 25-30 minutes, or until a toothpick inserted comes out with moist crumbs.
- Let brownies cool completely in the pan before frosting.
- Once cooled, top with colorful candies and pipe frosting as desired.
- Cut into squares and enjoy!