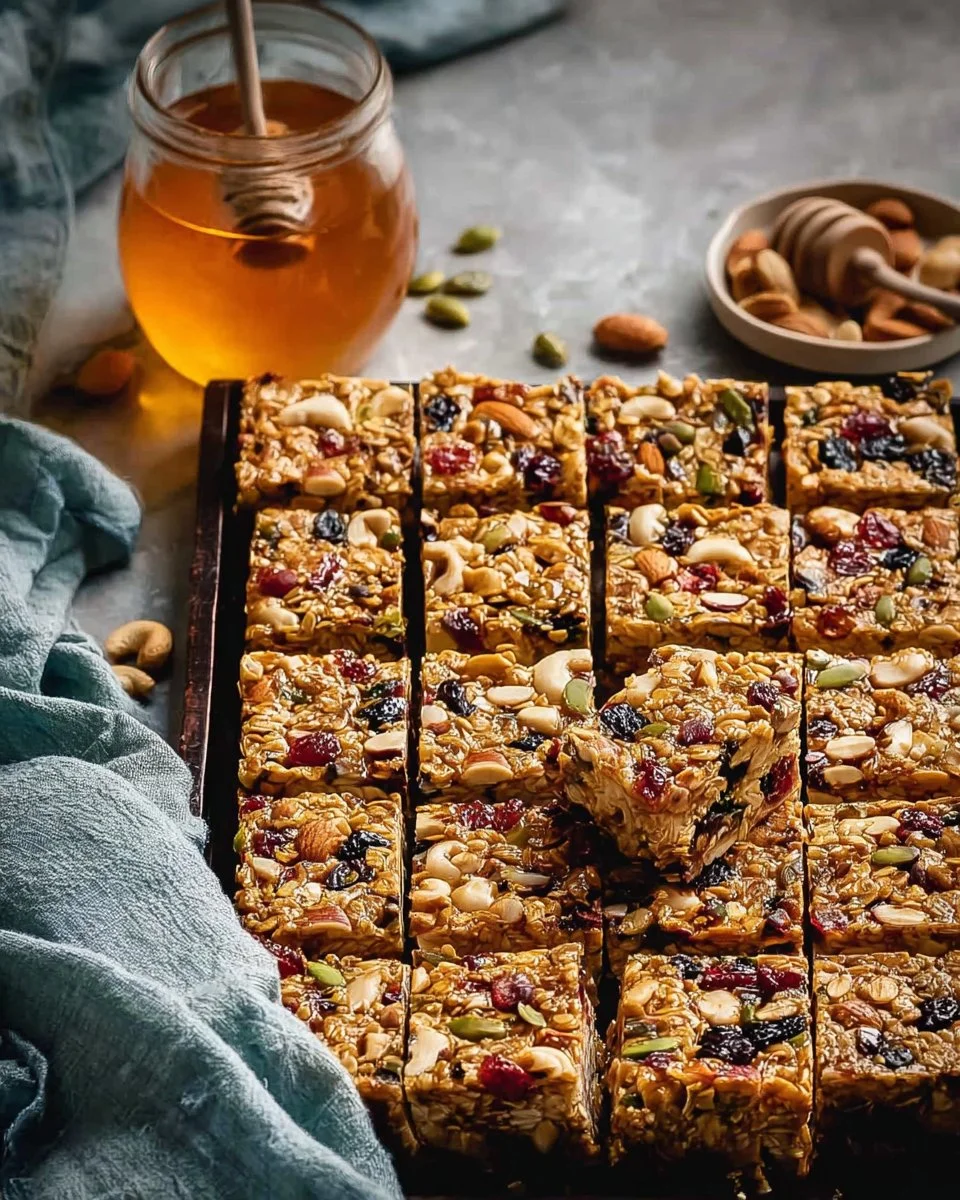
When I first embarked on my journey as a home baker, I had one clear goal: to create delicious recipes that brought my family together. One of the most comforting and loved treats we’ve enjoyed over the years has been No Bake Granola Bars. I remember my kids racing home from school, the sound of their laughter spilling into the kitchen as they devoured these chewy, delicious bars. It’s a memory I cherish, and one that highlights how food can connect us in the sweetest ways.
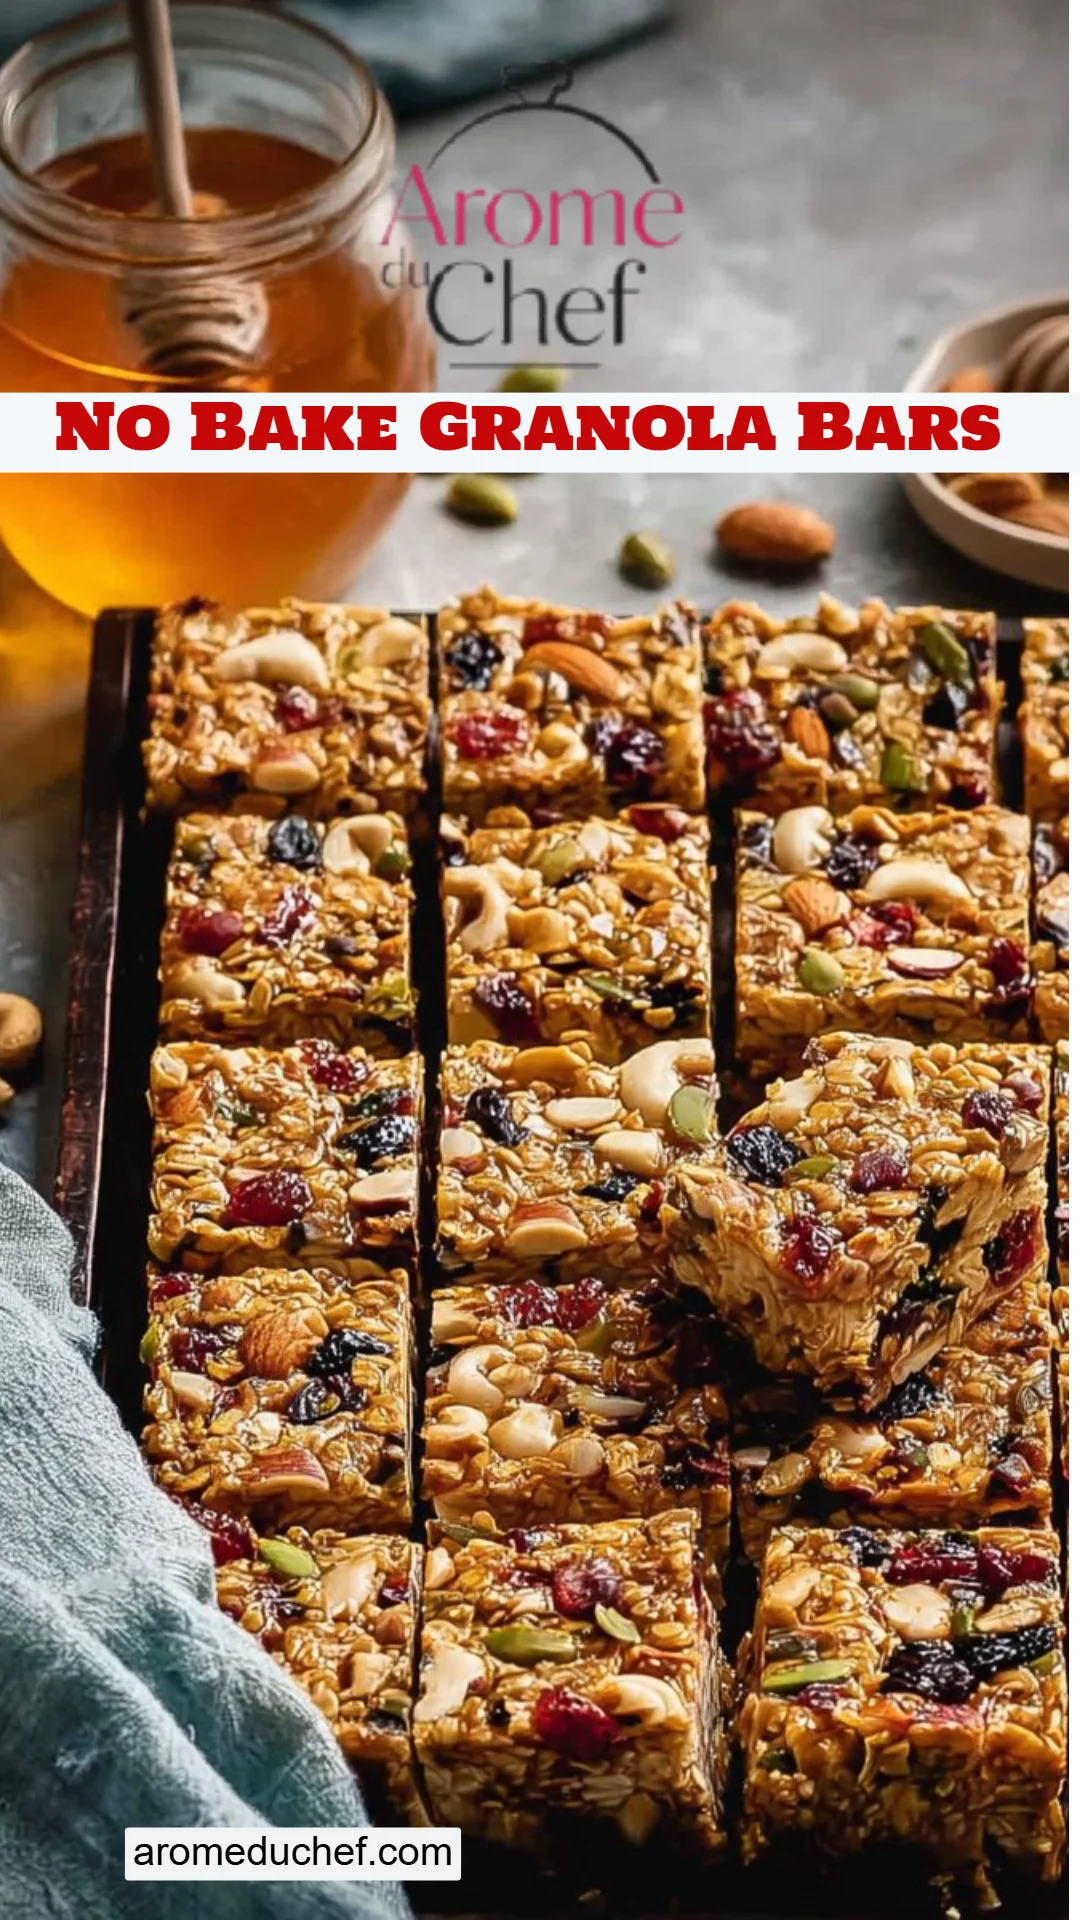
What makes these No Bake Granola Bars so special? It’s simple—they’re packed with wholesome ingredients, bursting with flavor, and come together in a snap. Unlike many store-bought versions filled with preservatives, my recipe gives you control over every bite. These bars provide the perfect balance of chewy oats, nutty flavors, and that irresistible sweetness from honey that can turn an ordinary day into a delightful experience.
In this blog post, you’ll learn how to make these No Bake Granola Bars from scratch, customize them to your taste, and discover expert tips to ensure they turn out perfectly every time. Let’s dive in!
What Are No Bake Granola Bars?
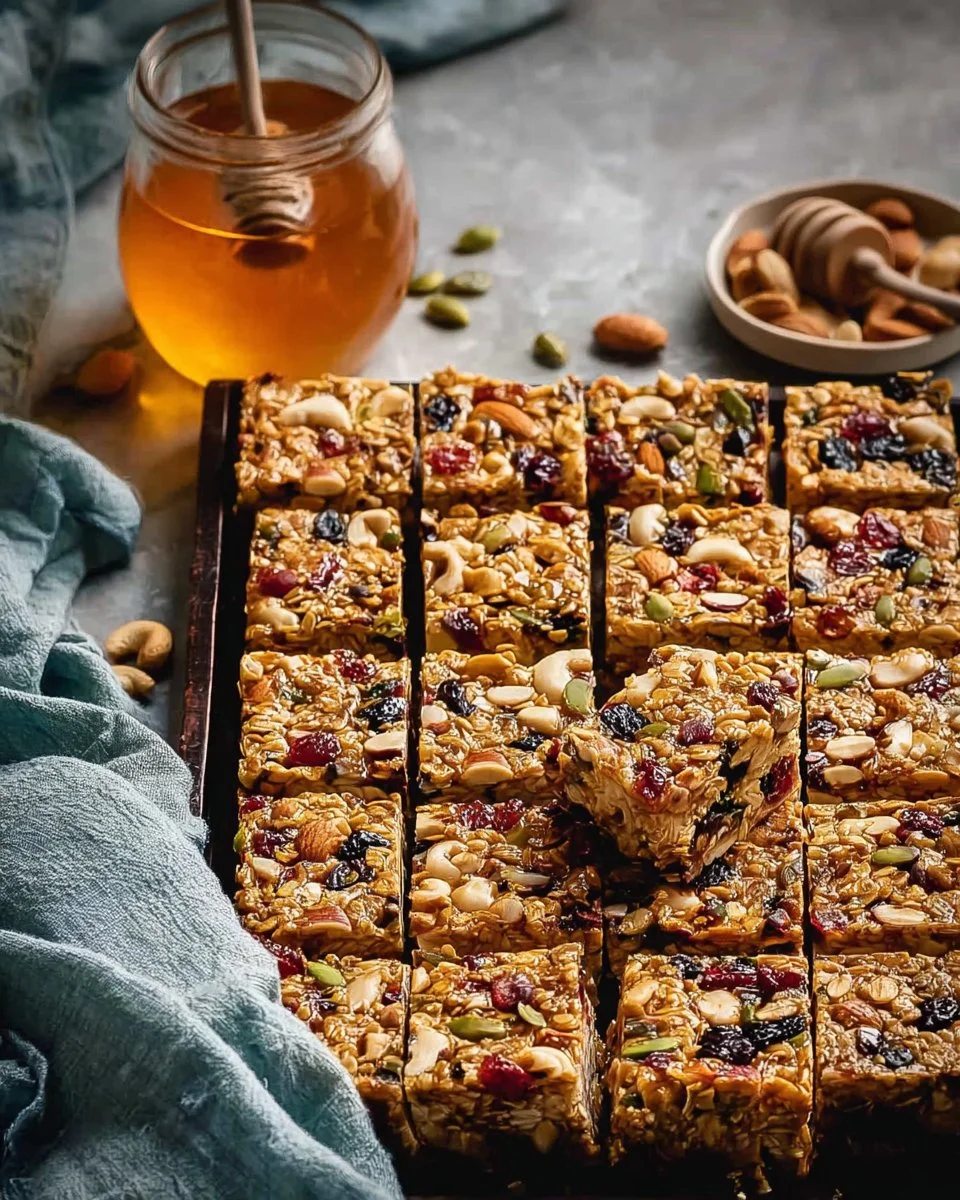
No Bake Granola Bars have a rich history rooted in simple, wholesome ingredients. Originating as a convenient snack for busy families, these bars are an innovative way to combine grains, nuts, and sweeteners into a compact form, perfect for on-the-go lifestyles. They have a delightful chewy texture with a satisfying crunch from the mix-ins, making each bite an experience to savor.
What truly sets these granola bars apart is their versatility. You can easily swap ingredients based on pantry availability or personal preference. Whether you’re looking for a quick breakfast, an after-school snack, or a post-workout boost, these No Bake Granola Bars are a delicious solution. Plus, they come together without any baking—perfect for warm days when you want to avoid turning on the oven.
Why You’ll Love This Recipe
- Quick and Easy: This recipe requires minimal time and effort. With just a handful of ingredients and basic mixing, you can whip these bars up in under 30 minutes!
- Healthier Than Store-Bought: Homemade granola bars allow you to control what goes in. You can customize the sweetness and even omit any additives and preservatives often found in bought snacks.
- Budget-Friendly: By making your No Bake Granola Bars at home, you’ll not only save money but also get to enjoy gourmet flavors without the premium price tag.
- Customizable: Don’t like nuts? Swap in seeds, dried fruits, or even chocolate chips! The endless possibilities mean you’ll never get bored of this recipe.
- Family-Friendly: Kids will love helping out in the kitchen, whether it’s mixing ingredients or choosing their favorite mix-ins. Plus, these homemade snacks make fantastic lunchbox treats!
With easy preparation and customization options galore, you’ll find this No Bake Granola Bar recipe a true kitchen staple that your family will adore.
Ingredients
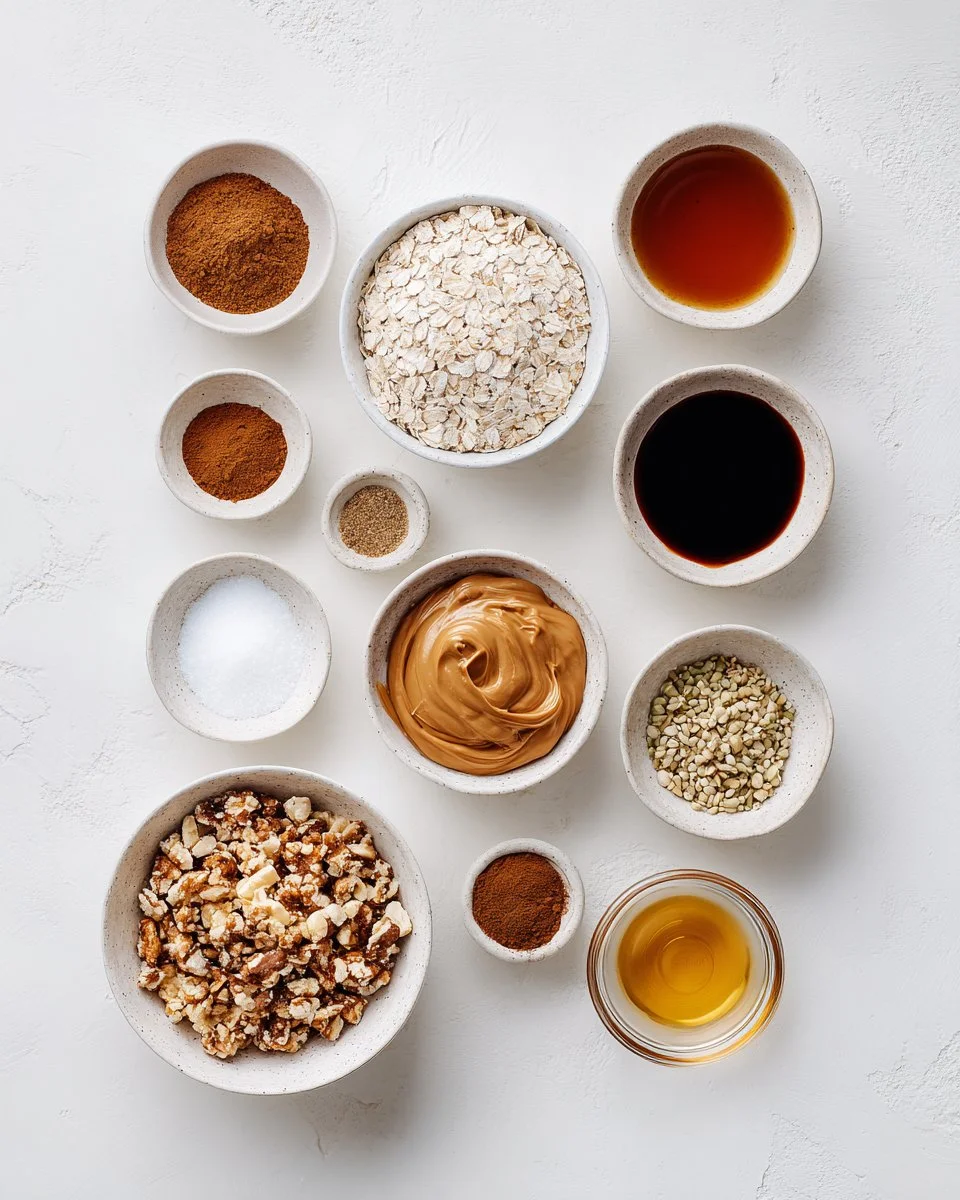
Let’s gather our ingredients. Below is what you’ll need to whip up these delightful No Bake Granola Bars:
- 2 cups oats: Use rolled oats for a chewy texture. Quick oats can also work if that’s what you have on hand.
- 1.5 tsp cinnamon: This adds a warm, cozy flavor that really elevates the taste.
- 0.75 tsp sea salt: Be sure to use coarse sea salt for the best crunch.
- 2 cups mix-ins: This can include nuts, seeds, dried fruit, or even chocolate chips—chop large pieces down to about 1/4 inch for even distribution.
- 1.25 cups peanut butter: Use creamy or chunky, depending on your texture preference. Natural peanut butter is a great choice for its wholesome flavor.
- 0.75 cup honey: It’s best to use raw or local honey for a richer taste.
- 1.5 tsp vanilla extract: Pure vanilla adds depth; avoid imitation if possible.
Prep Notes: Ensure your peanut butter is at room temperature for easy mixing. Additionally, having a quality parchment paper will help with easy removal post-chill.
Step-by-Step Instructions
- Prepare the Pan: Start by lining a 9×13 inch baking dish with parchment paper, ensuring some overhang at the edges for easy lifting later.
- Mix Dry Ingredients: In a large bowl, combine your 2 cups of oats, 1.5 tsp of cinnamon, and 0.75 tsp of sea salt. Stir gently to ensure even distribution.
- Chop Your Mix-ins: If you’re using nuts or seeds, chop them into 1/4 inch pieces now. This ensures they blend well into the mixture without large chunks disrupting the texture.
- Combine Nut Butter and Sweetener: In another bowl, whisk together 1.25 cups of peanut butter, 0.75 cup of honey, and 1.5 tsp of vanilla until smooth and creamy.
- Mix Wet and Dry: Pour the wet mixture into the oat mixture and fold until well combined. Make sure all the oats and mix-ins are coated.
- Press and Chill: Transfer this mixture to your prepared baking dish, pressing down FIRMLY to ensure the bars hold together. Refrigerate for at least 1 hour, but ideally overnight, to let them firm up.
- Slice and Store: Once chilled, lift the bars from the pan using the parchment overhang. Slice into 16 bars (or however large you prefer). Store in an airtight container—these can last in the fridge for a week or even freeze for longer storage.
Chef’s Tips:
- Make sure to press the mixture down firmly; this will prevent the bars from crumbling.
- If you find the mixture is crumbly, adding a dash more honey or peanut butter can help bind it together.
Expert Tips & Tricks
- Storage: Keep bars in an airtight container in the fridge for up to a week. For longer storage, wrap them individually and freeze. They’ll last up to 3 months.
- Make-Ahead: Make these bars on the weekend to have a quick snack all week. They hold up well, making them perfect for meal prep.
- Troubleshooting: If your bars are too crumbly, it might be due to a lack of binding. Try adding a little extra honey or peanut butter.
- Don’t Skip the Salt: A pinch of salt can enhance the flavors significantly and balances the sweetness.
- Experiment with Flavors: Feel free to play around with different nut butters (like almond or sunflower seed butter for allergies) or sweeteners (maple syrup or agave).
- Presentation: You can drizzle some melted chocolate on top or sprinkle with extra nuts or seeds before chilling for a beautiful finish.
Serving Suggestions
These No Bake Granola Bars are incredibly versatile. Enjoy them alone with a cup of coffee or tea in the afternoon. They also pair wonderfully with fresh fruit, yogurt, or even a smear of additional peanut butter for a protein-packed snack.
Consider serving them during picnics, school lunches, or as a quick breakfast option on busy mornings. For presentation, you might want to stack the bars neatly on a platter and wrap a ribbon around them for a cute gift idea!
Variations & Substitutions
- Flavor Combinations: Try adding cocoa powder for a chocolaty twist, coconut flakes for tropical goodness, or dried cranberries and almonds for a sweet and tart combo.
- Dietary Adaptations: For gluten-free bars, make sure you use gluten-free oats and nut butter. For vegan alternatives, simply swap out honey for maple syrup or agave.
- Seasonal Variations: Consider adding pumpkin spice in the fall or using dried cherries and almonds for a holiday treat.
Nutrition & Storage Info
- Prep Time: 10 minutes
- Chill Time: 1 hour (preferably overnight)
- Total Time: 1 hour 10 minutes
- Yield: 16 bars
- Estimated Calories: 200 calories per bar (depending on mix-ins)
Storage Tips:
- Room Temperature: Not recommended, as they may soften.
- Refrigerator: Store for up to 1 week.
- Freezer: For up to 3 months.
FAQ Section
- Can I add chocolate chips? Absolutely! Chocolate chips make a delicious addition. Just fold them in gently at the end.
- Why aren’t my bars sticking together? This usually happens if there isn’t enough binding agent. Try adding a bit more honey or nut butter.
- How do I make these nut-free? Swap out any nut butters for seed butters like sunbutter or soy nut butter.
- Can I bake these? The beauty of these bars is in their “no bake” nature, which keeps them chewy. Baking them will change the texture.
- How do I cut the bars easily? Use a sharp knife and wipe it down after each cut to ensure clean edges.
- What if I don’t like peanut butter? Try almond butter, sunflower seed butter, or even tahini based on your preference.
- Can I use instant oats? Yes, but they will create a different texture. Rolled oats are recommended for that chewy bite.
- How do I flavor these bars? Use extracts like peppermint or almond, or add spices such as nutmeg for seasonal flavors.
- What is a good substitution for honey? Maple syrup or agave syrup are excellent alternatives.
- Are these gluten-free? They can be if you use certified gluten-free oats and ensure your mix-ins are also gluten-free.
Conclusion
In concluding, these No Bake Granola Bars are not just a treat—they’re a canvas for creativity. Whether you’re reliving cherished memories or creating new ones, this recipe will resonate in your kitchen for years to come. I encourage you to try making these bars and infusing them with your own favorite flavors.
Your feedback means the world to me, and I’d love to hear how your attempts turned out! Feel free to leave comments below. And if you’re looking for more delicious snack recipes, check out my other posts on the blog.
Happy baking!
No Bake Granola Bars
Ingredients
Method
- Line a 9×13 inch baking dish with parchment paper, leaving some overhang for easy lifting.
- In a large bowl, combine oats, cinnamon, and sea salt. Stir gently.
- Chop your mix-ins into 1/4 inch pieces.
- In another bowl, whisk together peanut butter, honey, and vanilla until smooth.
- Pour the wet mixture into the dry mixture and fold until well combined.
- Press the mixture firmly into the prepared dish and refrigerate for at least 1 hour, ideally overnight.
- Lift the bars from the pan using the parchment overhang and slice into 16 bars.
- Store bars in an airtight container in the fridge for up to a week or freeze for longer storage.