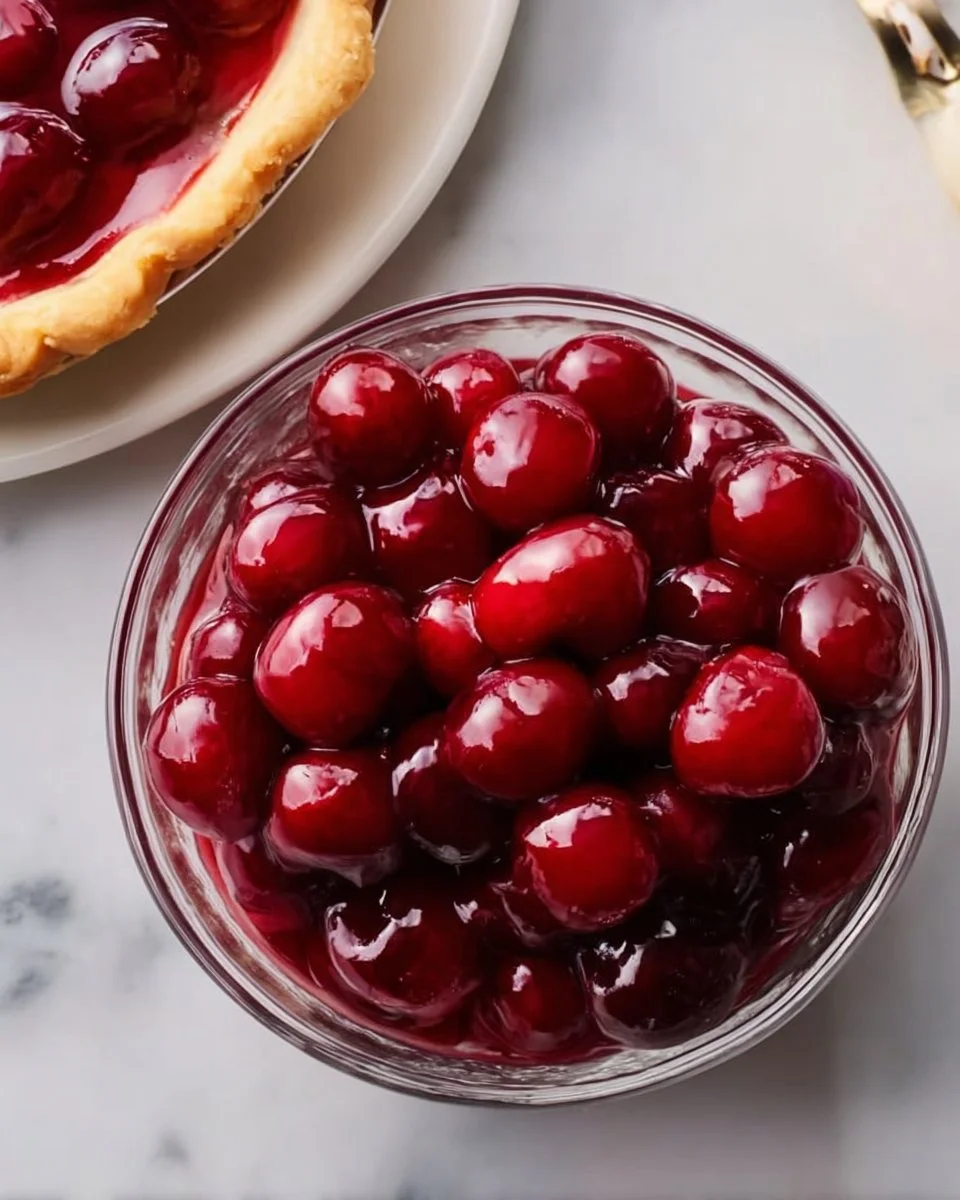
Crafting the Perfect Homemade Cherry Pie Filling – A Slice of Nostalgia
Ah, cherry pie! To me, nothing says “home” quite like the sweet, tart aroma of a freshly baked cherry pie wafting through the kitchen. I can still remember the summer days spent with my grandmother, her hands deftly pitting cherries while I eagerly awaited my turn to stir the bubbling filling on the stove. That’s when I first learned the secret: Homemade Cherry Pie Filling is not just about the cherries; it’s about the love and memories infused into every bite.
This recipe stands out from others because it captures the essence of summer—juicy, fresh cherries, just the right amount of sweetness, and a touch of almond that makes your taste buds dance. Unlike store-bought versions that often tease your expectations, this filling bursts with flavor and integrity. It’s the kind of comfort food that transports you back to simpler times, where each slice holds the stories of family gatherings and laughter.
By the end of this post, you’ll not only know how to craft this amazing Homemade Cherry Pie Filling but will also uncover all the little tips and tricks that will make yours unforgettable. So let’s dive into the joys of baking together!
What Are Homemade Cherry Pie Fillings?
Homemade cherry pie filling is a delightful concoction that elevates your classic dessert from ordinary to extraordinary. Traditionally, cherry pie filling originated as a way to preserve the bounty of ripe cherries, especially in regions with abundant cherry crops. This filling is a rich blend of fresh cherries, sugar, and thickening agents, creating a luscious, gooey texture.
In terms of taste, the filling strikes a perfect balance between sweet and tart, with the plump cherries providing a satisfying bite. The unique addition of almond extract gives it a fragrant twist that sets it apart from store-bought varieties, often laden with preservatives and artificial flavors. When is the best time to make this cherry filling? Whenever fresh cherries are in season—think summer picnics, holiday celebrations, or just a cozy weekend at home.
Why You’ll Love This Recipe
- Flavor that Dances on Your Palate: Unlike the canned fillings drenched in syrup you find on store shelves, this homemade version offers a fresh and vibrant cherry taste. Each bite is like a burst of summer in your mouth!
- Cost-Effective: Making your cherry pie filling at home can save you money. Fresh cherries might seem pricey, but compared to those store-bought, preservative-laden jars, you’re getting more bang for your buck. Plus, it’s a fun project!
- Customization Galore: The beauty of DIY lies in the ability to tailor the filling to your preferences. Want it sweeter? Add more sugar. Looking for a tart kick? Squeeze in more lemon juice. The options are endless!
- Easy and Accessible: Trust me, you don’t need to be a seasoned baker to get this right. With just a few simple steps, you’ll find it’s easier than you imagined! I promise, if I can do it, you can too.
- Perfect for Any Occasion: Whether you’re hosting a backyard barbecue or prepping desserts for a holiday feast, this filling will impress your guests and make you the star of any gathering.
Ingredients Section
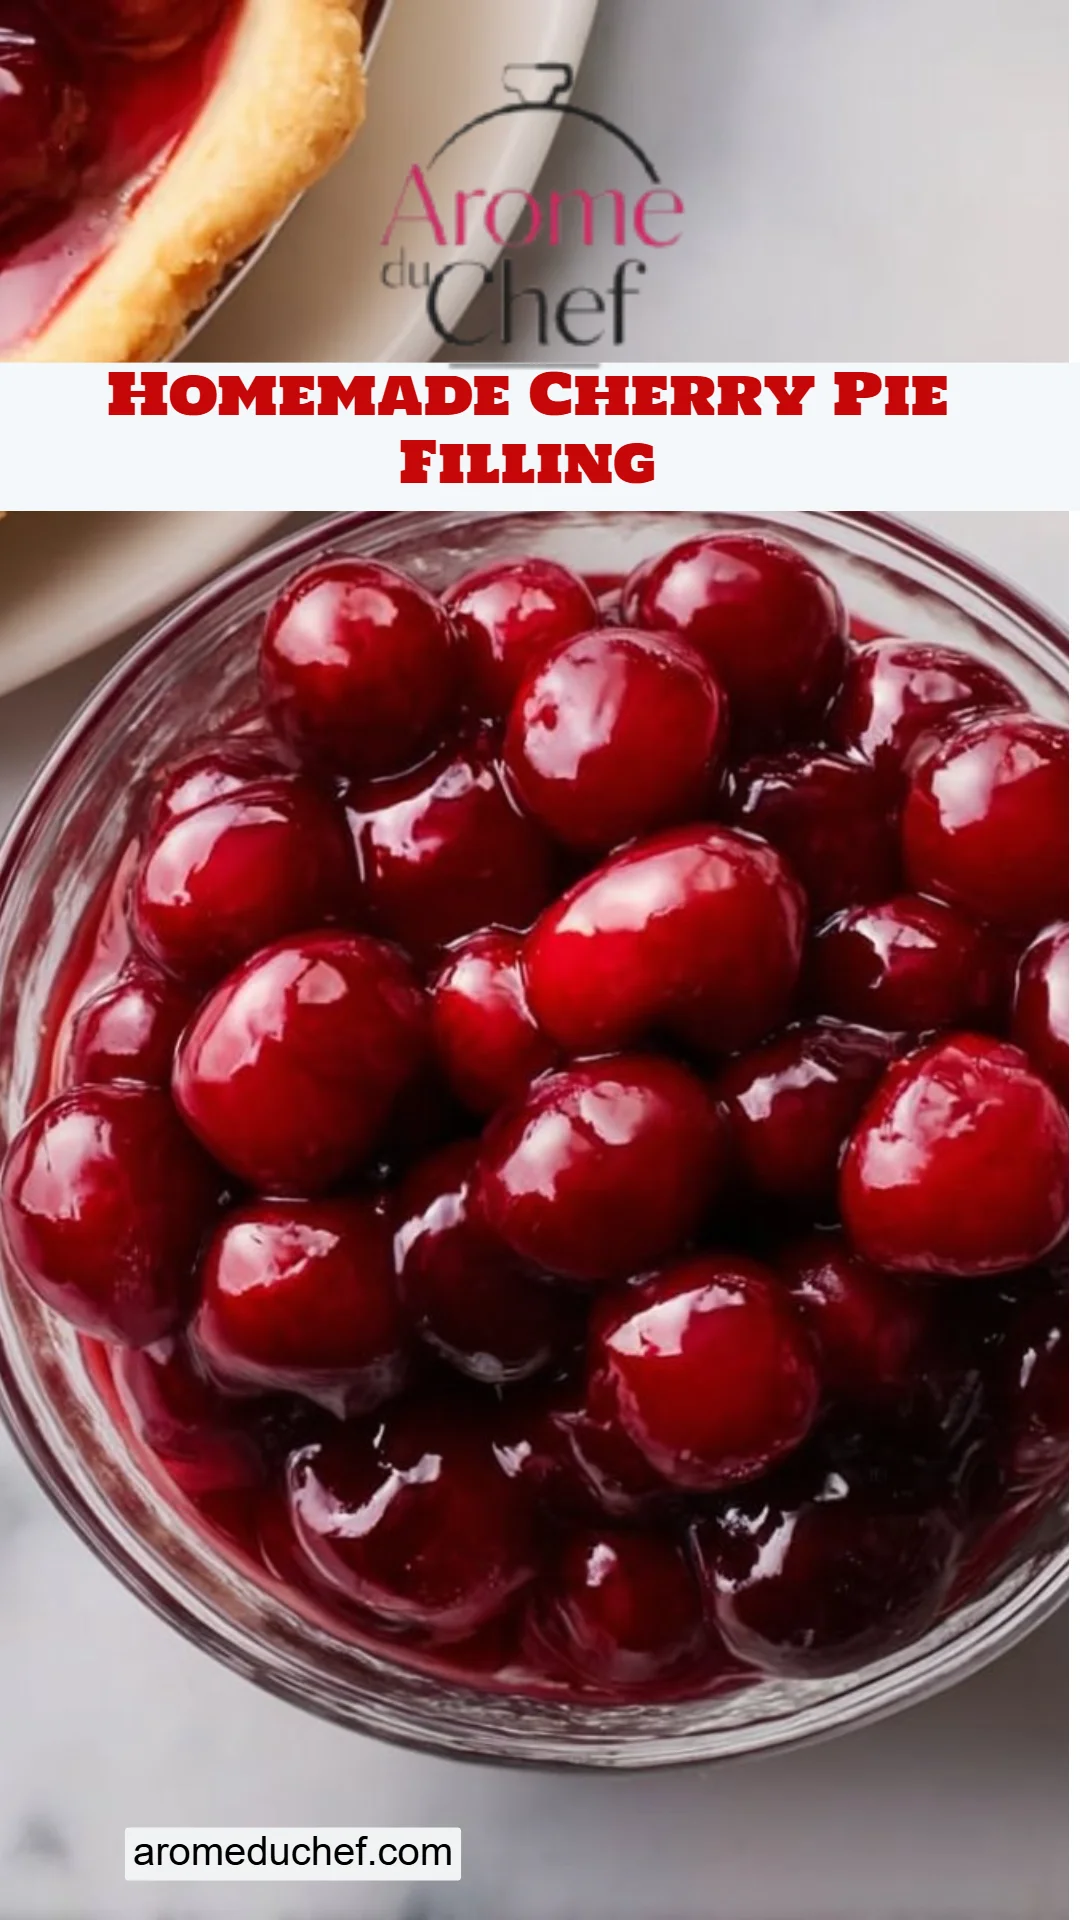
To whip up a delightful batch of Homemade Cherry Pie Filling, you will need the following ingredients:
- 2 cups fresh cherries, pitted and halved: Look for plump, ripe cherries for the best flavor. If fresh cherries aren’t available, frozen ones work in a pinch—just remember to thaw them first.
- 3/4 cup granulated sugar: Adjust based on your sweetness preference. If you’re using sweeter cherries, you might want to reduce this amount.
- 2 tablespoons cornstarch: This will help thicken your filling into the perfect gooey consistency.
- 1 tablespoon lemon juice: Freshly squeezed lemon juice adds a bright acidity that really balances the sweetness of the cherries.
- 1/4 teaspoon almond extract: This is the secret ingredient that enhances the cherry flavor. If you’re not an almond fan, feel free to omit it.
- 1/4 teaspoon salt: Just a pinch to elevate all the flavors.
- 1 cup water: Essential for cooking down the cherries and forming the syrupy texture.
Prep Notes: Ensure your cherries are room temperature before starting, and for a more intense flavor, you might want to use a mix of sweet and sour cherries if available.
Step-by-Step Instructions
- Combine Ingredients: In a medium saucepan, add your fresh cherries, sugar, cornstarch, lemon juice, almond extract, and salt. Stir in 1 cup of water.
- Heat the Mixture: Place the saucepan over medium heat and bring to a gentle boil. Stir frequently to prevent sticking and burning.
- Watch for Thickness: As the mixture heats up, it will start to thicken. This process usually takes about 5-7 minutes. You’ll know it’s ready when it turns glossy and coats the back of a spoon.
- Cool Down: Once thickened, remove the saucepan from heat and let the filling cool. The filling will continue to thicken as it cools. Trust me, this sweet aroma will have your mouth watering in anticipation!
- Use Immediately or Store: You can use this filling right away in your favorite pie recipe, or refrigerate it for later. It can stay fresh for about a week in the fridge!
Chef’s Tips:
- For uniform cooking, make sure to pit the cherries uniformly.
- If you find your filling too thick after cooling, just add a splash of water or additional lemon juice, stir, and reheat briefly.
Common Mistakes to Avoid
- Don’t skip the cornstarch; it’s the magic that gives your filling that perfect, creamy consistency.
- Overcooking can lead to mushy cherries—keep an eye on it!
Expert Tips & Tricks
- Storage Recommendations: If you have leftovers (which I doubt you will), keep your filling in an airtight container in the fridge for up to a week. For longer storage, freeze it in ziplock bags, removing as much air as possible.
- Make-Ahead Instructions: You can prepare the filling a few days in advance, which makes pie assembly a breeze when the time comes for baking.
- Troubleshooting: If your filling turns out too watery, it could be that your cherries released too much juice. Simply simmer the mixture on low heat for an additional 5-10 minutes until thickened to your desired consistency.
- Experiment with Spices: Want to elevate the flavor even further? Try adding a dash of cinnamon or nutmeg for a delightful twist!
- Test for Balance: After cooking, taste your filling! If it needs more acidity, add a bit more lemon juice. If it’s too tart, sprinkle in a tad more sugar.
- Don’t Forget to Share: Your homemade pie filling deserves to be celebrated! Make a pie for a neighbor, or take it to a potluck. Your friends will be begging for the recipe!
Serving Suggestions
What’s a perfect pie without some delightful accompaniments? Pair your cherry pie with a scoop of vanilla ice cream or a dollop of whipped cream for that classic touch. For a beautiful presentation, sprinkle a little powdered sugar over your finished pie just before serving. This Homemade Cherry Pie Filling also shines in tarts, crumbles, or even served atop pancakes or French toast. It’s versatile and delicious for any occasion – think summer picnics, Thanksgiving dinners, or just a cozy dessert night at home.
Variations & Substitutions
- Different Fruit Combinations: While cherries are the star here, why not mix in blueberries or raspberries for a berry medley? This adds a whole new dimension to your filling!
- Dietary Adaptations: For a lighter version, you could swap out the sugar for a sugar substitute like erythritol or stevia (just check the measurements as they vary).
- Seasonal Variations: As summer fades, consider making this filling with other fruits like peaches or apples, infusing that same love throughout the year.
Nutrition & Storage Info
- Prep Time: 10 minutes
- Cook Time: 10 minutes
- Total Time: 20 minutes
- Yield: About 2 cups (enough for one pie)
- Estimated Calories: Approximately 120 calories per serving (based on a 1/4 cup serving size)
- Storage Instructions: Refrigerate for up to one week or freeze for 2-3 months.
FAQ SECTION
1. Can I use frozen cherries for this filling? Yes, you can! Just thaw them before use and drain any excess liquid to prevent a watery filling.
2. How can I make this filling gluten-free? The recipe is naturally gluten-free, as it uses cornstarch instead of flour as the thickening agent.
3. What if I want a less sweet filling? Feel free to reduce the sugar to your liking! Just remember to balance it with some extra lemon juice if you remove too much sweetness.
4. Can this filling be made ahead of time? Absolutely! Prepare it up to a week in advance and store it in the fridge, or freeze it for future use.
5. Is this filling suitable for canning? Yes, if you’re experienced with canning, this filling can be preserved using proper techniques for home canning.
6. Can I substitute another extract for almond? Definitely! Vanilla extract is a lovely alternative that complements the cherries beautifully.
7. What do I do if my filling is too thick? Simply stir in a little water or lemon juice and reheat it gently until it reaches your desired consistency.
8. Will this filling hold up in a store-bought pie crust? Yes! Just ensure that your crust is blind-baked if you’re using a pre-made one for a crisp base.
9. Can I use this filling for other desserts? Yes! This cherry filling works wonders in tarts, crumbles, pancakes, and even yogurt parfaits!
10. How can I prevent the filling from being runny? The cornstarch works as a thickening agent. If you find it too runny, simmer it a little longer until it thickens.
Conclusion
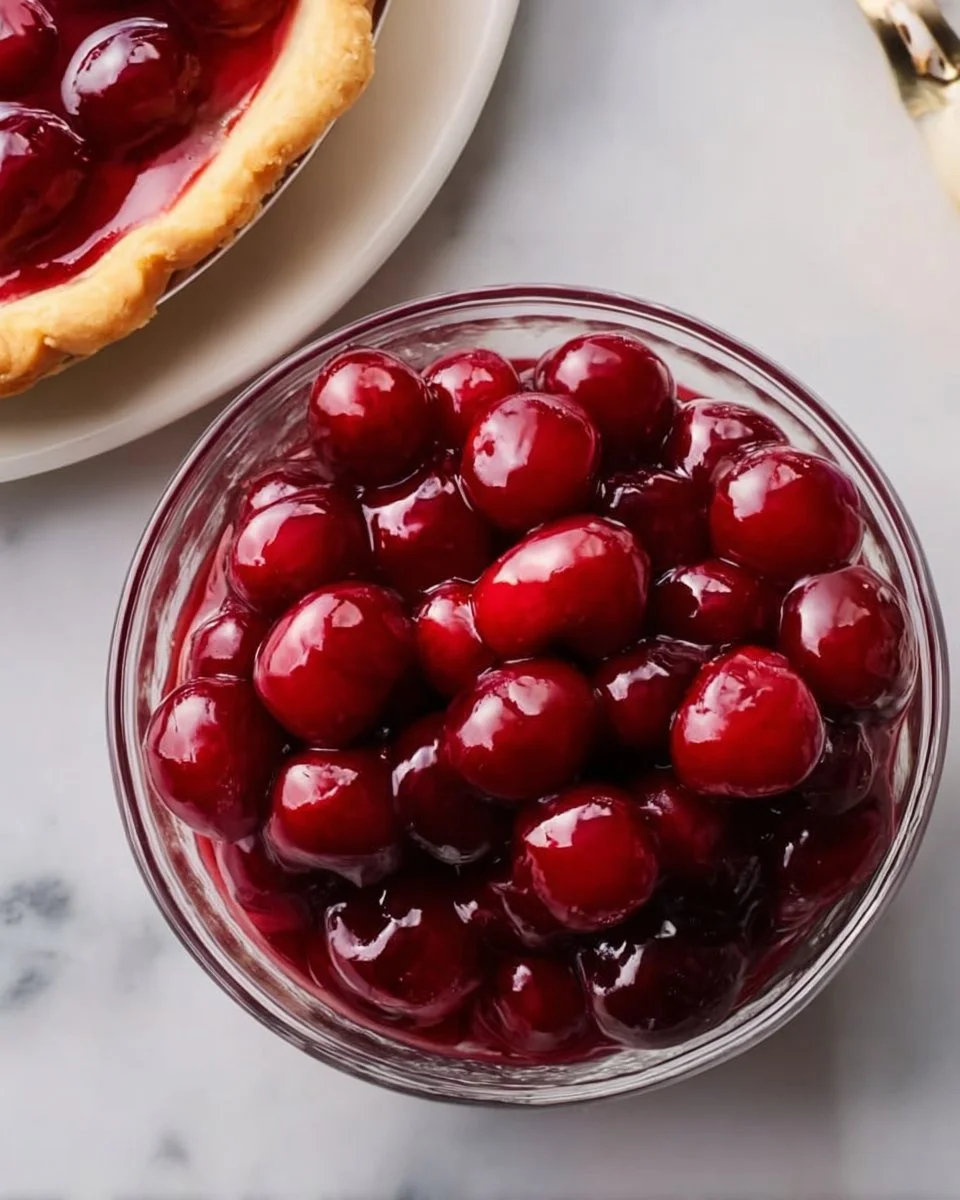
This Homemade Cherry Pie Filling is a labor of love that pays off in every delectable bite. Filled with nostalgia and warmth, it’s the quintessential comfort food that can turn an ordinary day into something special. I wholeheartedly encourage you to give it a try—your family and friends will thank you! Don’t forget to share your thoughts and experiences with me in the comments. And if you’re looking for more sweet inspiration, be sure to explore my other recipes on the blog. Happy baking!
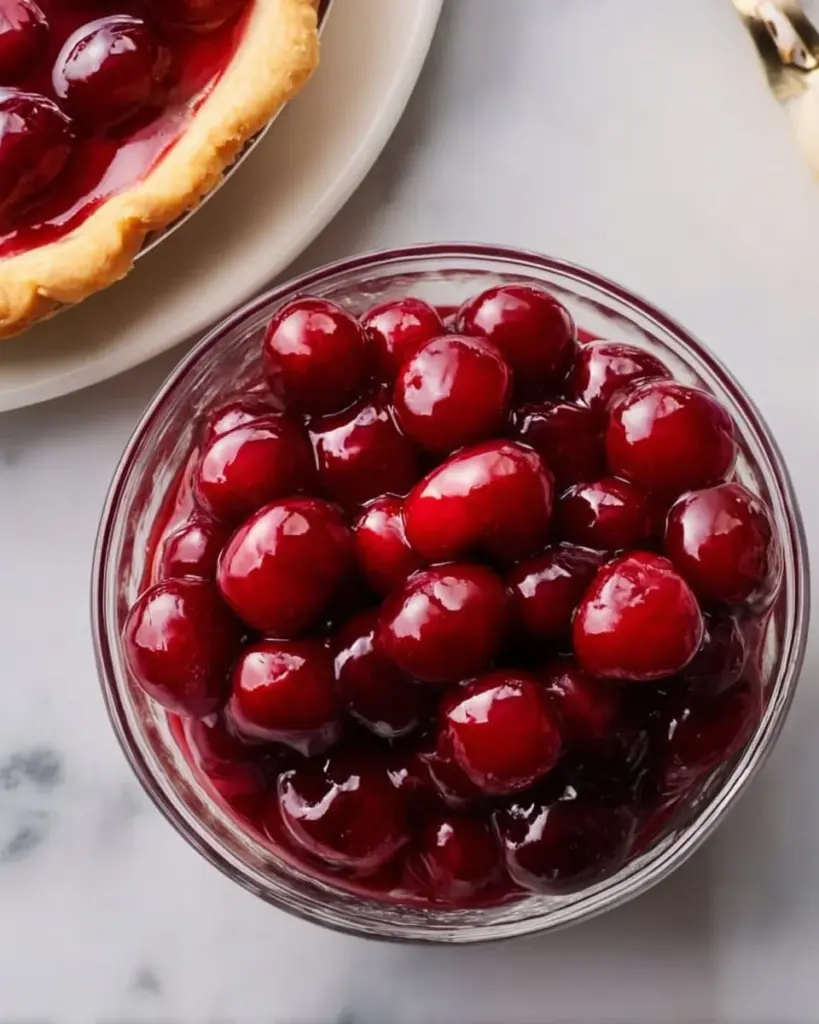
Homemade Cherry Pie Filling
Ingredients
Method
- In a medium saucepan, add the fresh cherries, sugar, cornstarch, lemon juice, almond extract, and salt. Stir in 1 cup of water.
- Place the saucepan over medium heat and bring to a gentle boil. Stir frequently to prevent sticking and burning.
- Watch for thickness, stirring for about 5-7 minutes until it turns glossy and coats the back of a spoon.
- Remove from heat and let the filling cool. It will continue to thicken.
- Use immediately in your favorite pie recipe or refrigerate for up to a week.