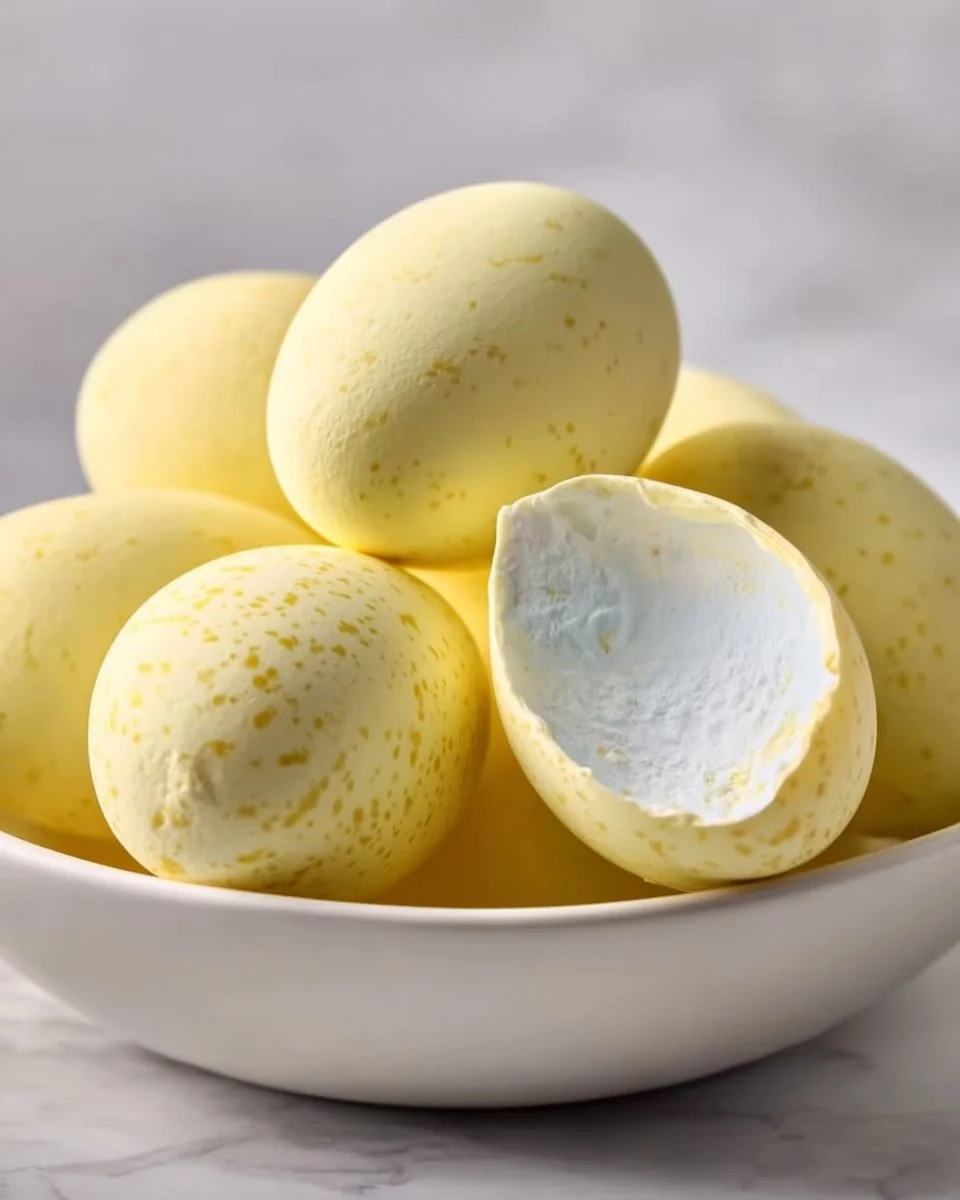
Easter celebrations are always filled with delightful memories, and for me, no holiday is complete without the colorful, chewy hugs of Colorful Marshmallow Easter Eggs. As a child, I remember staring wide-eyed at the vibrant display of these sugary treats in my grandmother’s kitchen. She would craft them with loving hands, and soon enough, I found myself covered in sticky marshmallow goo, eagerly waiting for them to set. Those sweet moments became a cherished tradition, and now, I can’t help but recreate them in my own kitchen.
What makes this recipe truly special is that it combines nostalgia with a touch of creativity. Unlike store-bought options that are often loaded with preservatives, these homemade wonderments boast a heavenly flavor and texture that is truly one-of-a-kind. Not to mention, you get to customize each egg with different colors, sparkles, and, of course, a sprinkle of love. In this post, I promise to guide you through every step to create these delightful Colorful Marshmallow Easter Eggs, so you can make beautiful memories of your own.
Let’s jump right in and fill your Easter with sweetness!
What Are Colorful Marshmallow Easter Eggs?
Colorful Marshmallow Easter Eggs have a whimsical history rooted in holiday joy. These delightful treats hail from childhood memories where simplicity and sweetness reign supreme. Traditionally, they’re made from gooey marshmallows and powdered sugar, crafting a chewy texture that melts in your mouth. But there’s something about the vibrant colors and sparkles that makes them stand out; each egg can be its own little masterpiece!
The flavor is a delicate dance of sweet marshmallows and buttery goodness, with a light dusting of sugar for a satisfying crunch. They’re perfect for Easter baskets or as a playful decoration on your holiday table. With their joyful appeal, these treats are wonderful for family gatherings and celebrations, serving as a delicious reminder of the simple joys in life. For best results and irresistible fun, I recommend making them when you can enjoy the festive atmosphere and create cherished moments with your loved ones.
Why You’ll Love This Recipe
Here are just a few reasons why you’ll adore making these Colorful Marshmallow Easter Eggs from scratch:
- Customization Galore: You can adjust the colors, flavors, and even add mix-ins like coconut or nuts, crafting unique creations for every occasion.
- Cost-Effective Sweet Treat: Compared to store-bought versions that can be pricey and less appealing, homemade marshmallow eggs are economical and bursting with character.
- Easier Than You Think: This recipe is straightforward and perfect for all skill levels. If you can melt butter and mix some ingredients, you’re already halfway there!
- Nostalgic Connection: Making these eggs will not only spark your creativity but also fill your kitchen with love and cherished memories, just like when I made them with my grandmother.
- Perfect for Gifting: Package them in festive boxes or jars for friends and neighbors to share the joy of homemade sweetness.
With minimal effort and delightful results, you can create these magical treats in no time!
Ingredients
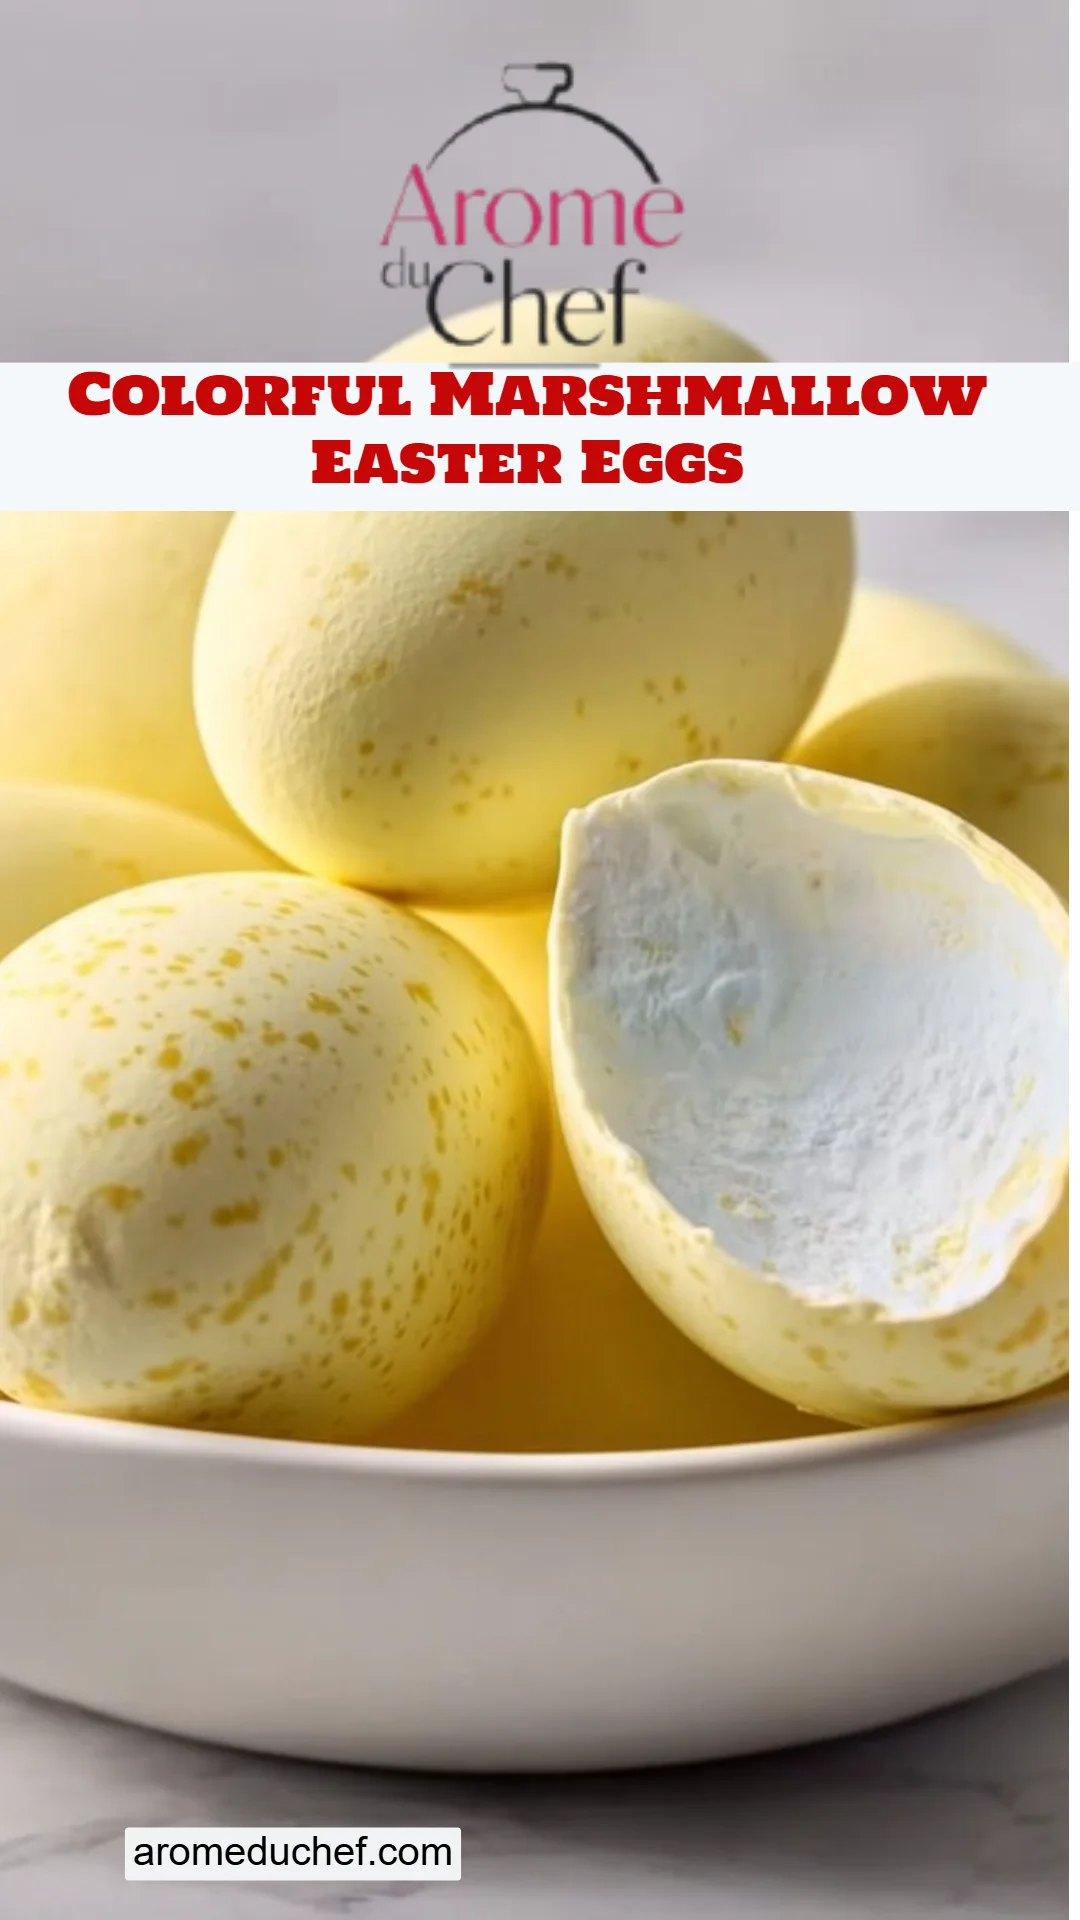
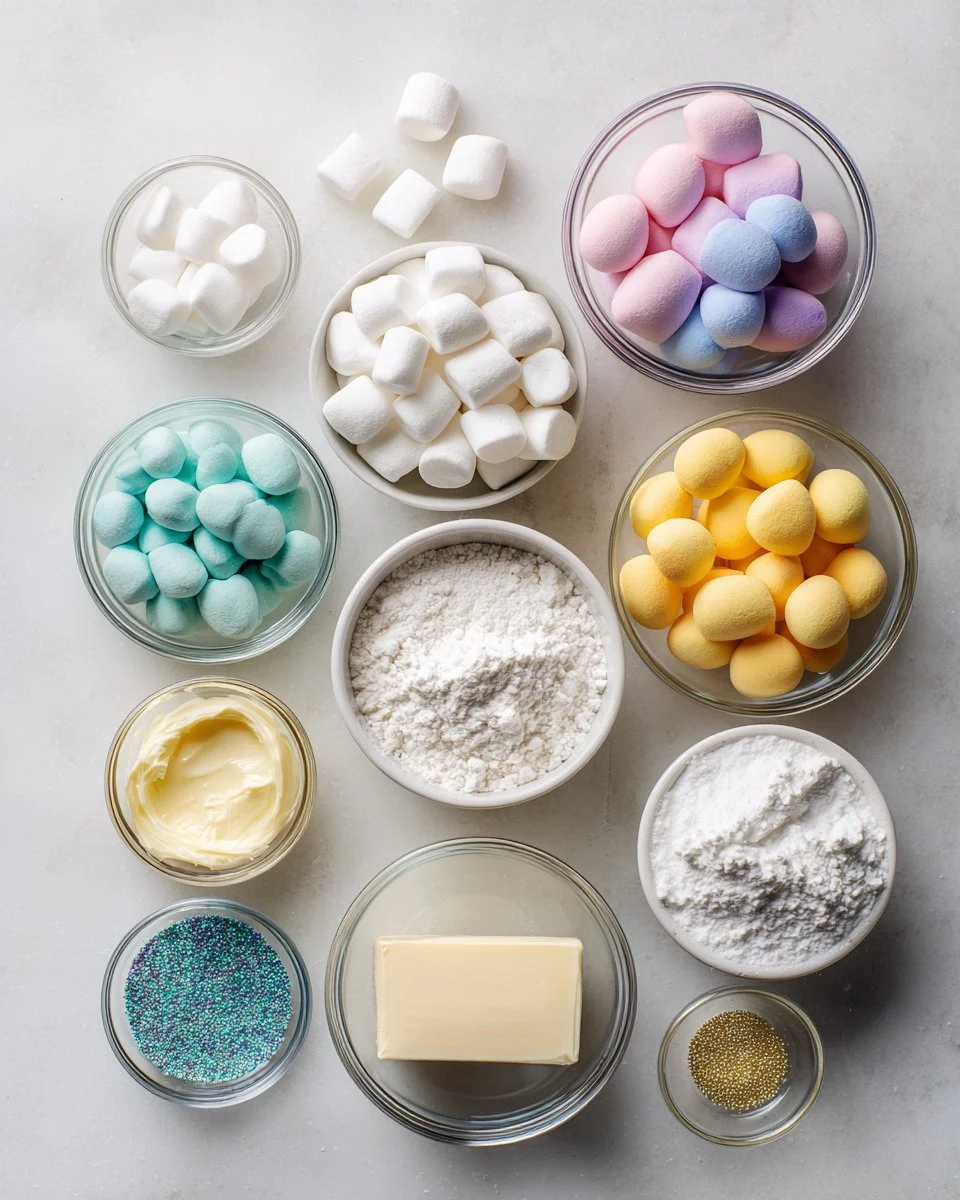
To make your Colorful Marshmallow Easter Eggs, you will need:
- 1 cup mini marshmallows: Look for fresh mini marshmallows for the best flavor and texture. A brand like Jet-Puffed works wonders!
- 1 cup powdered sugar: Always sift your sugar to avoid lumps; organic options are always a great choice for a natural flavor.
- 2 tablespoons unsalted butter: Room temperature butter works best! I love using Kerrygold for its rich taste.
- Food coloring (pastel colors): Choose high-quality gel food coloring for vibrant results – they mix beautifully!
- Edible glitter (optional): A sprinkle of edible glitter can add that extra whimsical touch, making your eggs sparkle.
Get your butter to room temperature before starting for the best mixing results!
Step-by-Step Instructions
Creating your Colorful Marshmallow Easter Eggs is as easy as pie! Follow these detailed steps:
- Melt the Butter: In a large microwave-safe bowl, melt the butter in the microwave for about 30-45 seconds. It should be fully liquefied but not boiling.
- Mix the Marshmallows: Add the mini marshmallows to the bowl and stir until they are all coated. Microwave again for 30 seconds. The marshmallows should puff up nicely. Stir until they are completely gooey and smooth.
- Add the Powdered Sugar: Gradually add in the powdered sugar, mixing with a spatula. The mixture will be thick and sticky, so don’t shy away from using your hands toward the end of mixing.
- Divide and Color: Once fully mixed, divide the dough into separate bowls. Add a few drops of food coloring to each bowl and mix until the color is uniform.
- Shape the Eggs: With your hands lightly dusted in powdered sugar, pinch off pieces of the colored mixture and shape them into egg forms. It’s a bit messy, but all the fun!
- Transfer to Set: Place your formed eggs on a parchment-lined baking sheet for easy removal later.
- Glisten and Set: If you’re feeling extra whimsical, sprinkle the eggs with edible glitter for a festive look! Allow them to set for at least 30 minutes before serving or gifting.
Chef’s Tip: Want to make sure your hands don’t get too sticky? Lightly coat them with powdered sugar or cooking spray!
Avoid the common mistake of not letting the eggs set fully; this is crucial for that perfect marshmallow texture.
Expert Tips & Tricks
Here are my favorite tips to ensure your Colorful Marshmallow Easter Eggs turn out just right:
- Use Fresh Ingredients: Ensure your marshmallows and butter are within their expiration date for the best results.
- Storage: Store your eggs in an airtight container at room temperature for up to a week. If you’re in a warm climate, refrigerate them to maintain their shape.
- Make-Ahead: These eggs can be made up to two days in advance! Just let them set and keep them covered.
- Troubleshooting: If your mixture is too sticky, sprinkle a bit more powdered sugar until it reaches a pliable consistency.
By following these tips, you’ll create marshmallow delights that will impress everyone!
Serving Suggestions
Colorful Marshmallow Easter Eggs are stunning on their own, but here are some ideas to enhance your presentation:
- Pair them with a festive platter of fruits and chocolate for dipping, making a fun treat station.
- Serve alongside traditional Easter goodies like carrot cake or hot cross buns for a full holiday experience.
- For a delightful kids’ activity, let little ones participate by decorating their own!
These colorful gems are perfect for Easter brunches, family gatherings, or just to brighten someone’s day.
Variations & Substitutions
Feel free to get creative! Here are some fun variations to try with your Colorful Marshmallow Easter Eggs:
- Different Flavor Combinations: Try adding a few drops of mint or almond extract for a unique twist – delicious!
- Dietary Adaptations: For a vegan option, use plant-based butter and make sure to select vegan marshmallows.
- Seasonal Variations: During the winter holiday season, switch to red and green colors and add peppermint extract!
The possibilities are endless, keeping your baking adventures exciting!
Nutrition & Storage Info
- Prep Time: 20 minutes
- Cook Time: 5 minutes
- Total Time: 25 minutes (plus setting time)
- Yield: Approximately 10-12 eggs
- Estimated Calories per Serving: 90 calories (one egg)
- Storage Instructions: Keep at room temperature in an airtight container for up to a week or in the fridge for longer freshness!
FAQ Section
- Can I use larger marshmallows? Yes! Just cut them into smaller pieces before melting.
- What if my mixture is too sticky? Add a little more powdered sugar until it’s manageable.
- Can I store these in the fridge? Yes, but bring them back to room temperature before serving for the best texture.
- How do I make them last longer? Keep them in an airtight container and avoid exposure to moisture.
- Can these be made gluten-free? Absolutely! Just ensure that your powdered sugar is gluten-free.
- Can I use gel food coloring? Definitely! Gel colors will give you more vibrant eggs.
- What alternatives can I use for edible glitter? You could use colored sugar or even sprinkles for a fun twist.
- How do I clean my sticky hands? A little powdered sugar or oil on your hands can help with stickiness while shaping.
- Can I double the recipe? Yes! Just ensure you have enough space to set the eggs.
- What happens if they don’t set properly? It may be due to humidity or insufficient setting time. Make sure they have at least 30 minutes to cool.
Conclusion
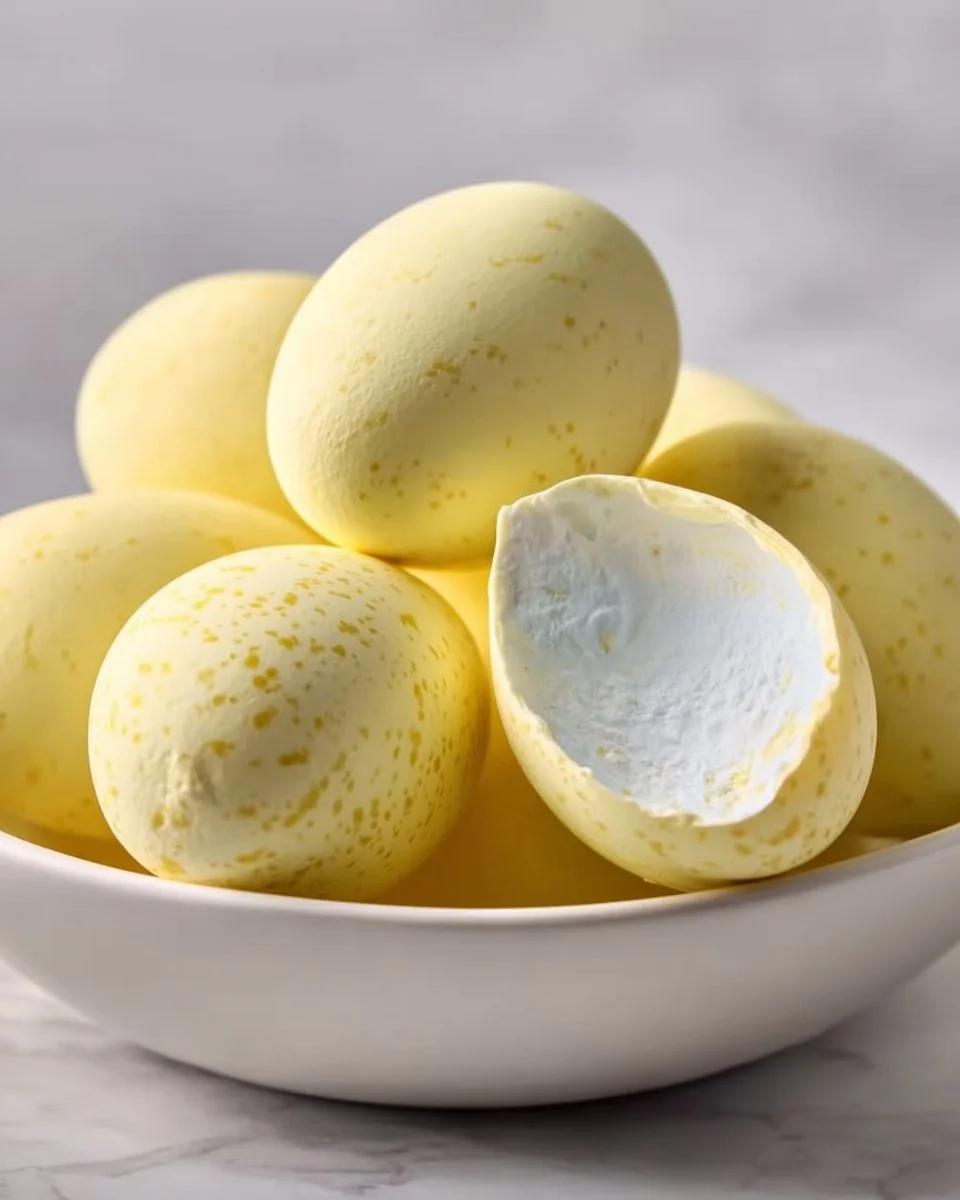
Creating Colorful Marshmallow Easter Eggs is more than just a recipe; it’s about the connections and memories we form in the kitchen. These delightful, chewy treats can bring joy to your family and friends, just like they did for me many years ago. I encourage you to step into the kitchen, unleash your creativity, and try this fun and simple recipe!
Have you made these before? I’d love to hear about your experiences or any variations you’ve tried! Make sure to check out more fun recipes on my blog to continue your culinary journey.
Lemon High Protein Bean Pasta Salad
Happy baking!
Colorful Marshmallow Easter Eggs
Ingredients
Method
- Melt the butter in a large microwave-safe bowl for 30-45 seconds until liquefied but not boiling.
- Add mini marshmallows to the bowl and stir until coated, then microwave again for 30 seconds until puffy.
- Gradually mix in powdered sugar using a spatula; use hands to knead at the end as mixture becomes thick and sticky.
- Divide the dough into separate bowls and add food coloring to each, mixing until colors are uniform.
- Dust hands with powdered sugar and shape pieces of colored mixture into egg forms.
- Transfer formed eggs onto a parchment-lined baking sheet.
- Sprinkle with edible glitter if desired and let set for at least 30 minutes before serving or gifting.